|
|
|
|
|||
|
|
|
|
|
|
|
Design for Placement of A New Implant
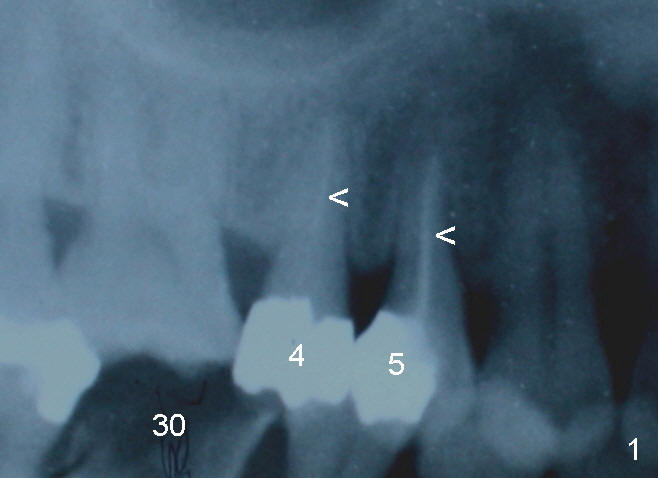
Mr. Huang has several bad teeth: #30 being badly broken down, #4,5 having big silver filling and root canal (arrowheads in Fig.1).
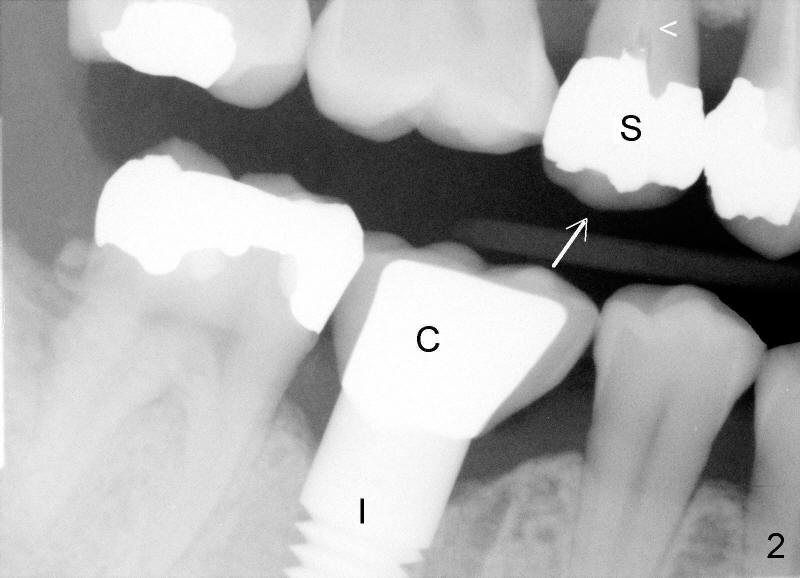
Finally #30 has implant (I in Fig.2) and crown (C) after extraction. Mr. Huang enjoys the new tooth so much that the upper opposite tooth #4 with large silver filling (S) cracks while he enjoys eating Peking duck. It is probably due to force from the implant tooth (arrow).
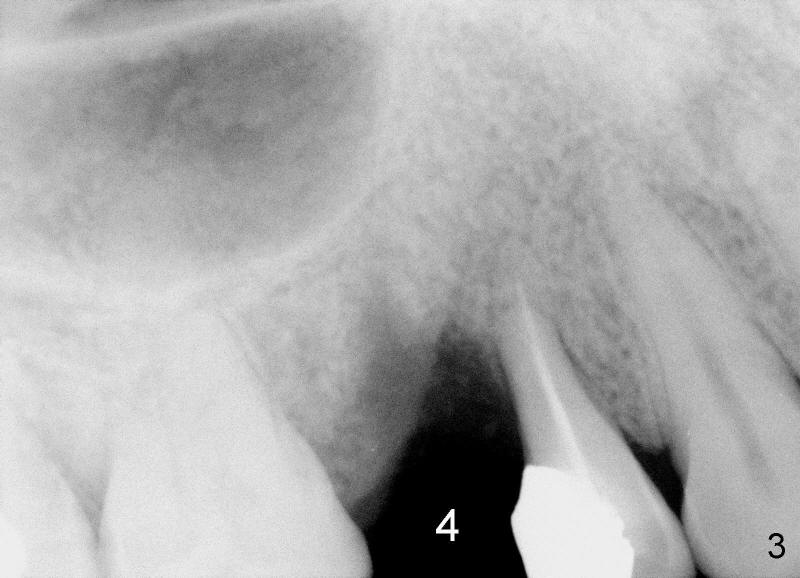
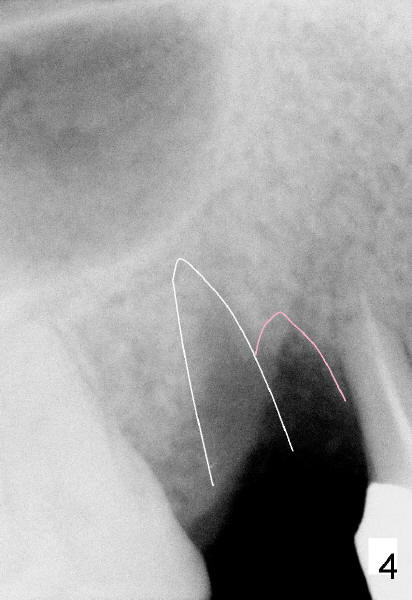
This upper tooth (#4) is also gone (Fig.3). The tooth with root canal is usually very bristle. Extraction is difficult, resulting in extra bone damage. The white line in Fig.4 stands for the outline of the original root, whereas pink line extra bone damage.
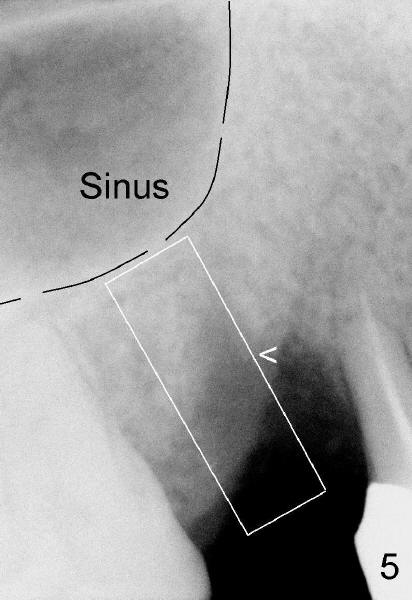
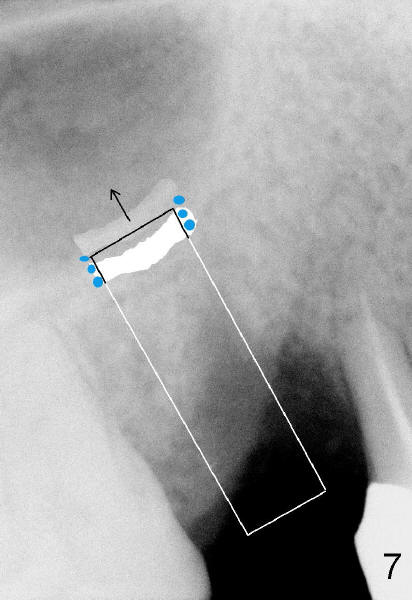
For an implant to succeed, we need to have one as big and as long as possible. The implant cannot be too long (Fig.5 white box), because its top is an empty space, sinus. It cannot be too wide because of neighboring teeth (roots). Some portion of the implant may be not covered by the bone (arrowhead).
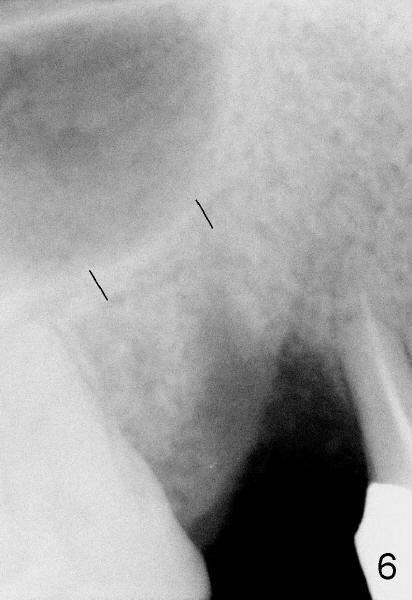
There is a special bone structure on the bottom of the sinus. It is called sinus floor (Fig.6 between two lines). After making an implant bed, the sinus floor can be pushed upward (Fig.7 arrow). A little longer implant can be placed (compare Fig.5 vs. 7). To heal quicker and better, bone chip (powder, blue circles in Fig.7) can be placed around the top portion of the new implant. This top implant is hopefully as strong as the one on the bottom. Mr. Huang will return for the new implant after Christmas/New Year. Every implant case is quite different. It needs its own design. A good plan is half done.
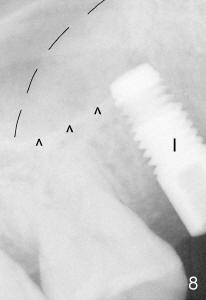
Mr. Huang returns for implant placement in early February. As planned, the implant (Fig.8 I) is placed a little above the sinus floor (arrowheads). Bone chips are harvested while drilling and placed back to his body. The accumulation of the bone chips looks like a dome (dashed line).
Xin Wei, DDS, PhD, MS 1st edition 12/23/2011, last revision 09/27/2012