,%20bone%20graft.jpg)
,%204y2m%20postop.jpg)
|
|
|
|
|
|
|
|
|
|
|
|
|
|
|
|
||
|
|
|
|
|
|
|
|
||||
Place Implant as Deep as Possible I
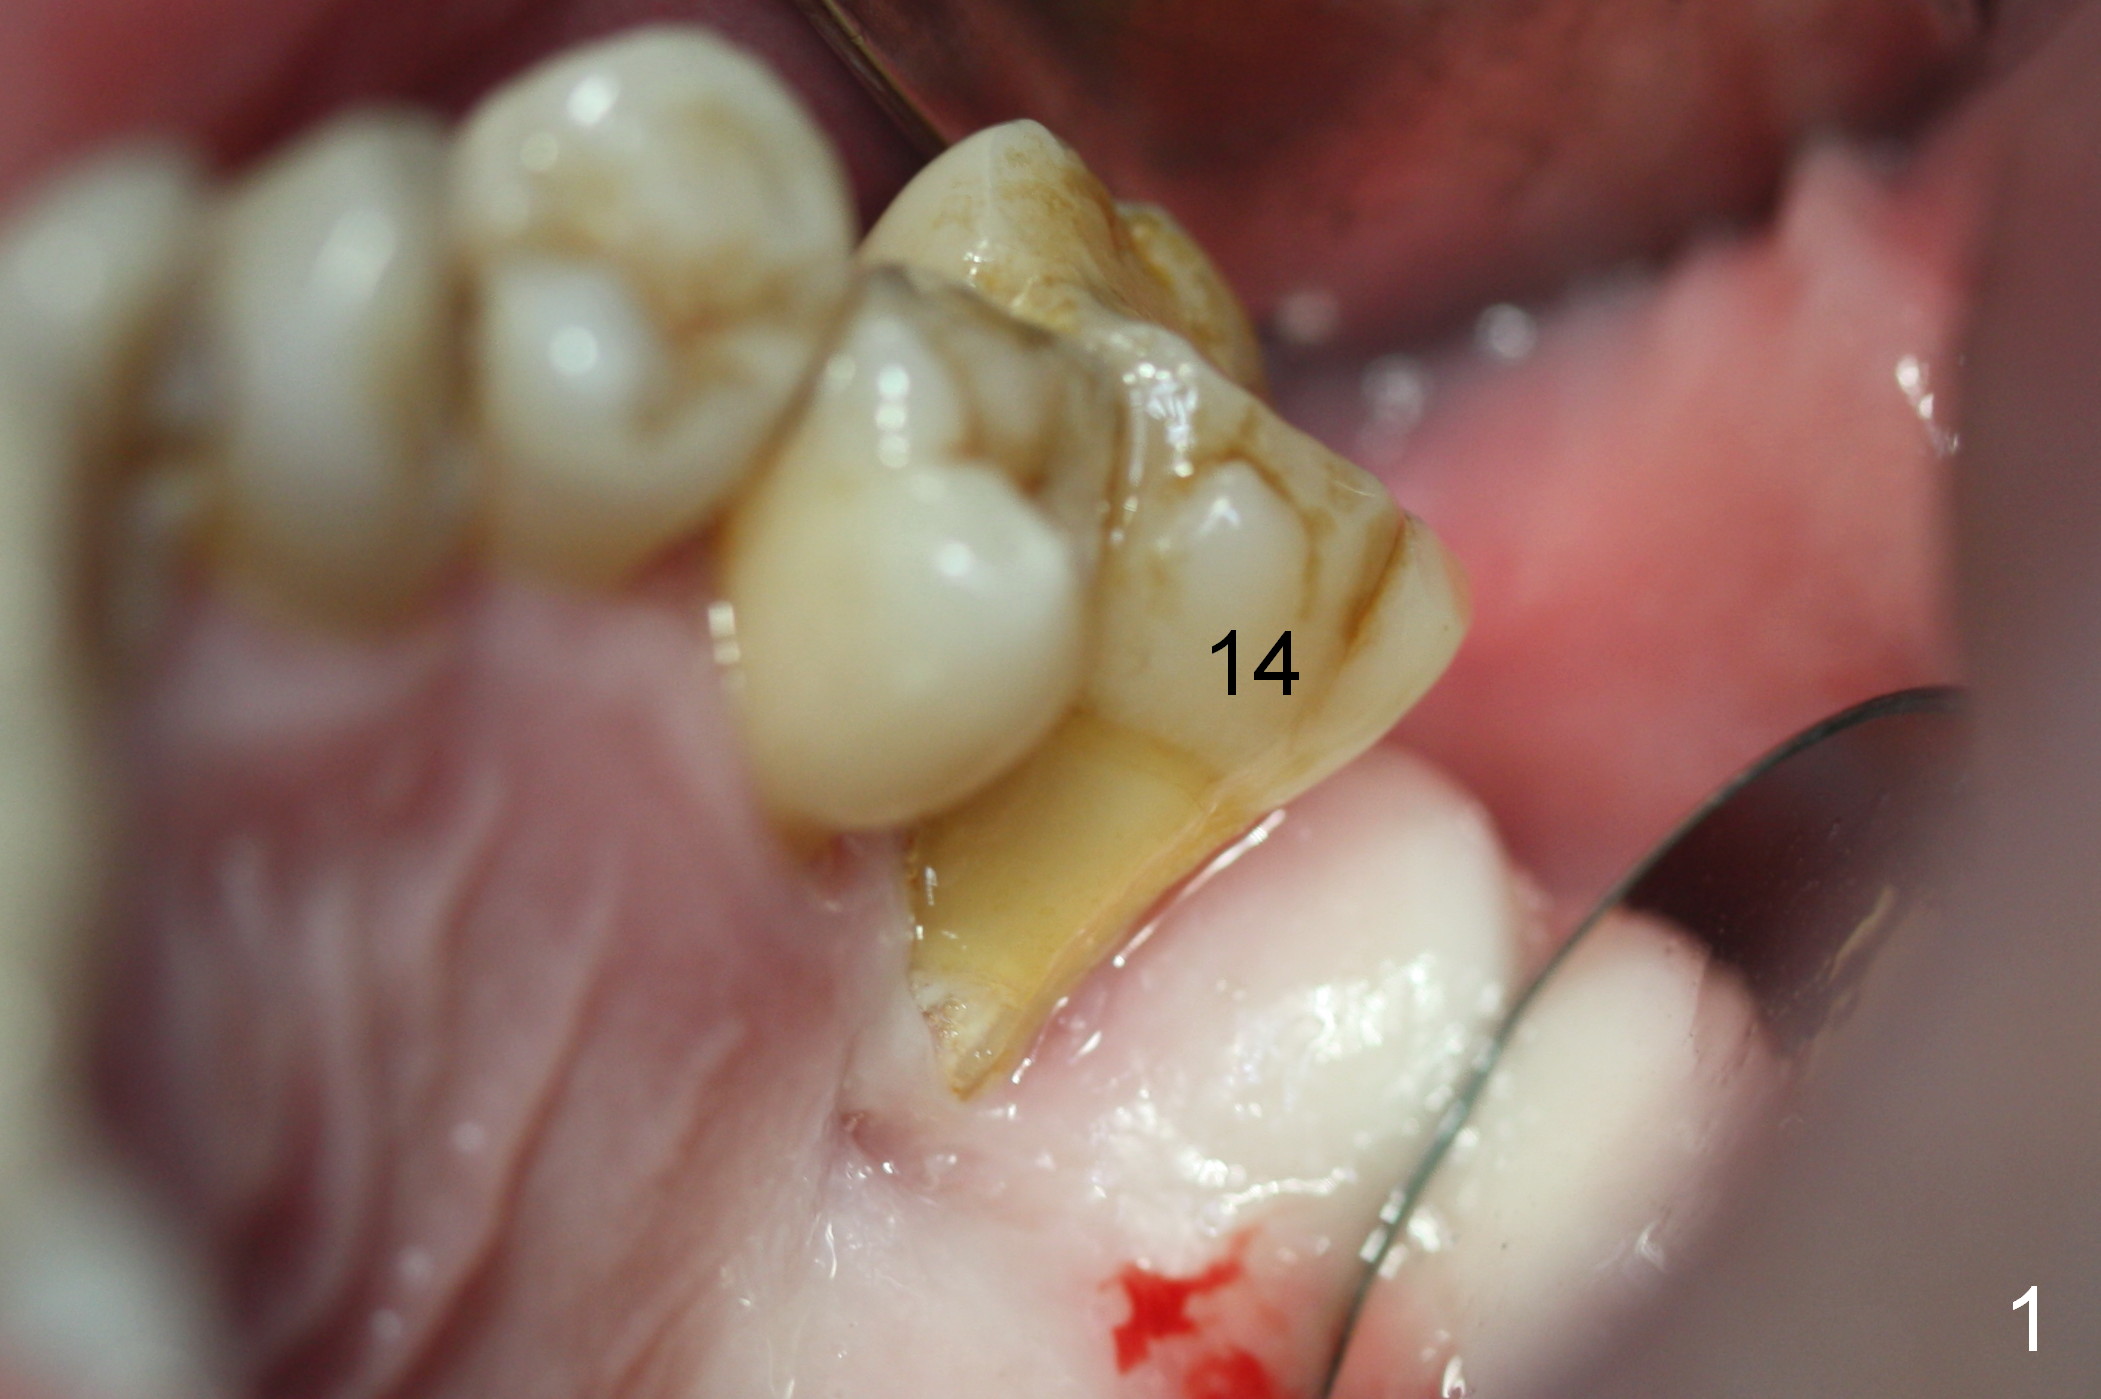
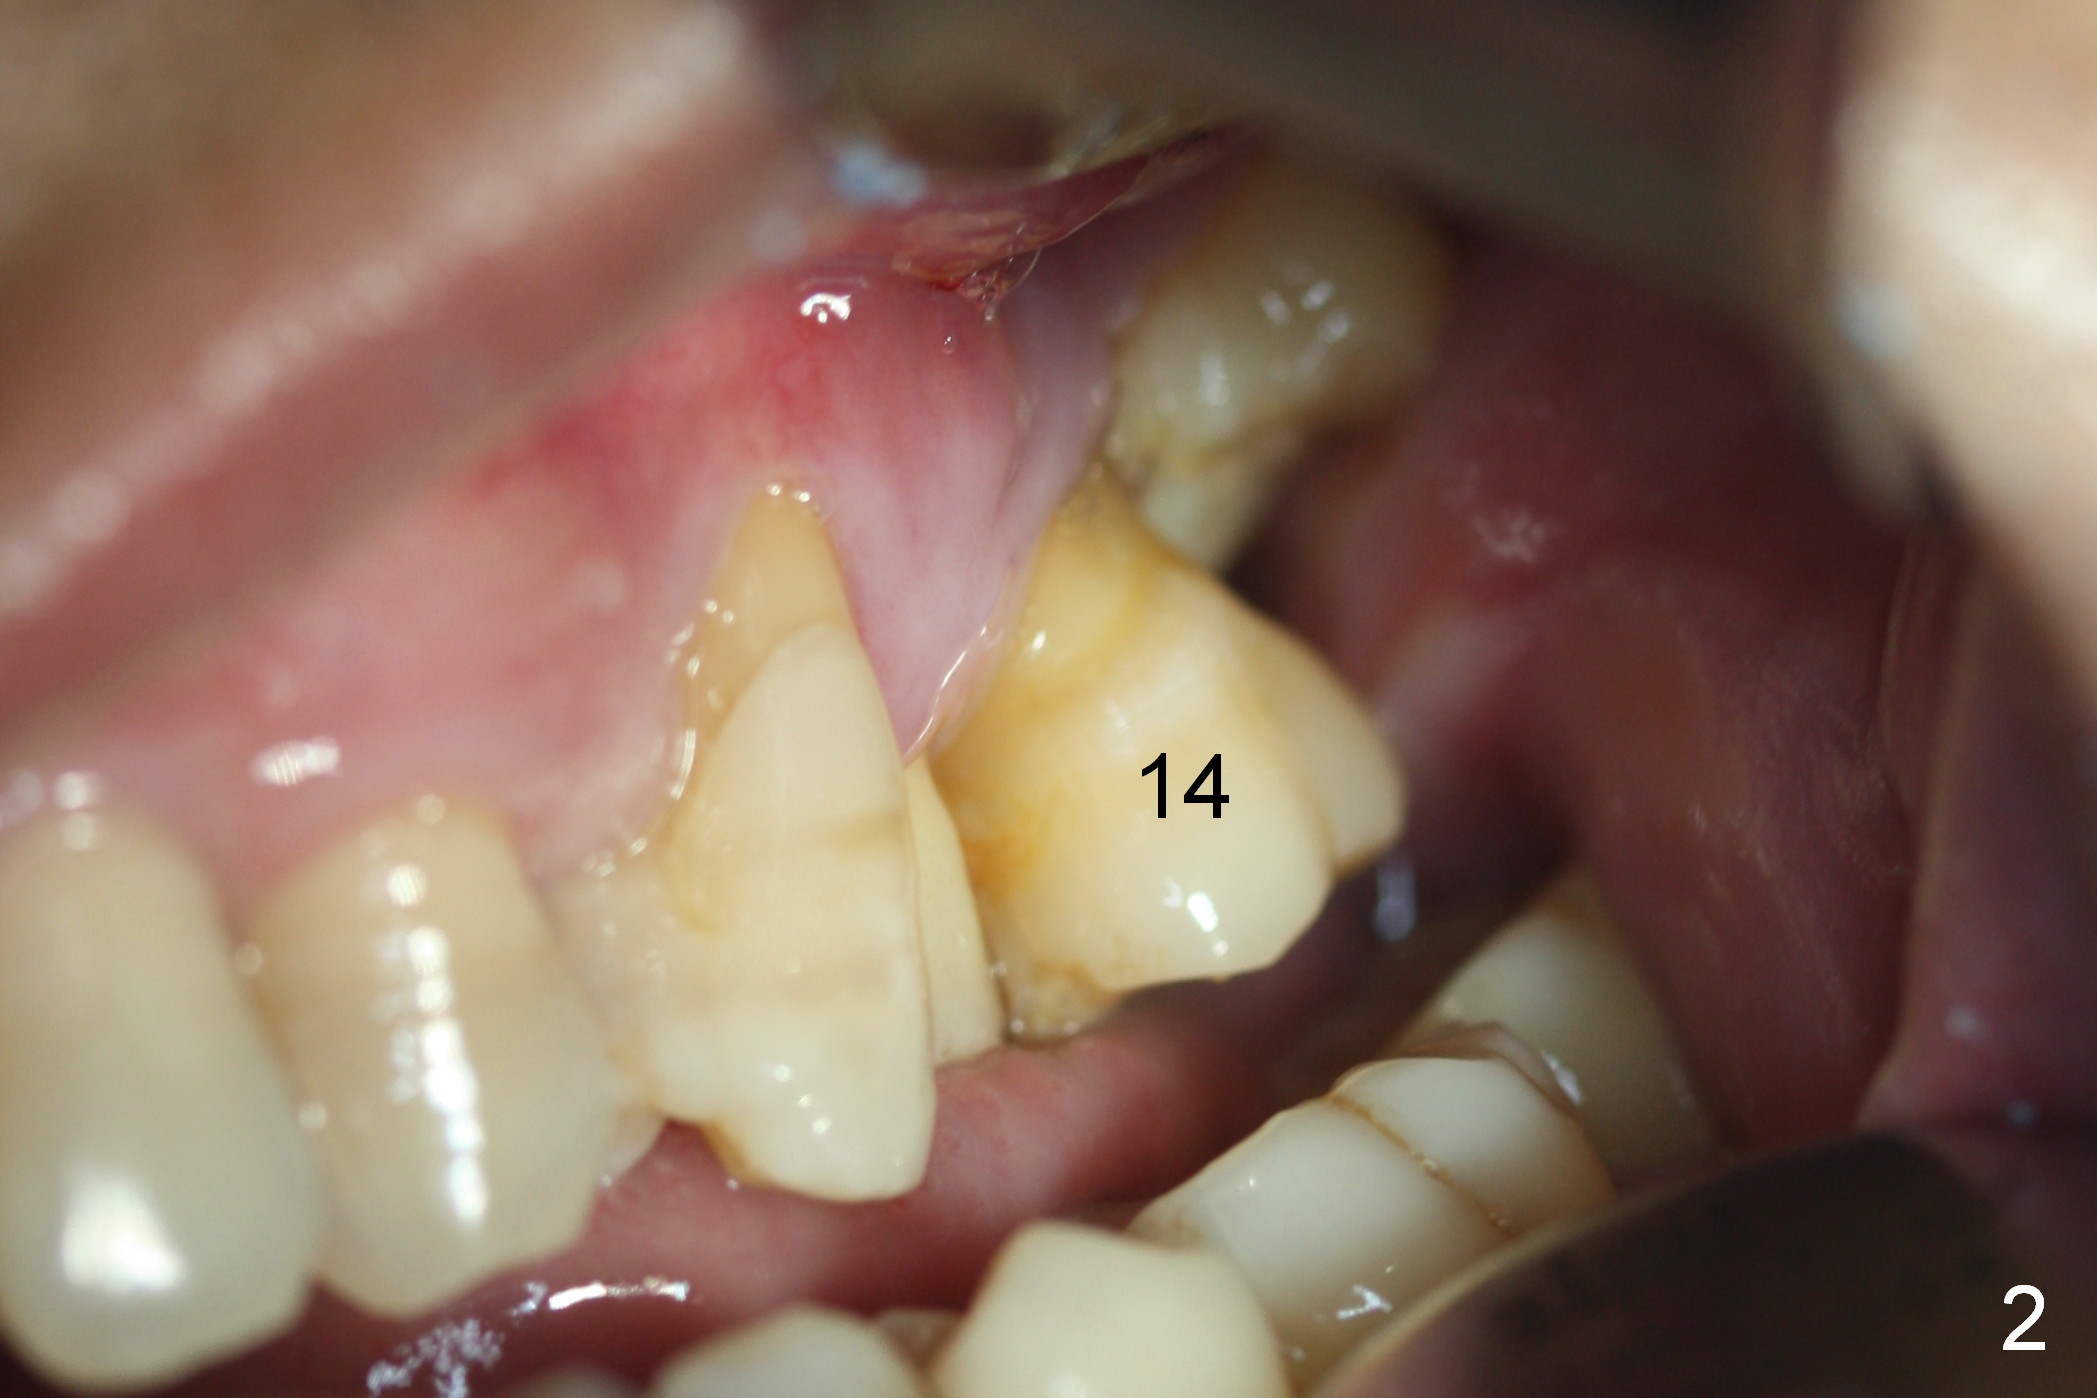
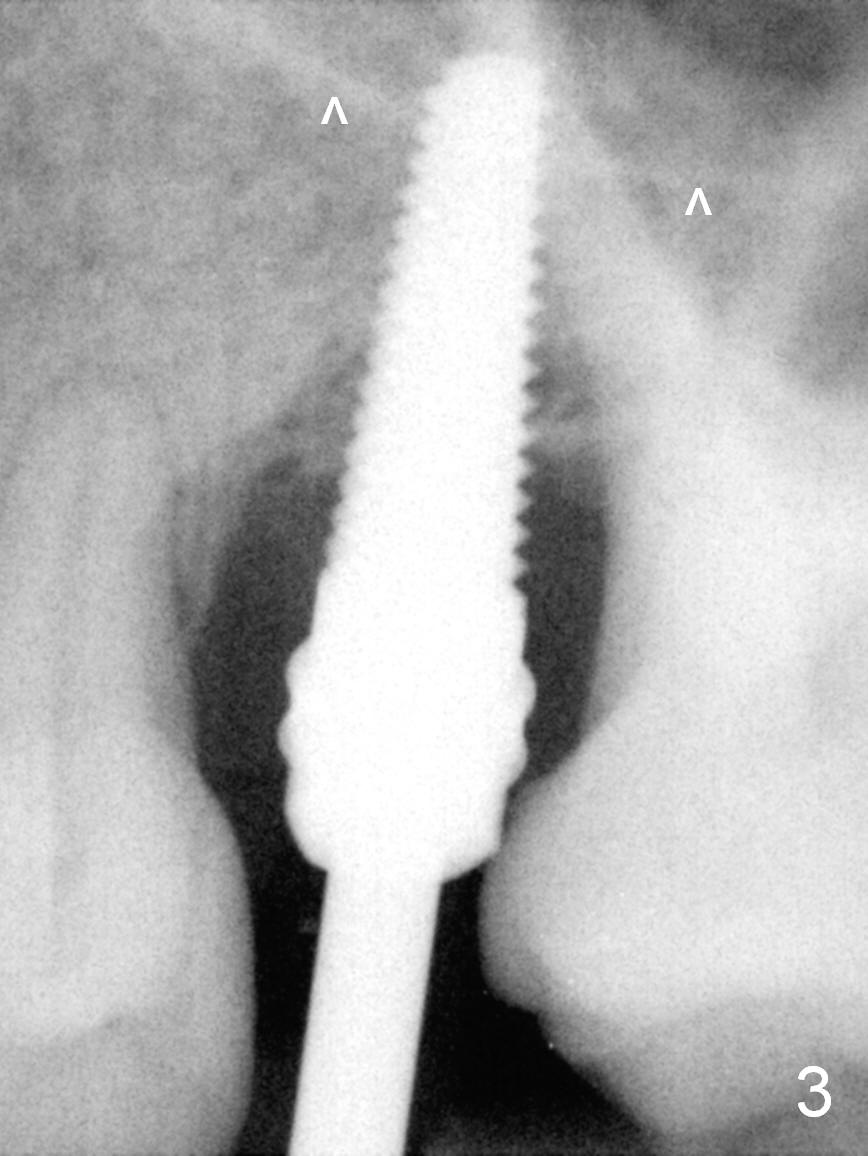
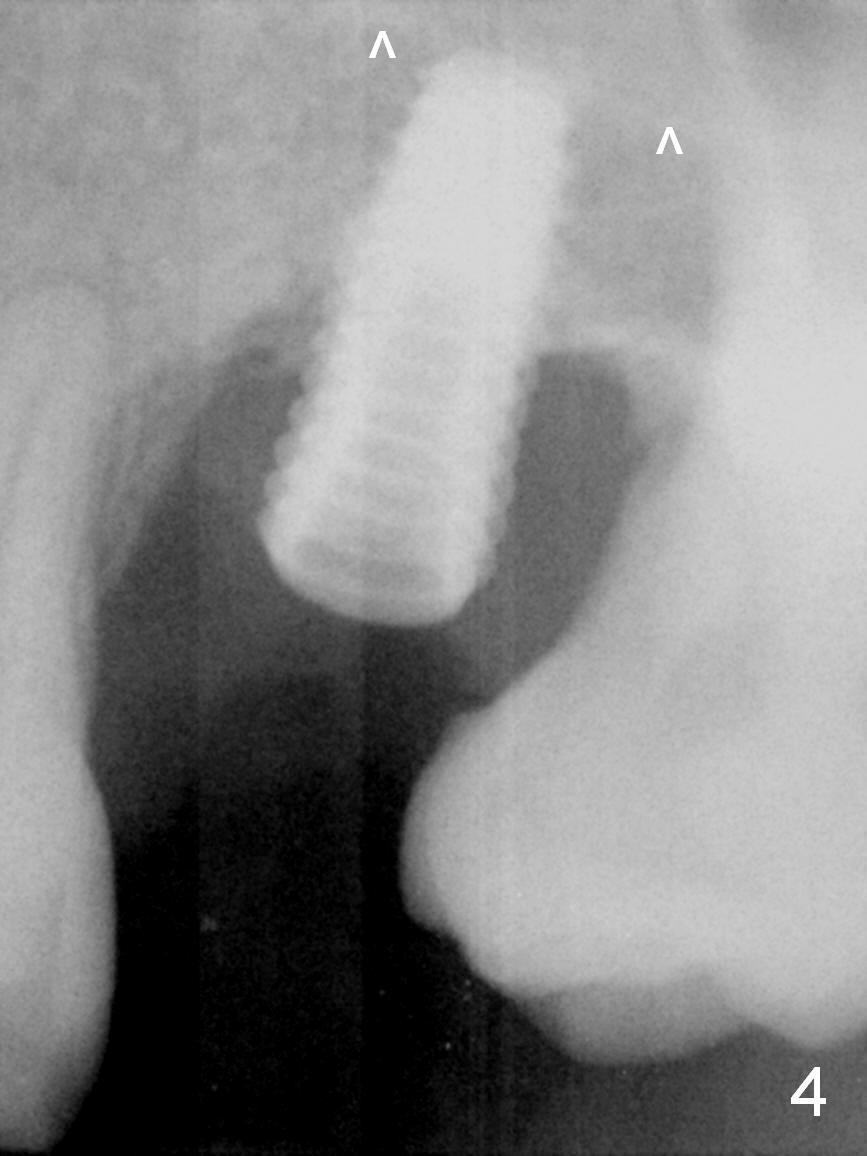
Pre-op examination shows severe lingual gingival recession at #14 (Fig.1), as compared to the buccal (Fig.2). After extraction, the septal gingiva is pushed palatally to act as the palatal one. DIO Sinus Master Kit is used until a 4.5x17 mm tap is placed (Fig.3 (^: sinus floor)). Sinus lift is difficult because of the deep socket. A 5x11.5 mm UF implant is placed initially (Fig.4) and as deep as possible (Fig.5) so that there is less chance of implant thread exposure and stability increases (insertion torque: 35/50 Ncm). Bone graft is placed around the the implant outside the bone before and after a 6.5x5.5(4) mm abutment is placed (A). An immediate provisional is fabricated to keep the bone graft and membrane in place without cement. Postop there is no nasal or oral hemorrhage. One month postop, the abutment is changed to 5.5x5(5) mm one. Once the implant osteointegrates, it may be used an anchorage to orthodontically distalize the teeth anterior it (Fig.2).
The patient will return for #14 restoration 6 months postop. Impression should be taken to convince the patient of orthodontic necessity prior to crowning.
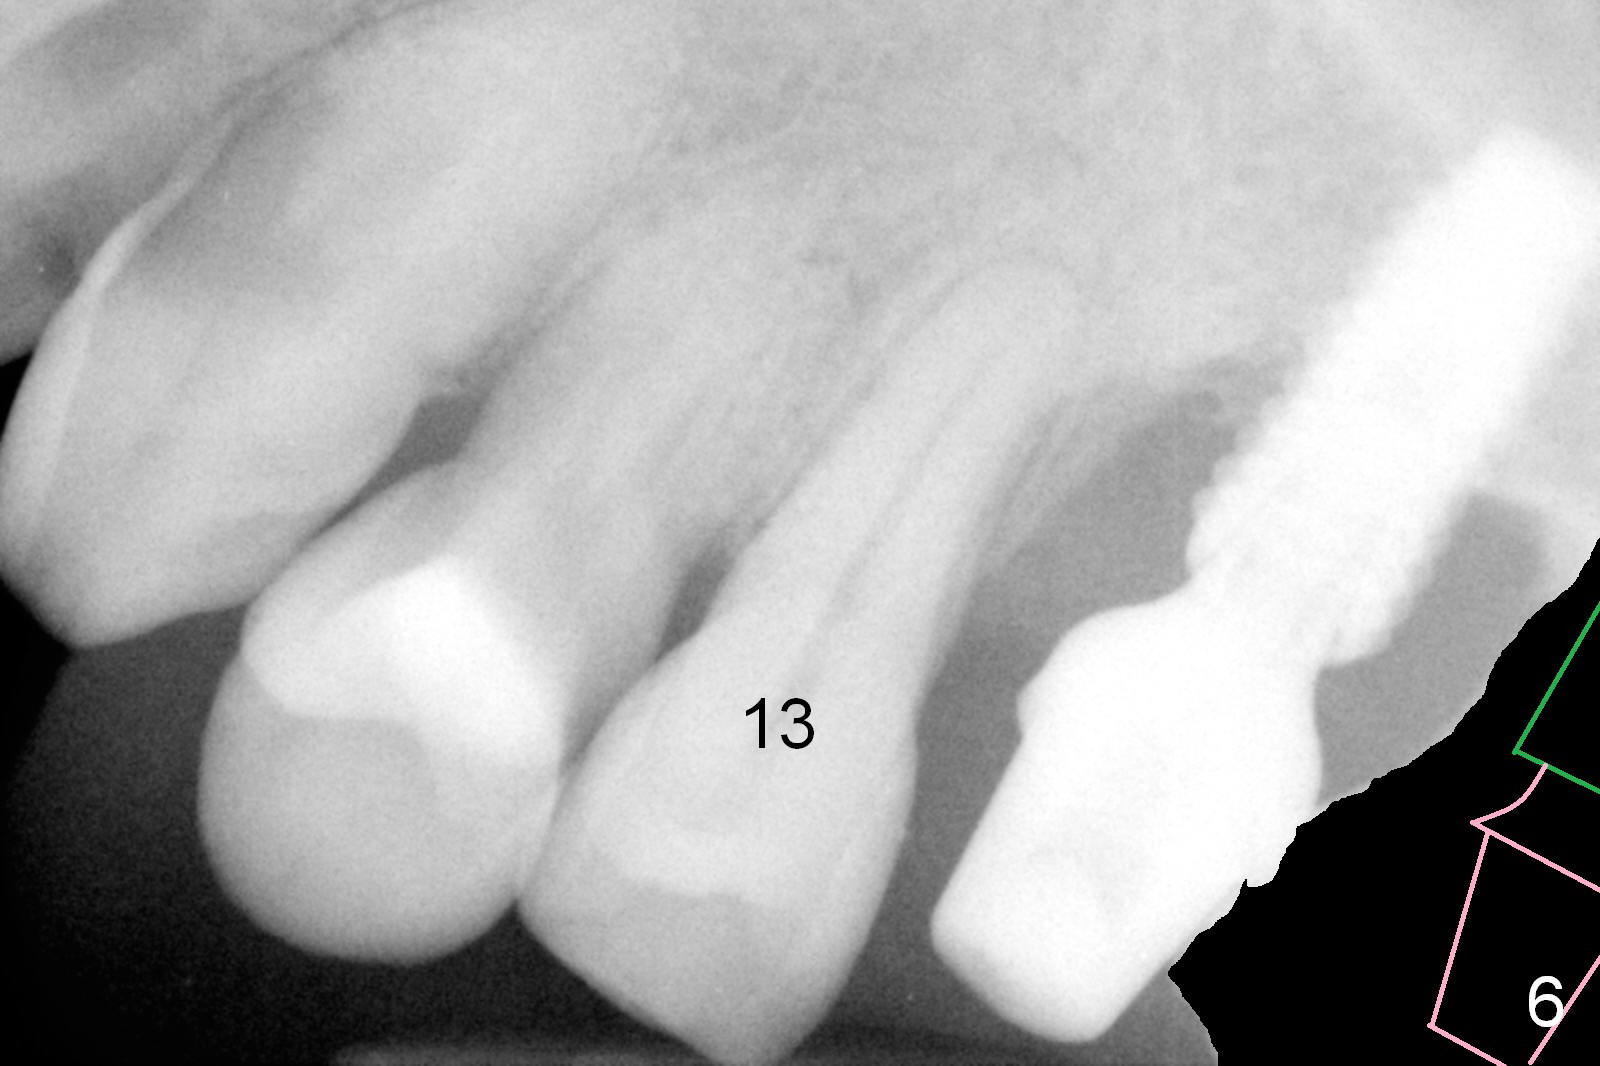
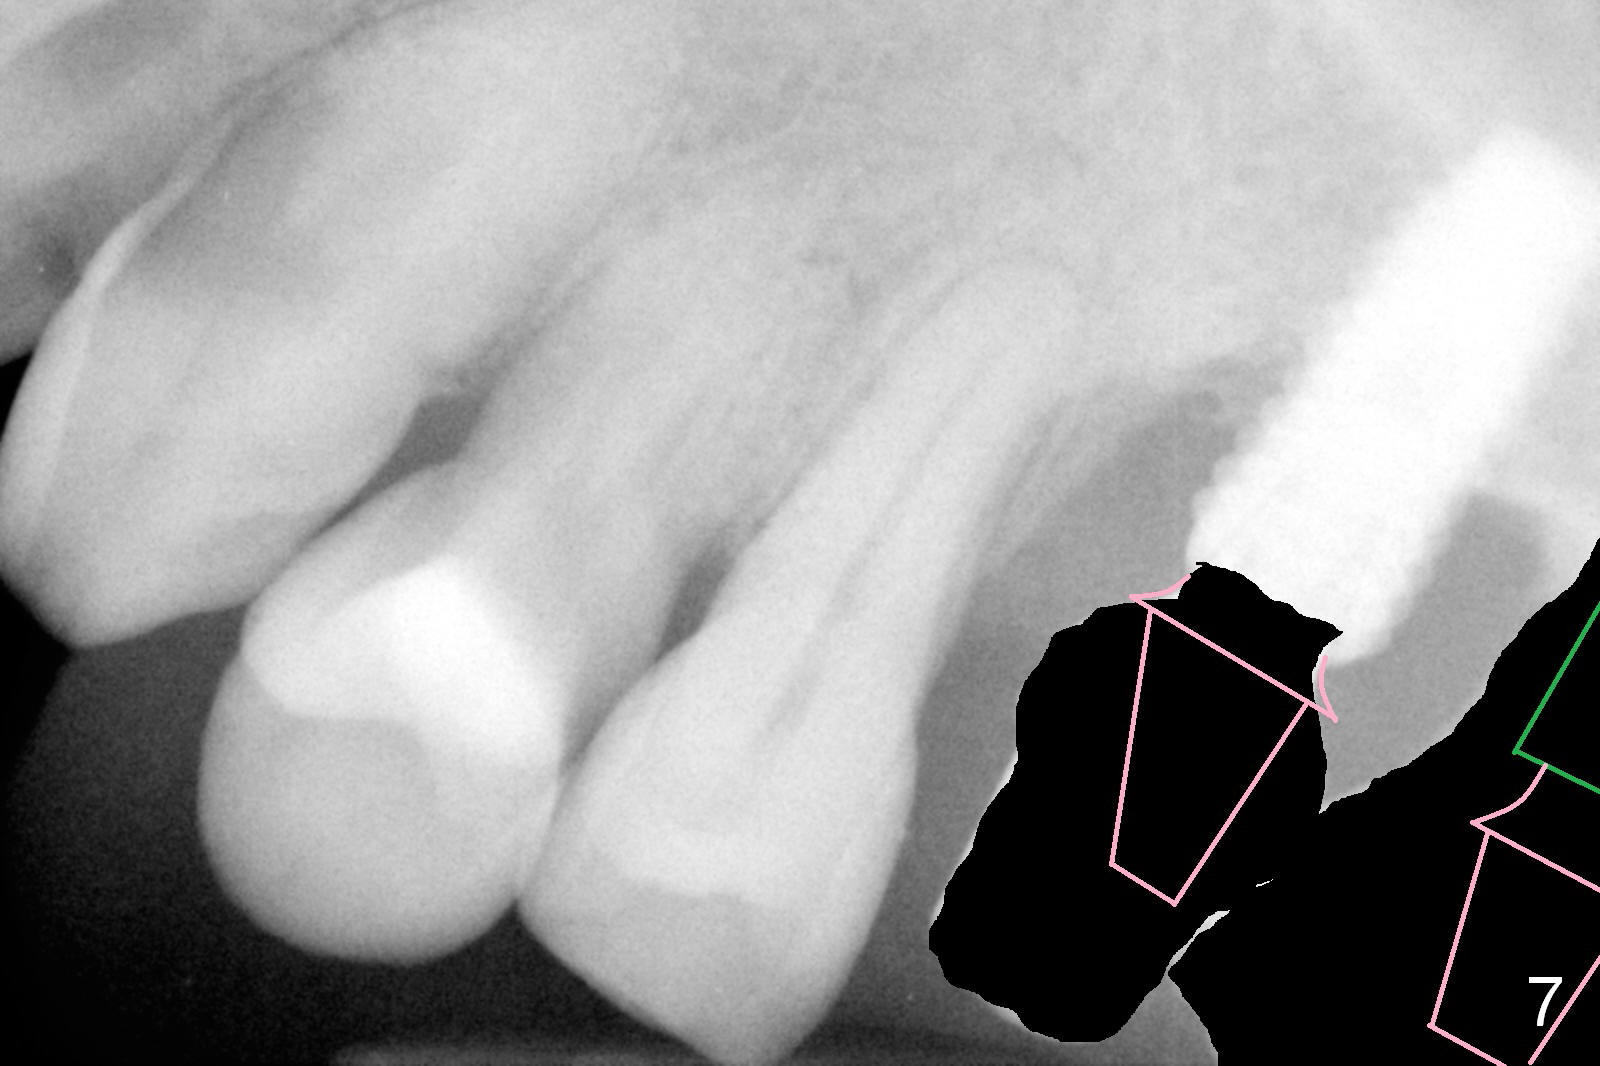
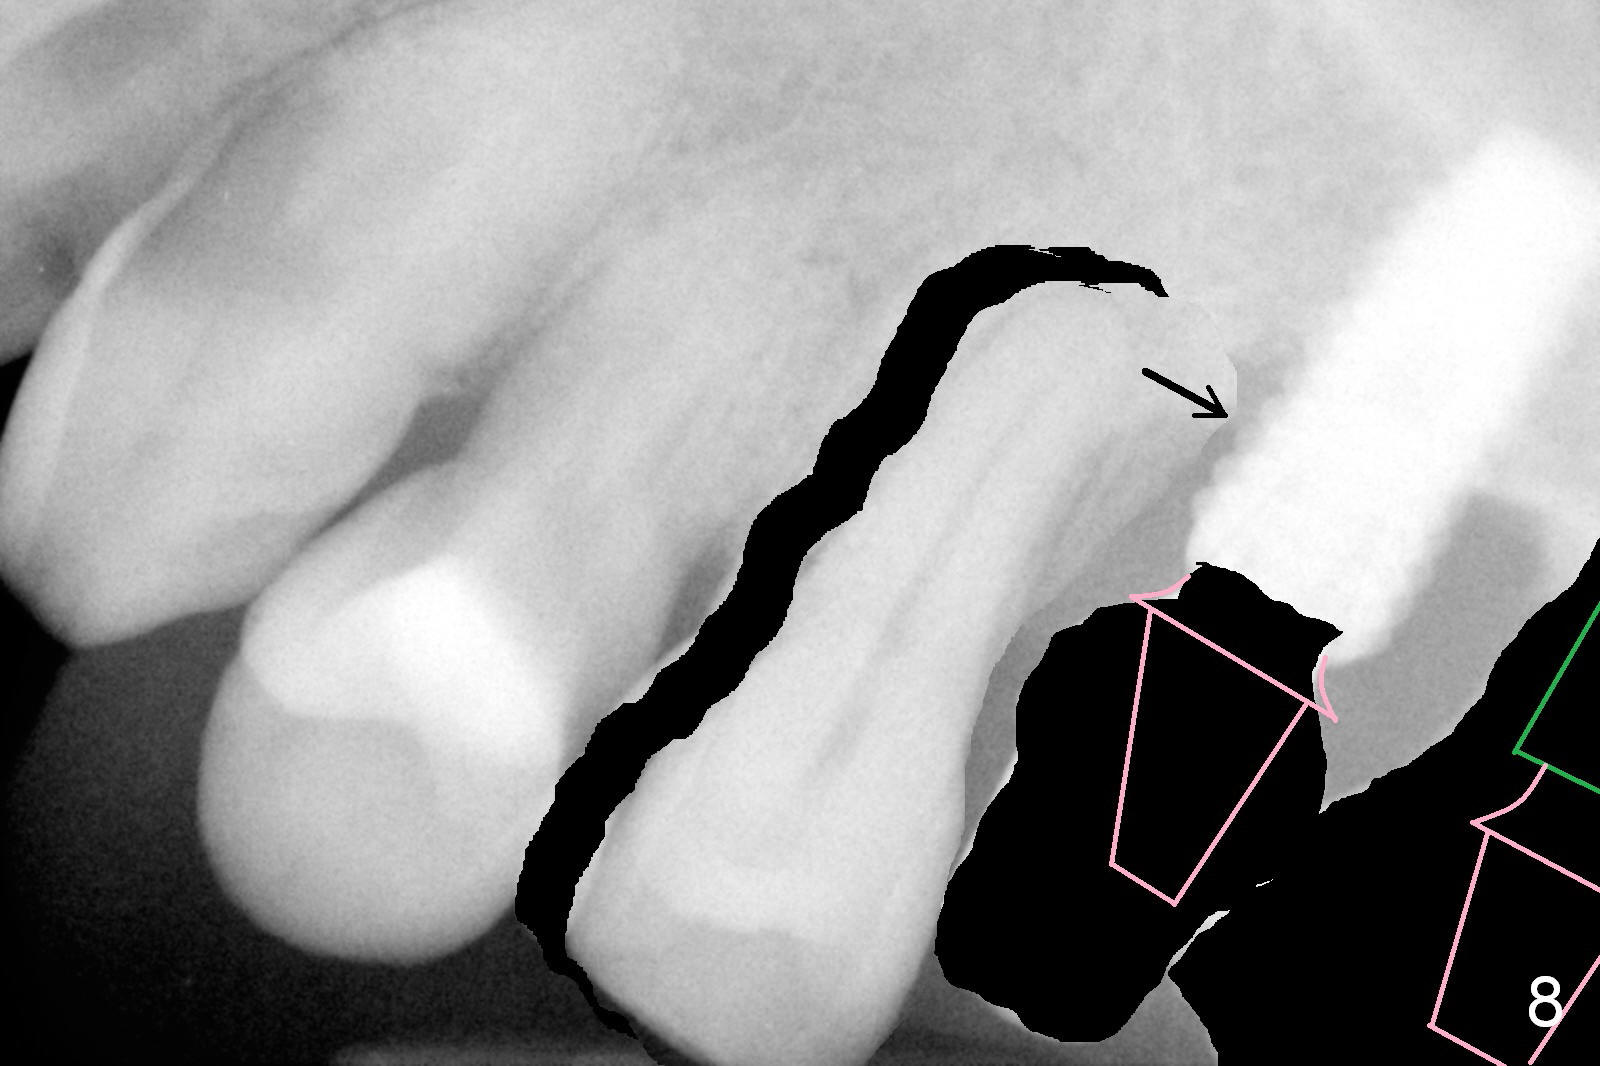
If he agrees with the ortho, the tooth #16 will be extracted with implant placement at the site of #15 (Fig.6 green) and straight abutment (pink). The abutment at #14 will be changed to an angled one (Fig.7) so that there is enough coronal space for #13 to be distalized (Fig.8). The biggest advantage of the orthodontic movement is to move the bone to fill the mesial defect of the site of #14 (arrow).
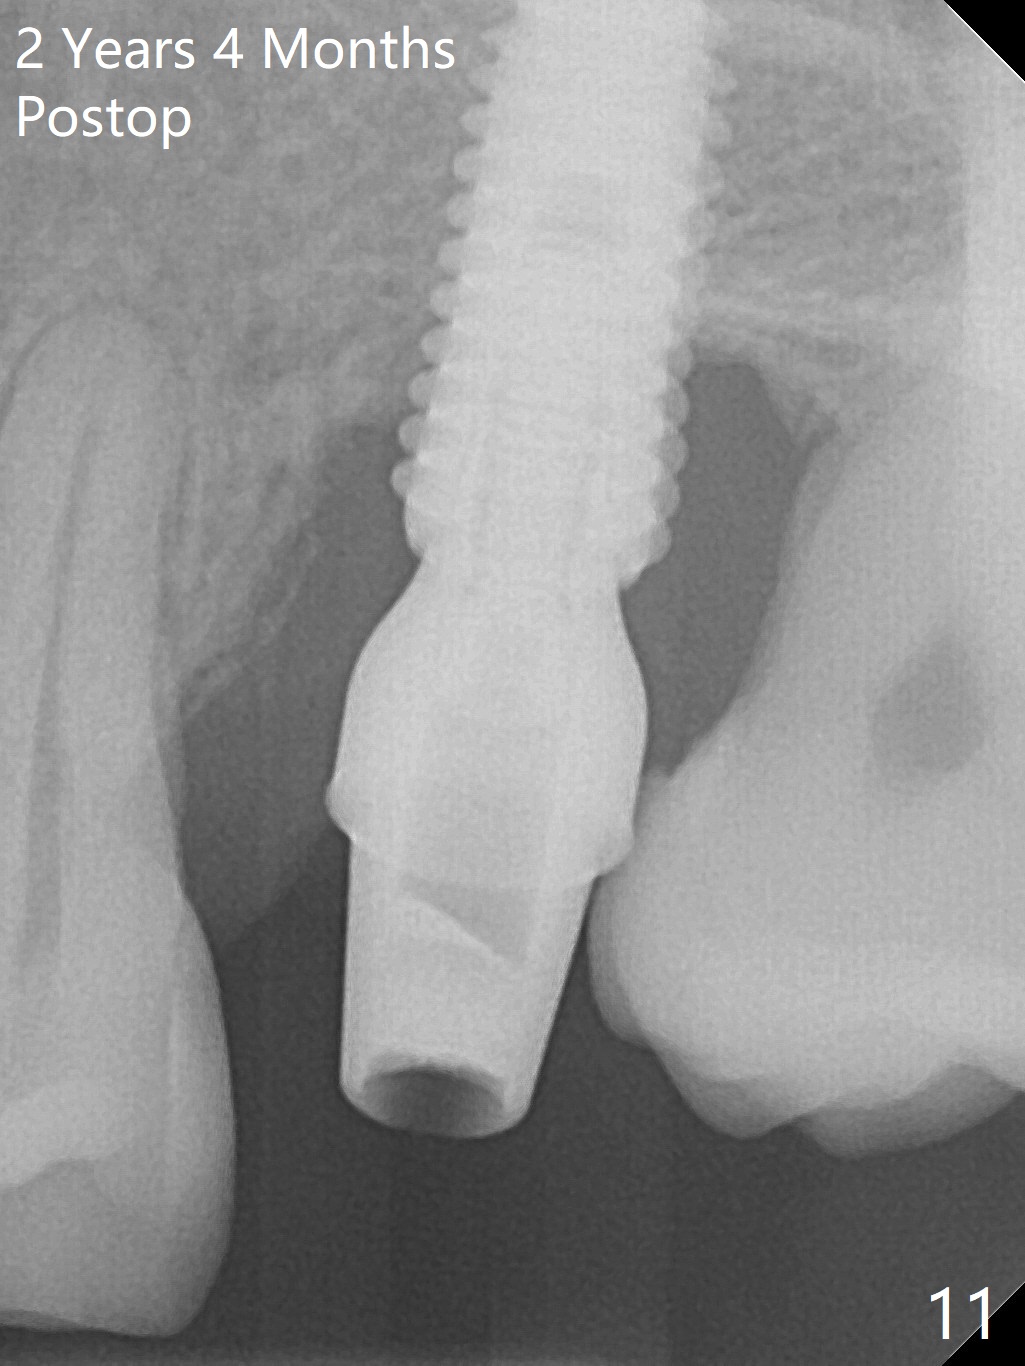
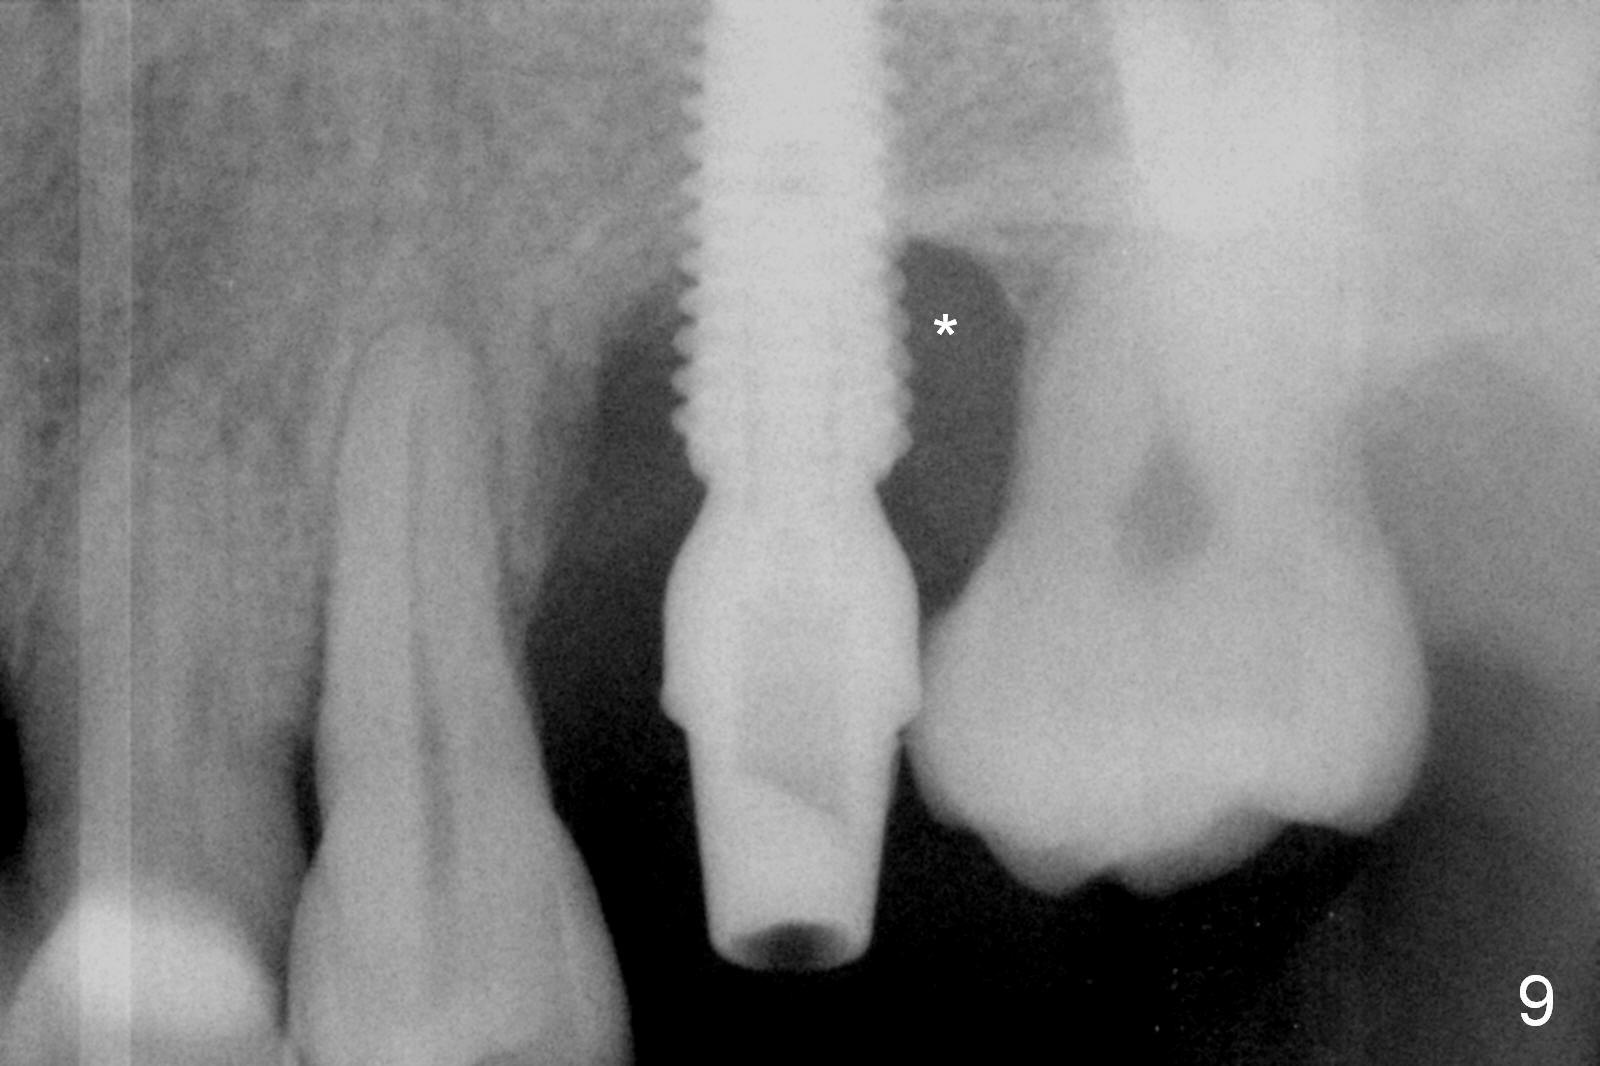
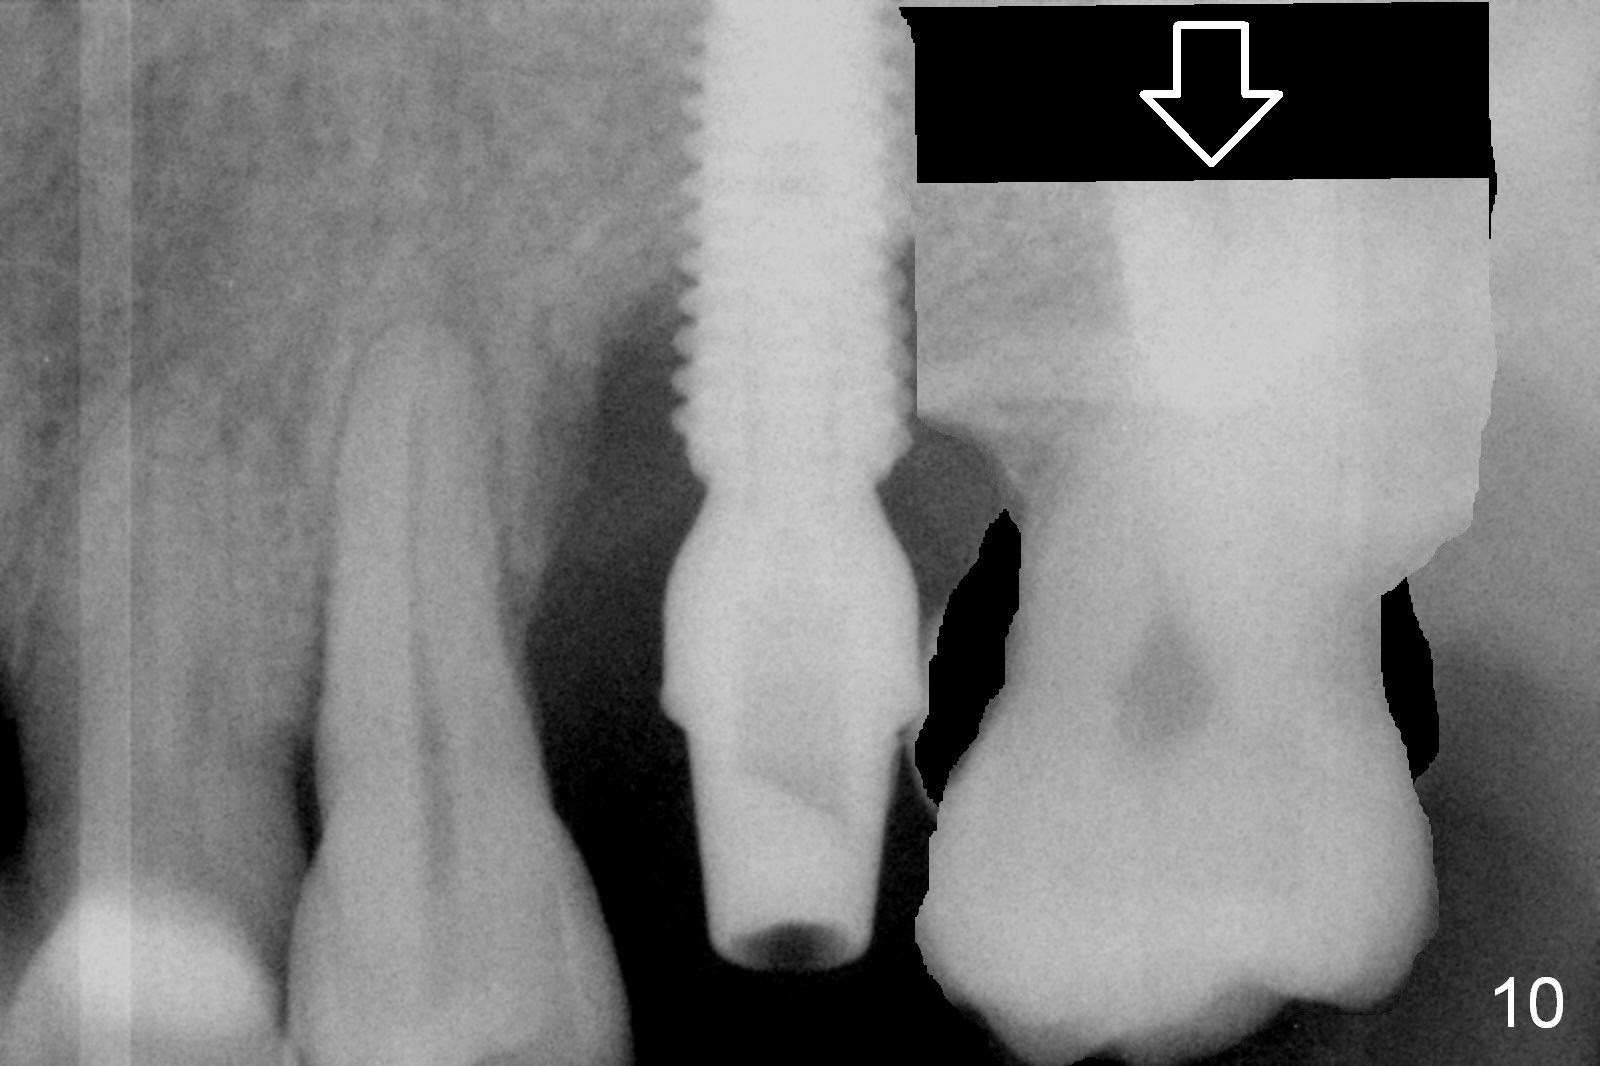
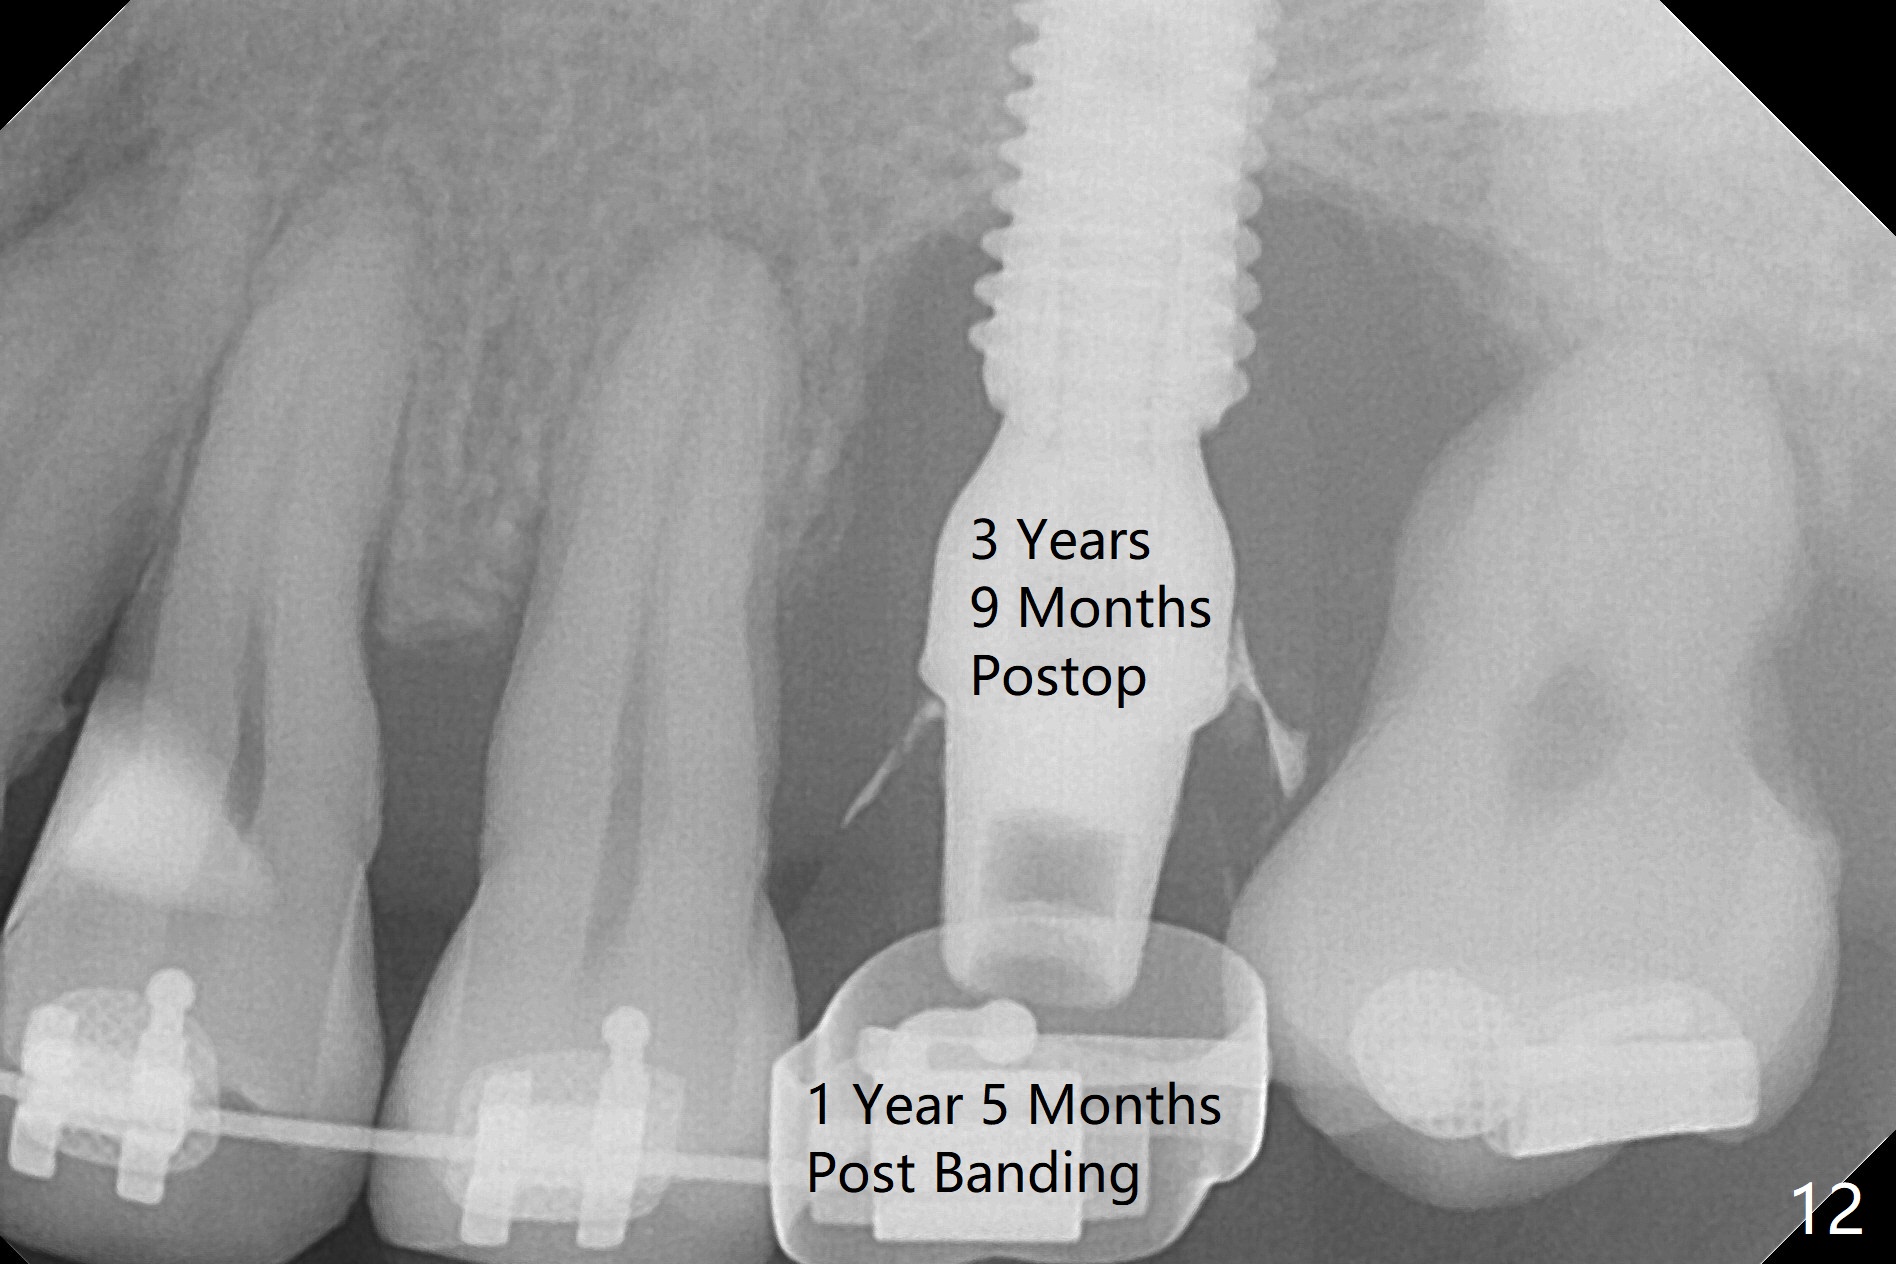
Five months postop, there is a gap, especially distally (Fig.9 *). The best treatment to fill the gap will be orthodontic extrusion of the 3rd molar (Fig.10 arrow). There seems to be bone growth coronally 2 years 4 months postop (Fig.11 with provisional). It appears that comprehensive orthodontics is necessary. In fact the 3rd molar is extruded, but there is no bone downward growth (Fig.12). The tooth has mobility with relapse without wire engagement.
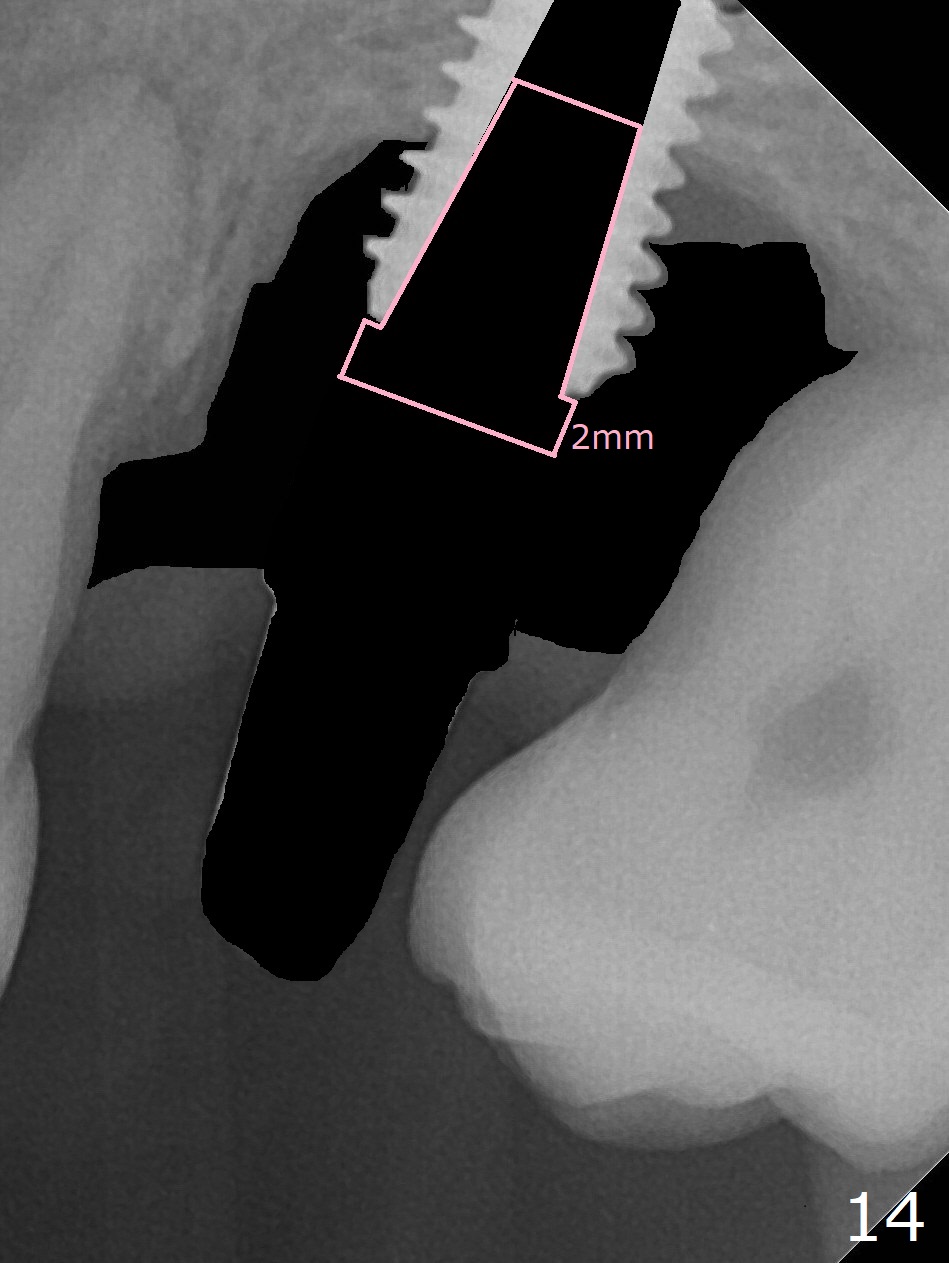
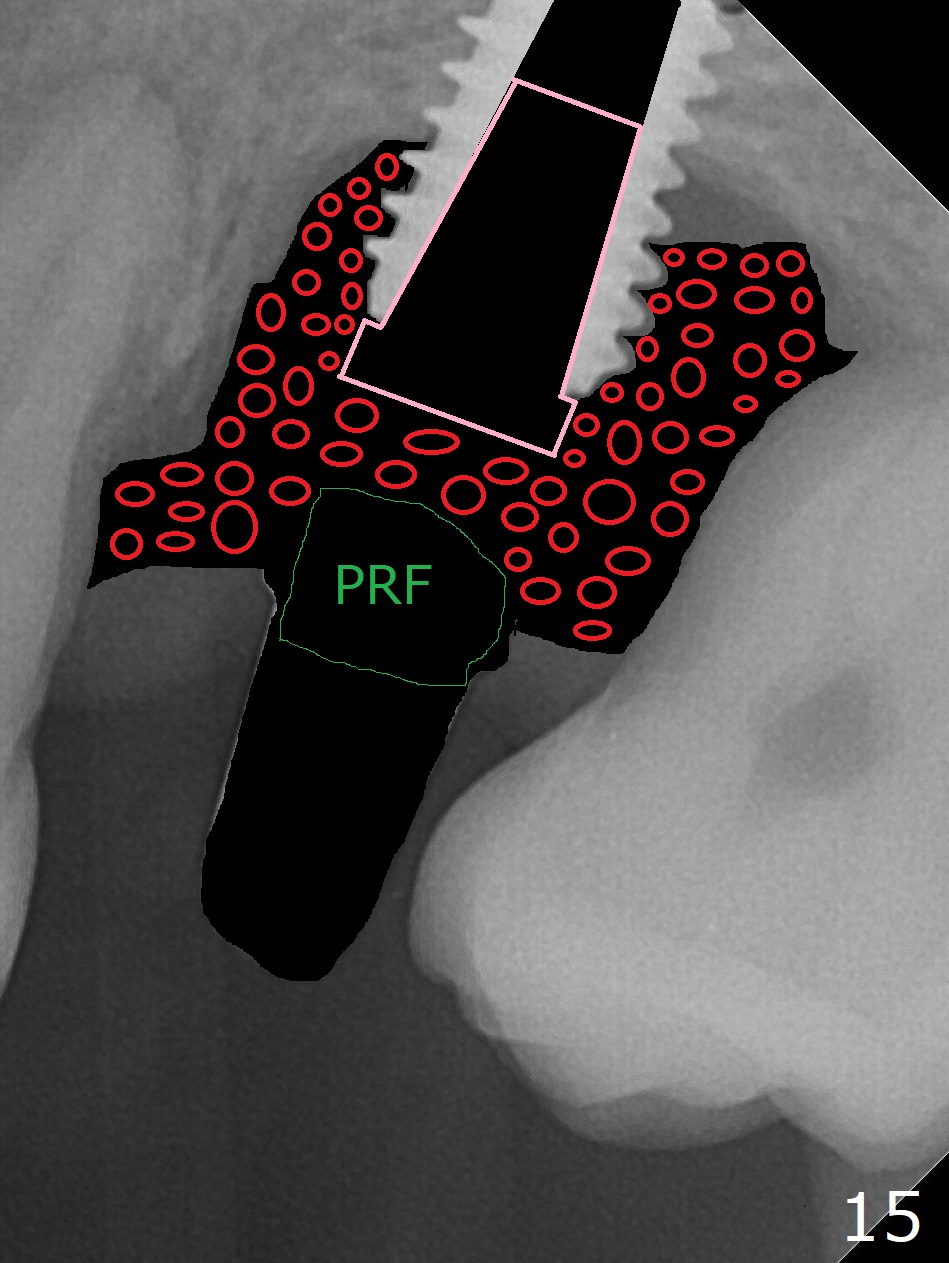
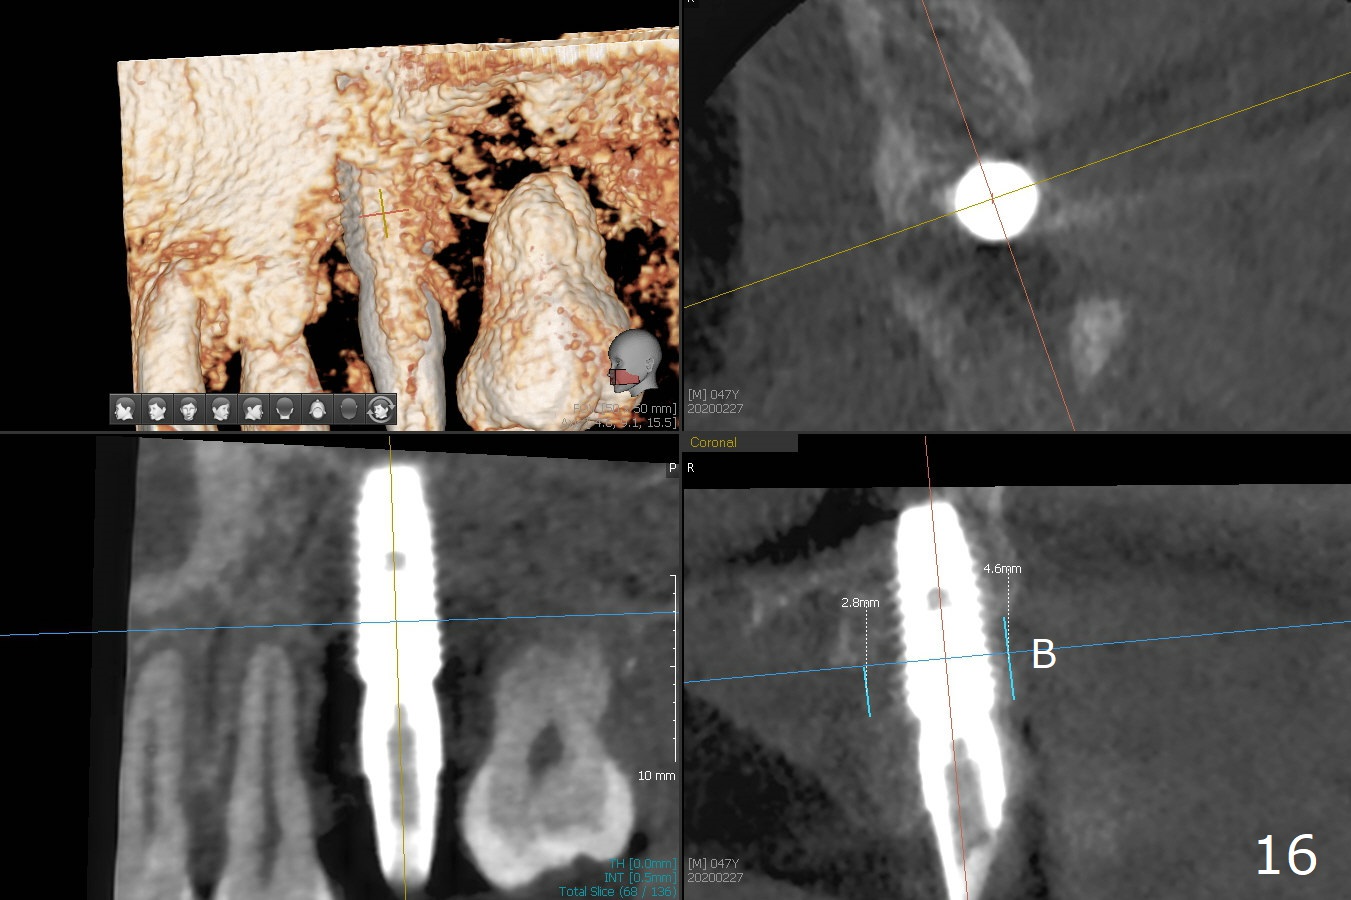
There was purulent discharge from the implant in orthodontic treatment with persistent bone loss post orthodontic treatment (Fig.13 *,16). Remove the final cemented abutment and soft tissue (Fig.14 black area) and use 3 types of Titanium brush (including I and R brush) to clean implant threads. Place a cover screw with 2 mm cuff for easy uncover later. Pack sticky bone (Fig.15 red) in the defect tight with an Amalgam condenser and Bicon Sinus Lift Instrument, cover the opening with PRF and suture with PGA.
Return to
Upper Molar Immediate Implant,
Professionals,
Posterior Immediate Provisional,
Ortho Cases,
Banding,
No Deviation
Xin Wei, DDS, PhD, MS 1st edition 01/12/2016, last revision 03/16/2020