|
|
|
|
|
|
|
|
|
|
|
|
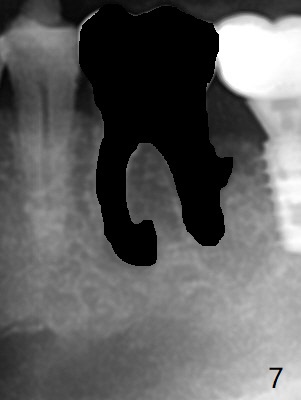
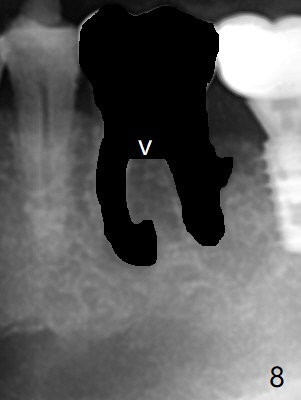
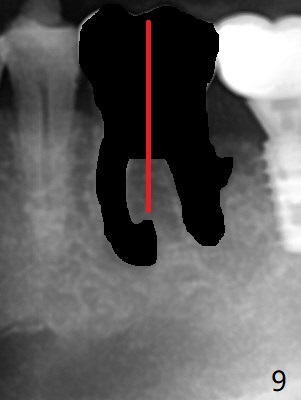
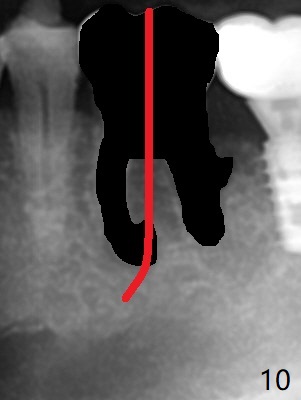
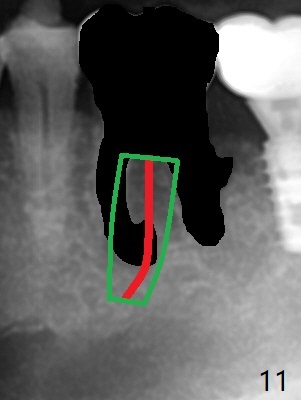
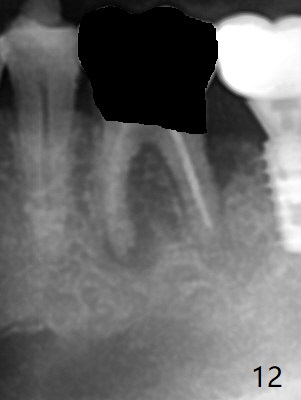
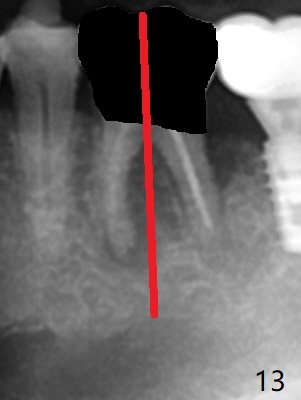
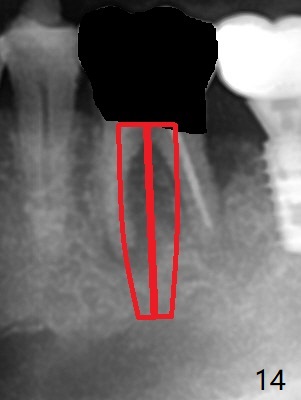
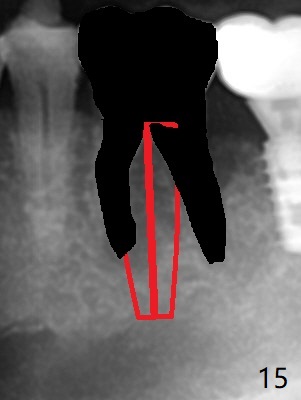
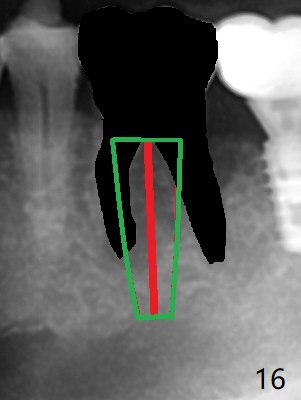
Fig.6-11 explains why the lower half of the implant deviates to the mesial socket, while Fig.12-16 illustrates how to prevent the deviation. After extraction of #19 (Fig.6,7), the crest of the septum is flattened (Fig.8 arrowhead) to prevent the initial deviation (Fig.9 red line). When a drill reaches a space (a socket, mesial in this case), the drill is deflected to the least resistant area (Fig.10 a bent red line), leading to the implant deviation apically (Fig.11 green). To prevent the apical deviation, therefore, the roots of the affected tooth is temporarily not removed (Fig.12). The osteotomy should not deviates with surgical guide because of similar density between the tooth and the bone (Fig.13). When the osteotomy is finished (Fig.14), the roots are extracted (Fig.15). The implant to be placed should not have deviation (Fig.16 green). As an extra precaution, take PA when a 2.2 mm drill reaches the depth. If one side of bone relative to the initial osteotomy is higher in position and density, consider using cortical drill early. Also check the osteotomy often with a mouth mirror.
Osteotomy Deviation Last Next Chinese Xin Wei, DDS, PhD, MS 1st edition 05/29/2020, last revision 05/31/2020