No Tap at Grafted Site
Jennifer: Today's case went on well thanks to our repeated
conversation. I have one question: why I had resistance using the last
drill 4.5x10 mm. I had to remove the drill and remove the bone from the
drill and reentered the osteotomy. My heart sank when 4.5 mm cortical
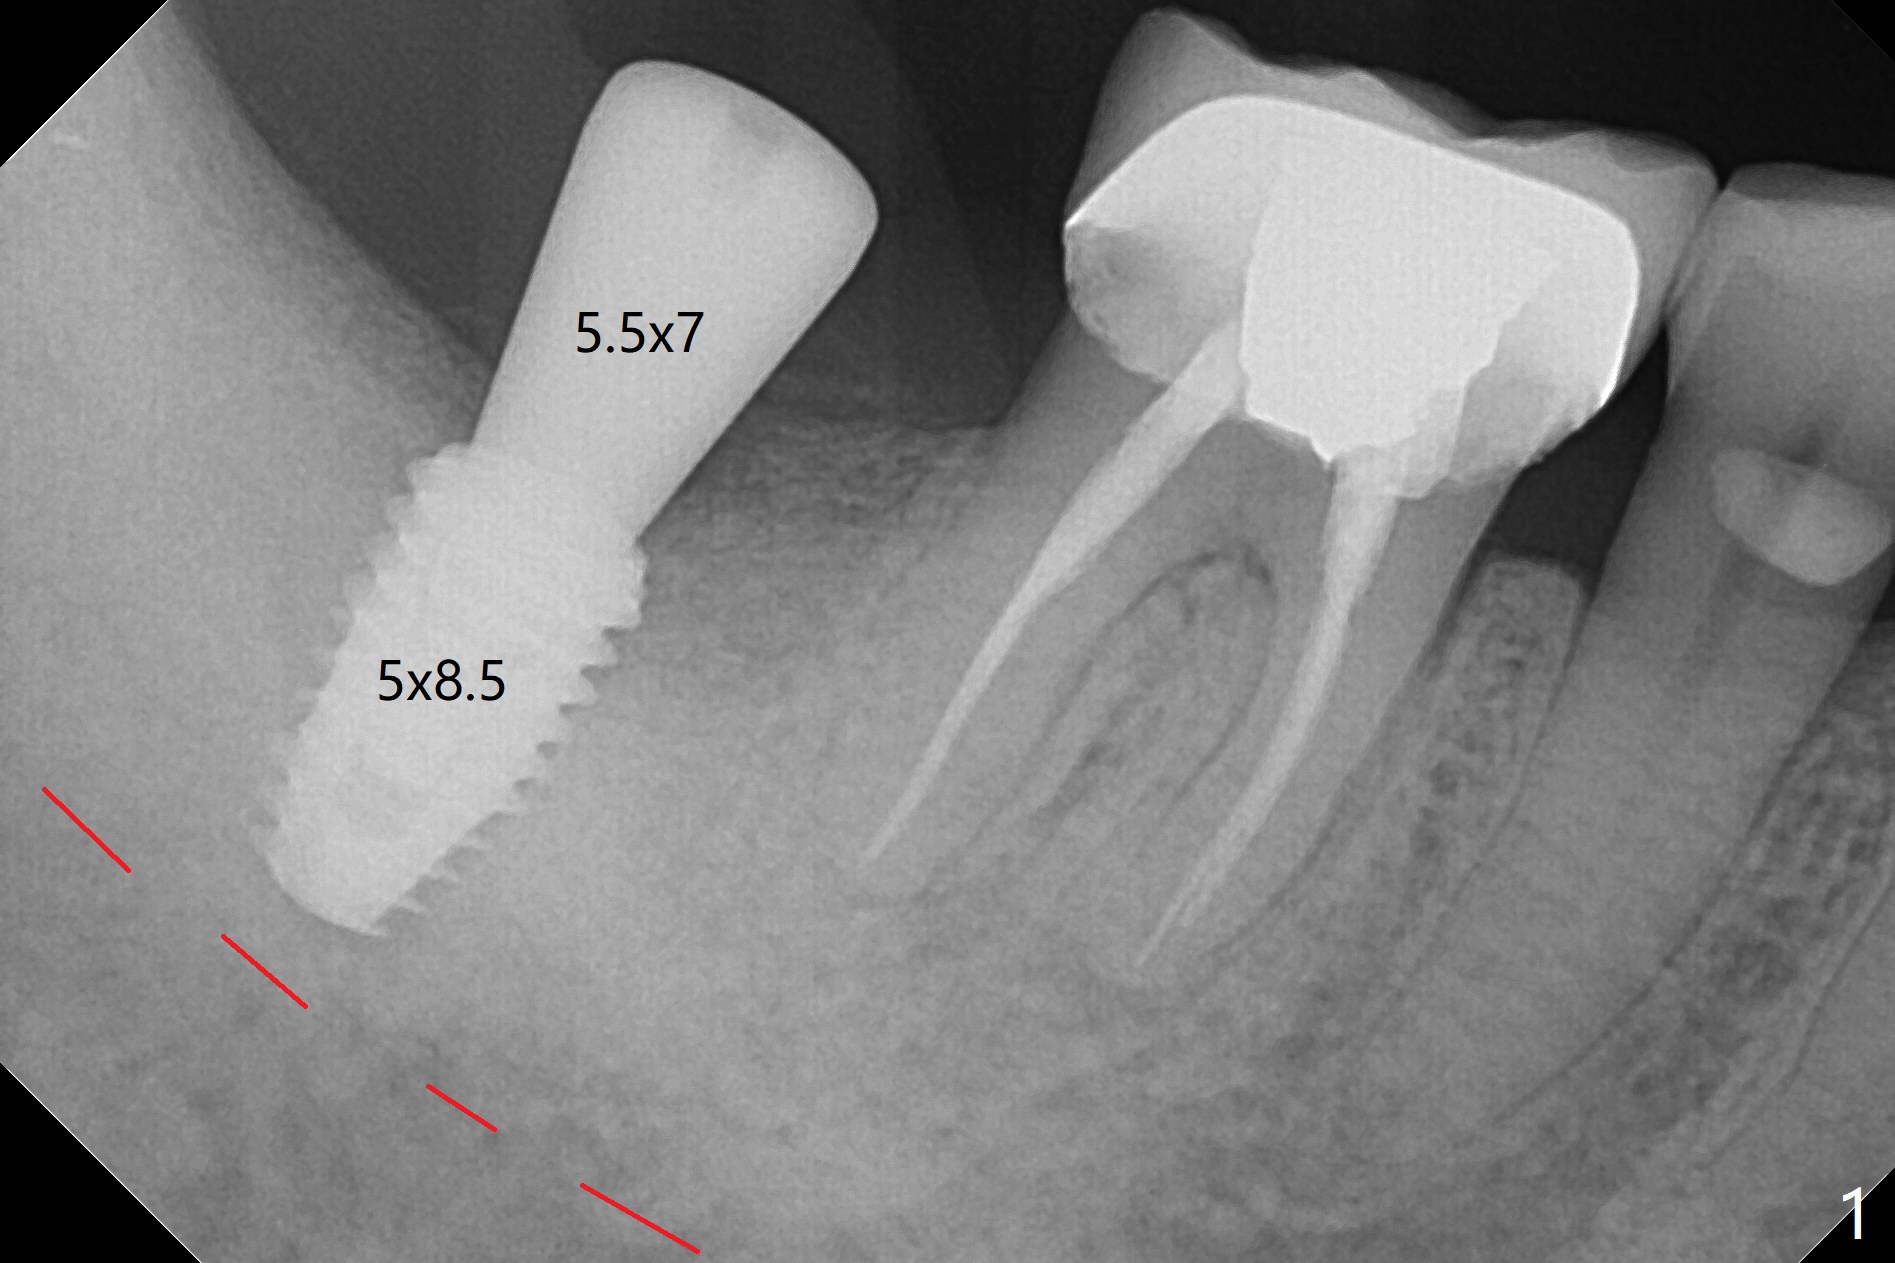
tap (according to drill sequence) had no resistance. Luckily the 5x8.5
mm implant achieved primary stability in the final 1-2 mm. The O-ring
was removed. The implant was then placed ~ .5 mm deeper (~ 40 Ncm)
(Fig.1). Thanks as usual.
It is always my pleasure to hear back from
you.
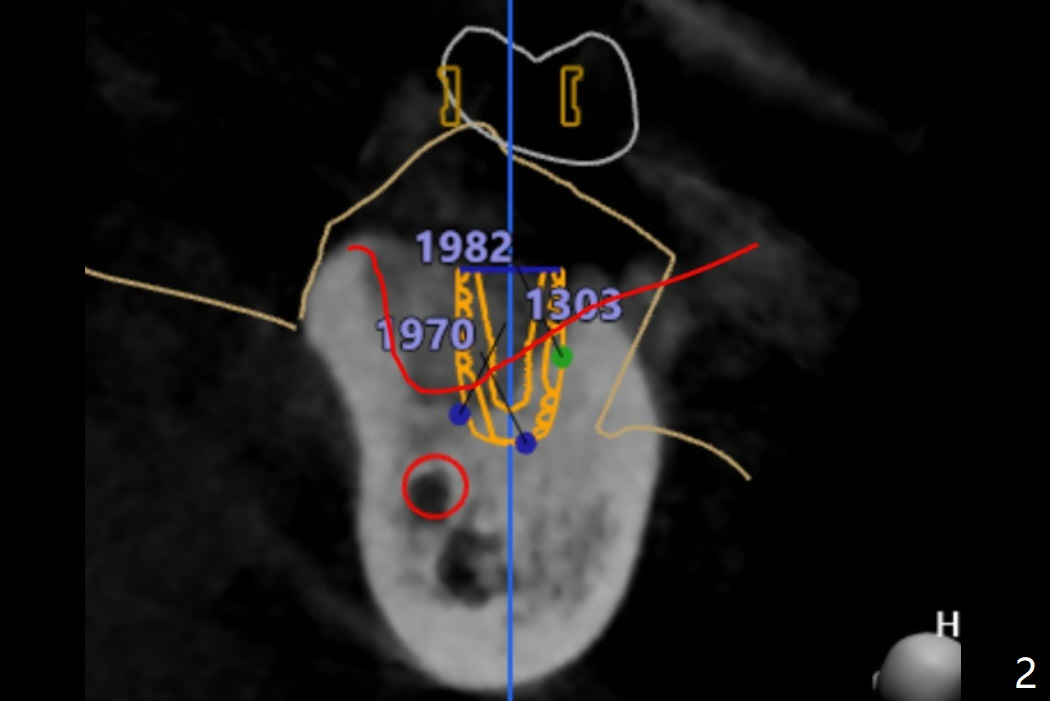
I have reviewed the
planning of Ms.
Pan's case again and I think this picture would help you understand the
reason why (Fig.2).
When you look at the bottom part divided by the red line. It is very dense
bone. However when I looked at the upper part from the red line even it
showed high HU around 1000, but still as it is grafted bone, it may have not
had the actual fixing stability at the top. That's why you might have felt
that tapping which goes down 3mm at the top for the cortical bone has low
resistance.
However, those white dense part at the apex helped to hold the implant
firmly to achieve the torque.
So to answer your questions,
why I had resistance using the last drill 4.5x10mm. I had to remove the
drill and remove the bone from the drill and reentered the osteotomy. That
part you felt high resistance was the dense bone you got the fixation from.
And for those dense part, those bone comes out inside the blade of osteotomy
drill and like you did, scrape it out and if necessary, you may redo the
drilling. Dr. Heo, the founder of the Neobiotech does that too. Jennifer
The implant, apparently having been osteointegrated 5.5 months postop
(Fig.3), was placed deep, probably related to pressing the distal end of the
guide too heavily. It is difficult to take impression with use of a 5.2x5.5(5) mm
abutment.
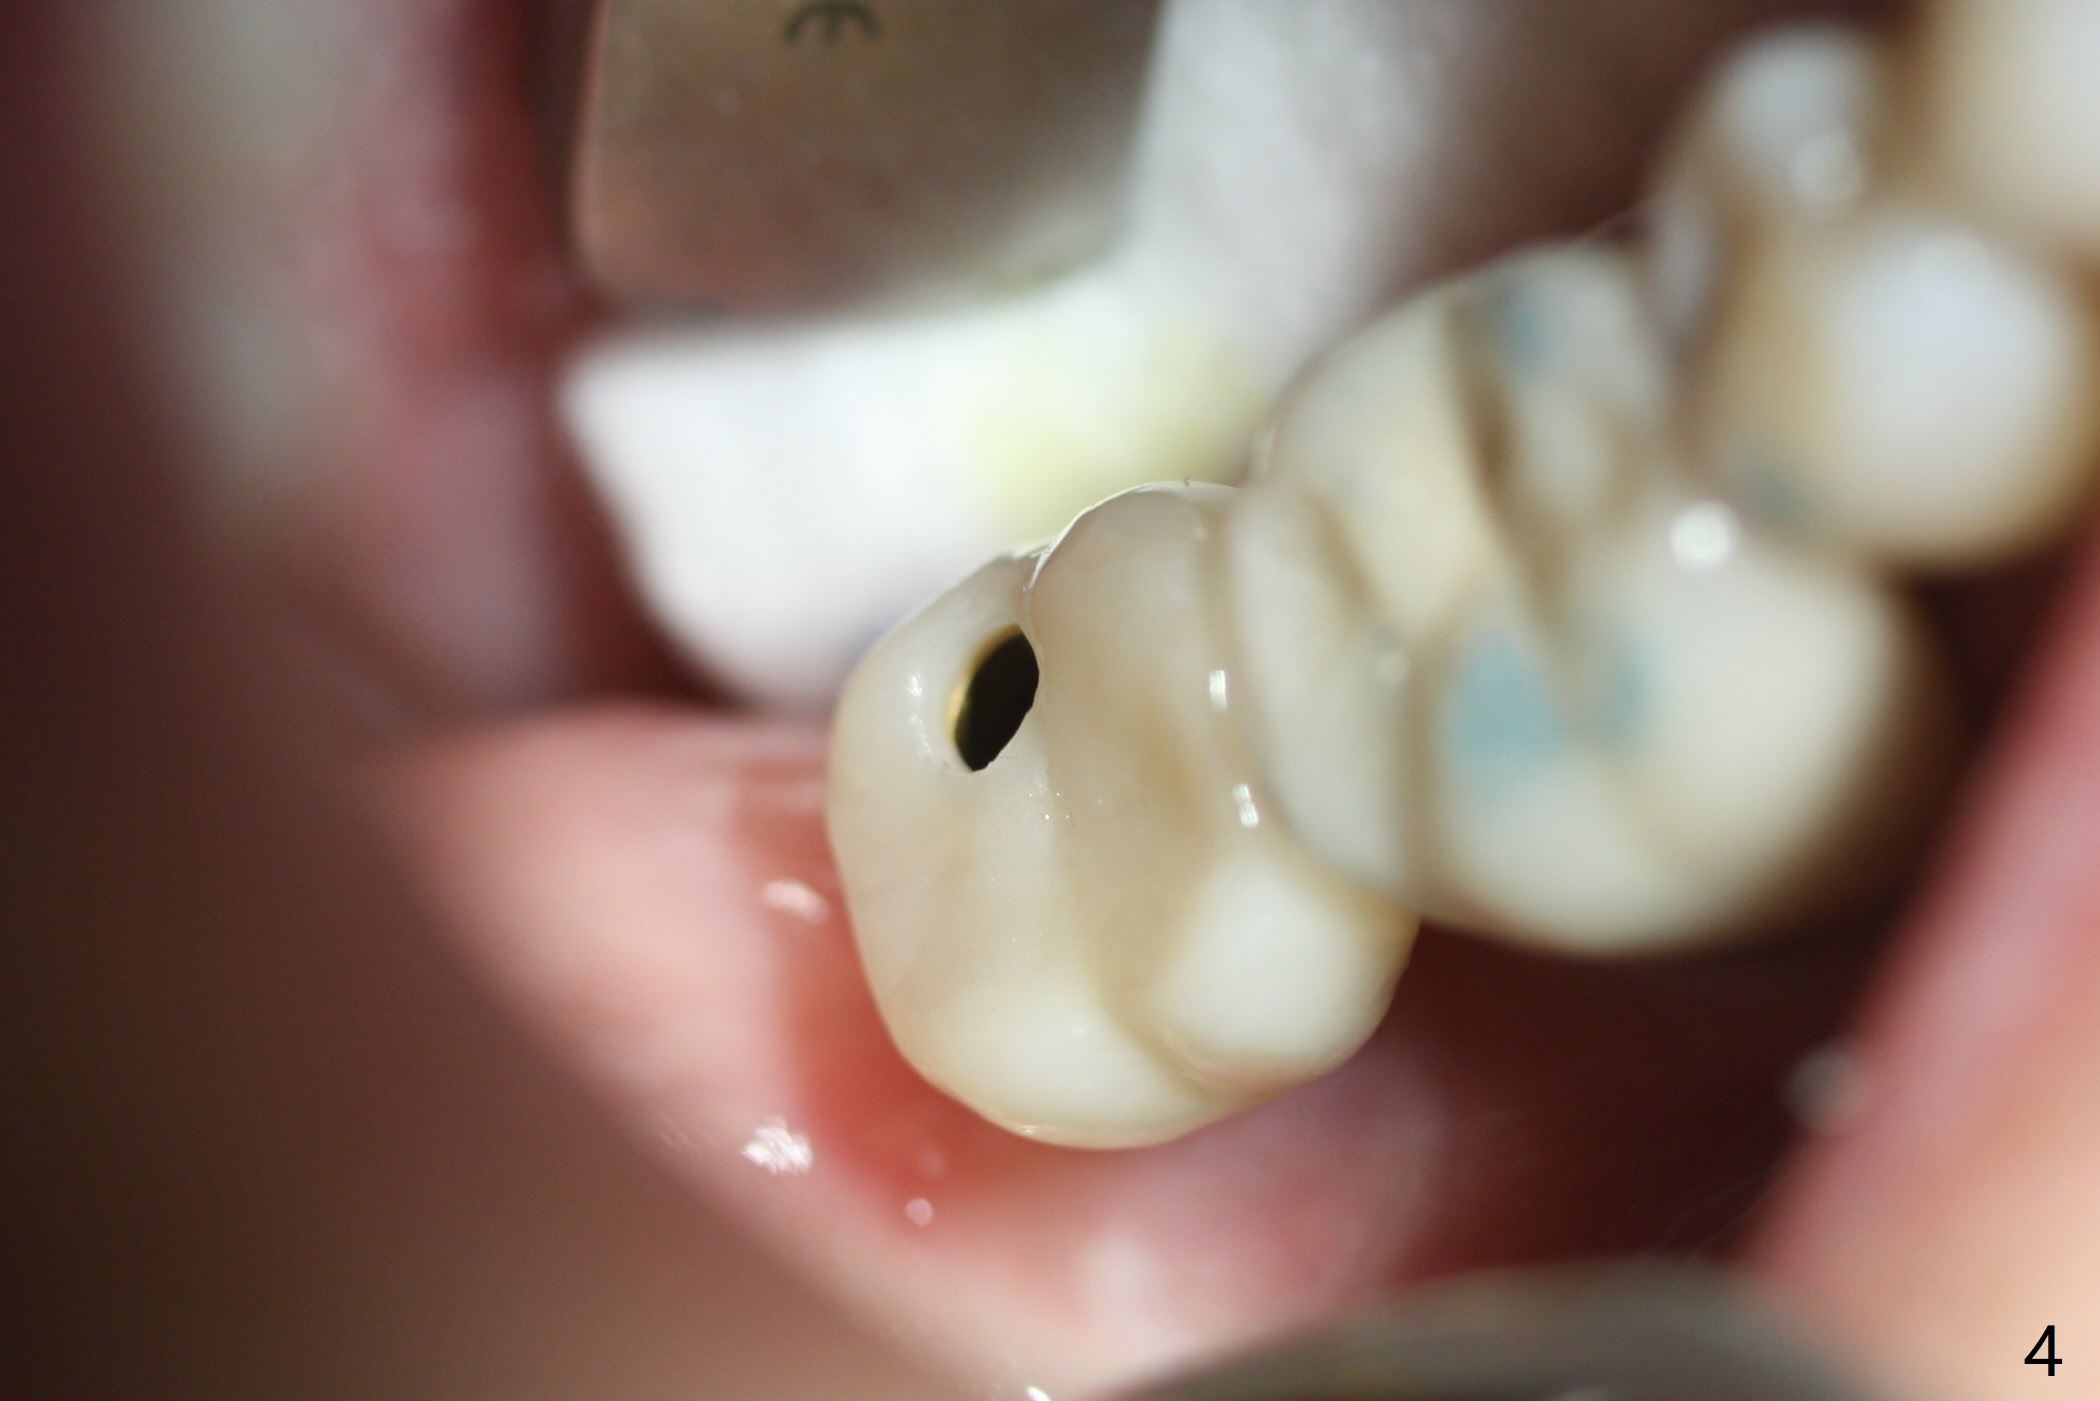
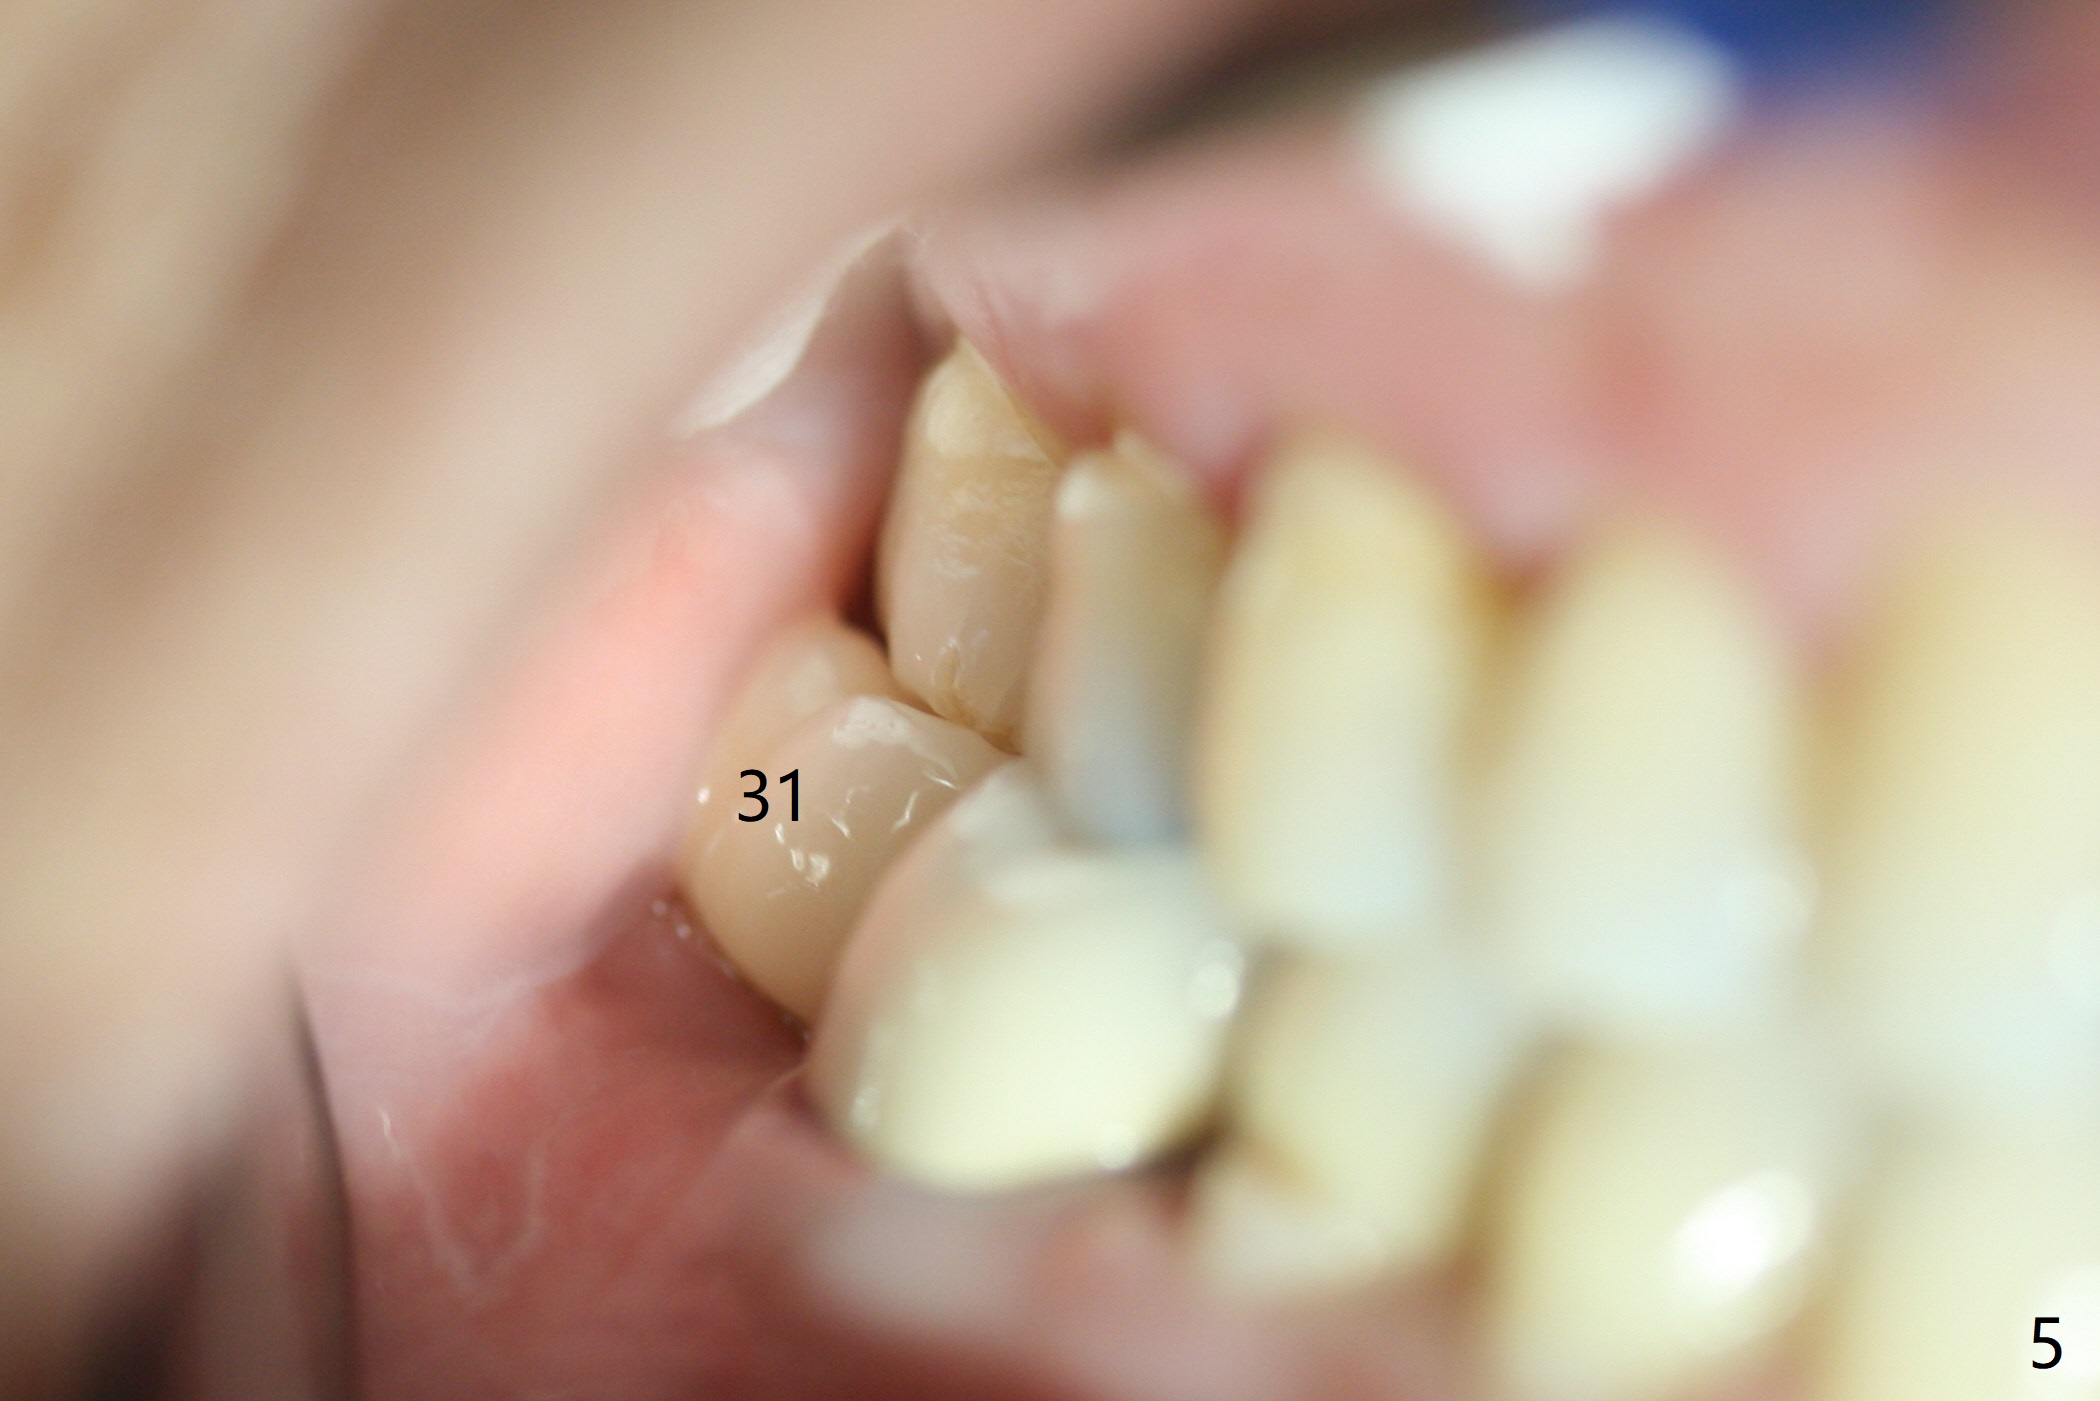
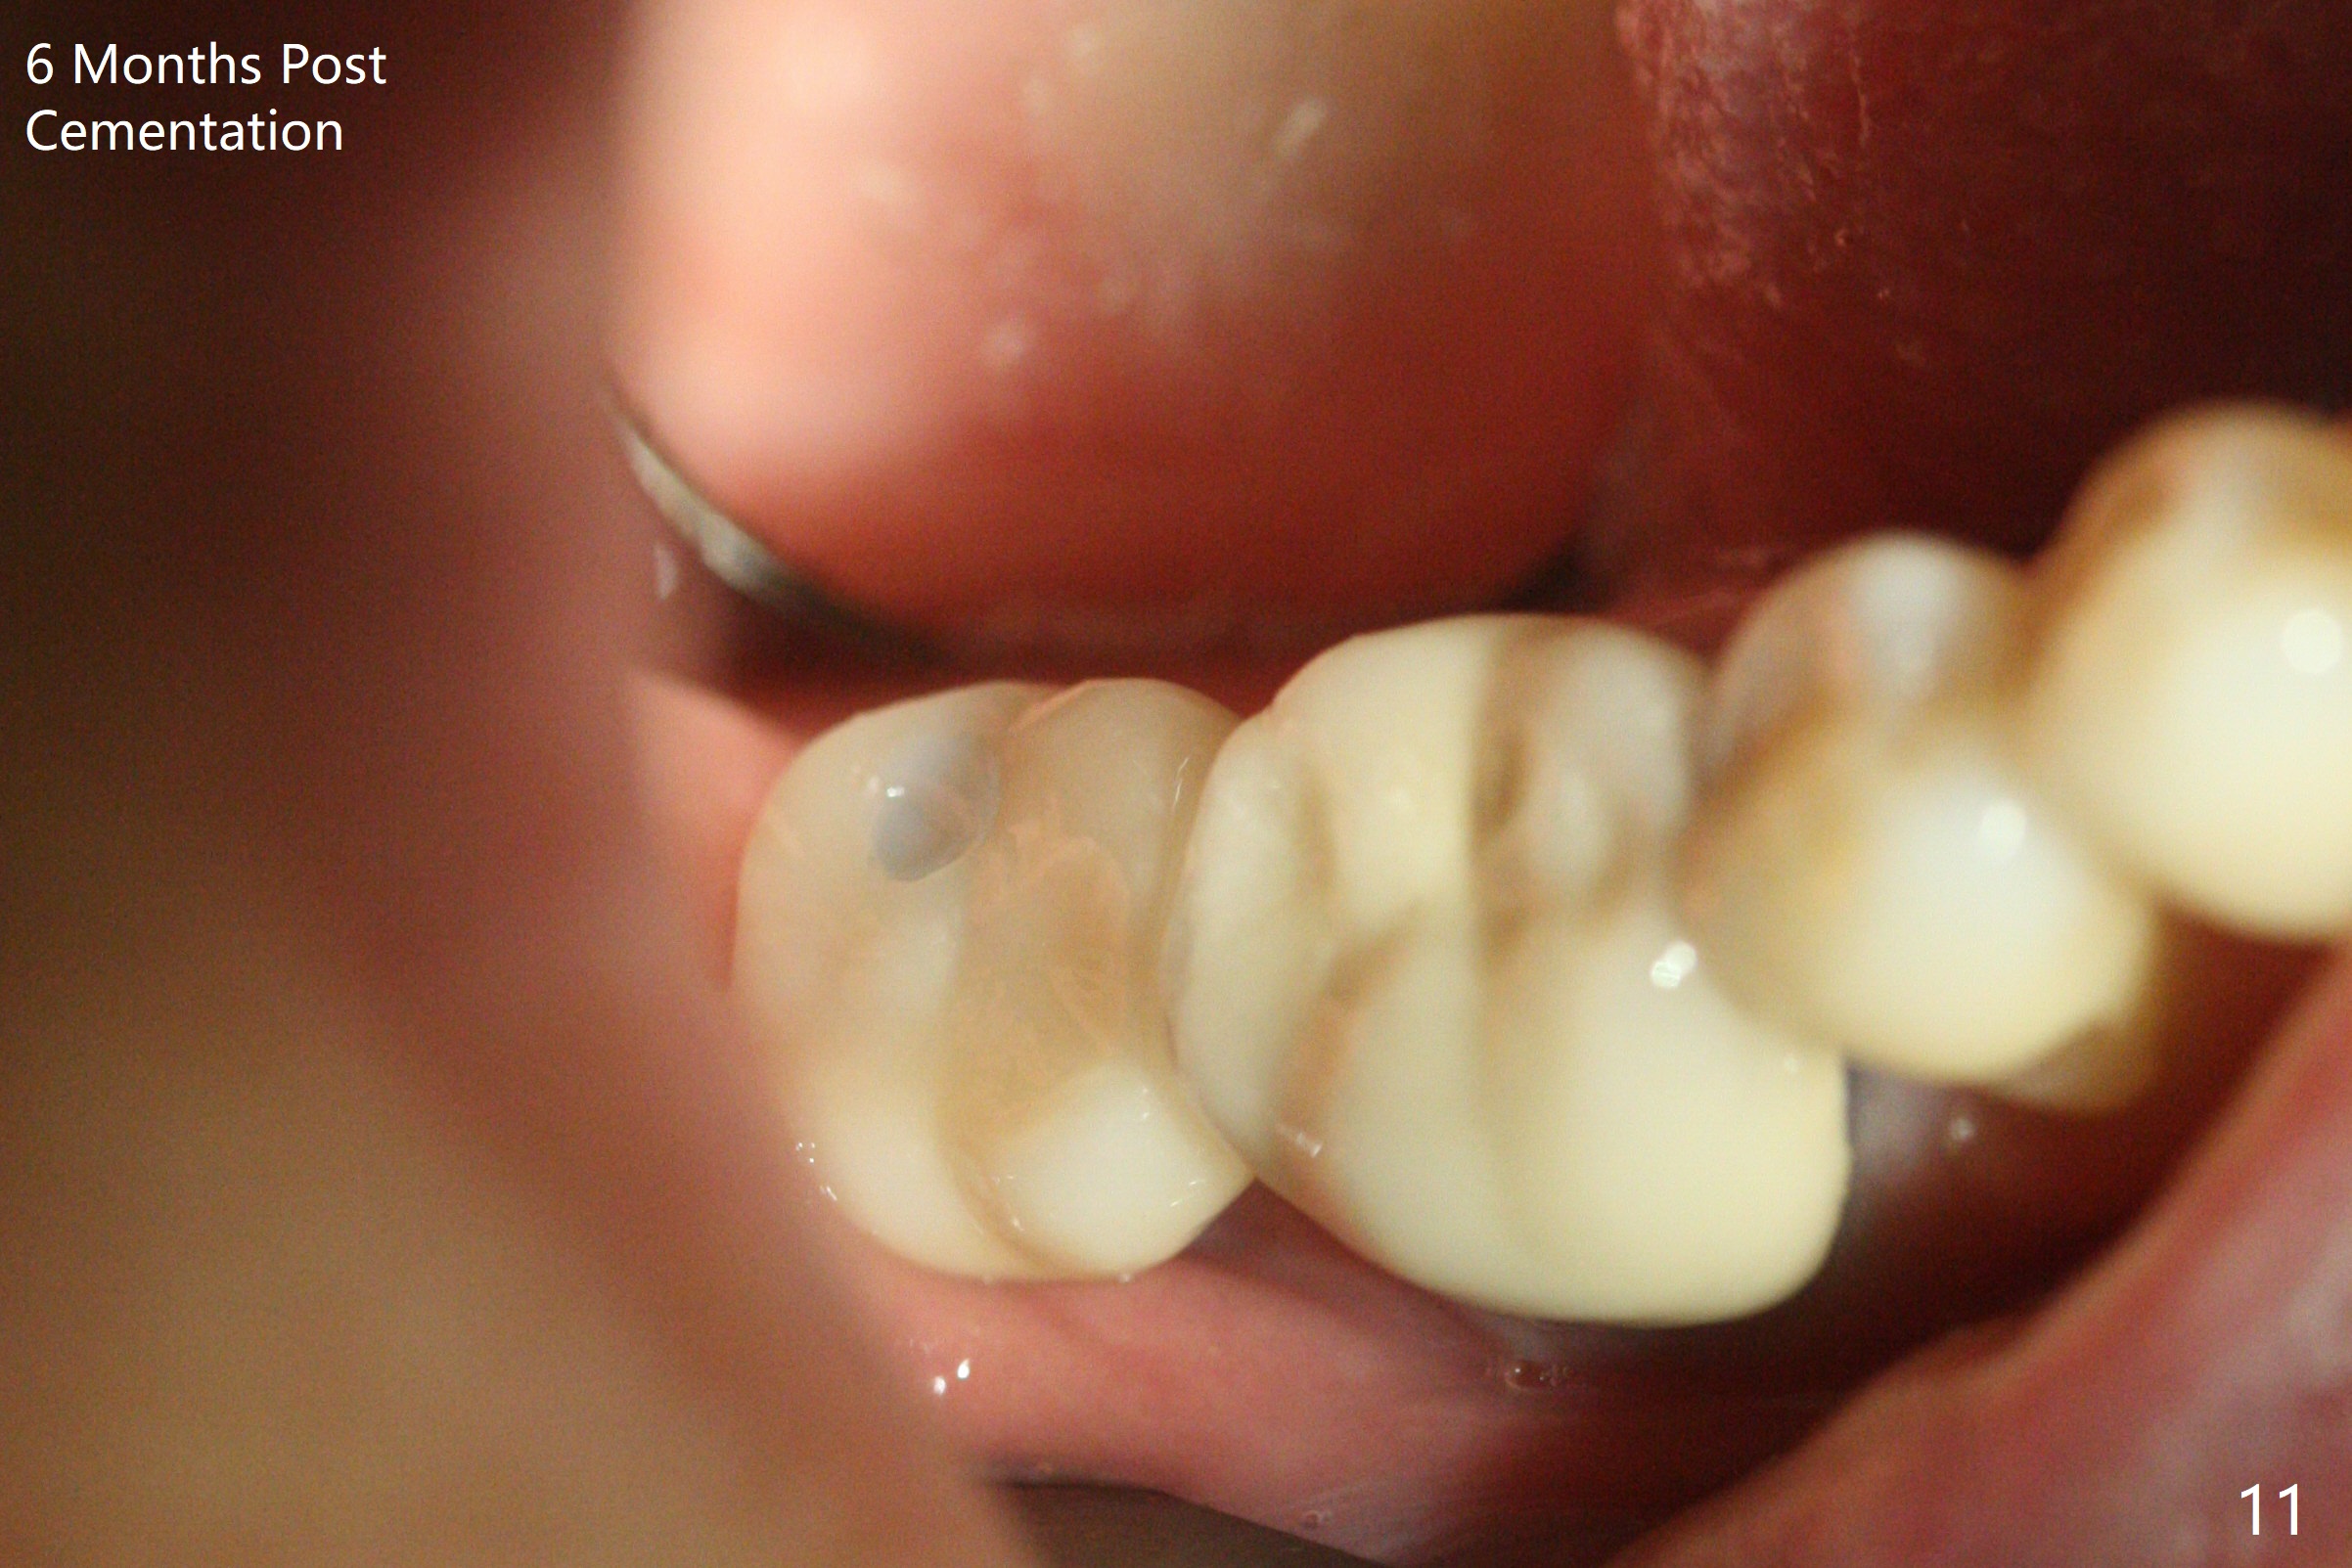
The access hole is
distolingual (Fig.4). The
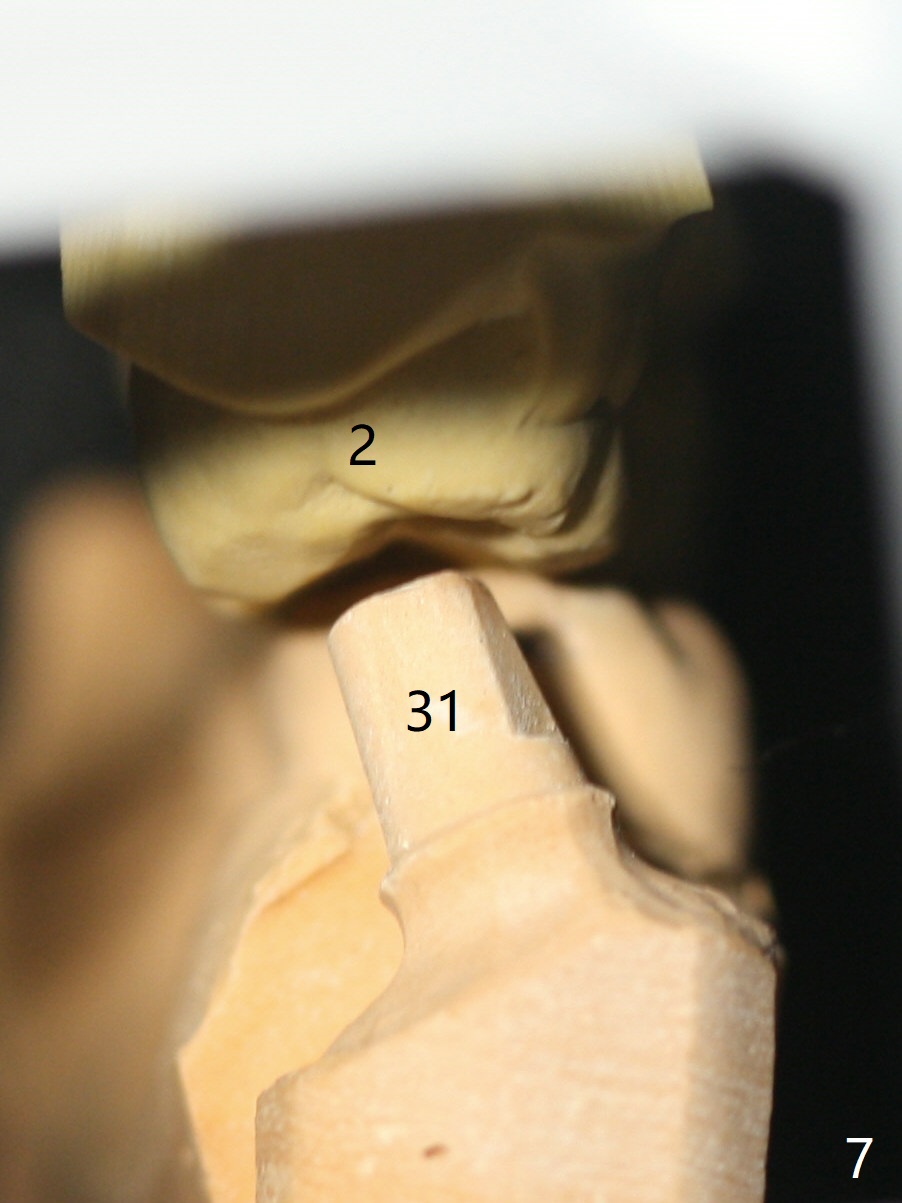
abutment screw has increased chance of loosening. Cross bite at #31 is
related to the lingualized access hole (Fig.5,7).
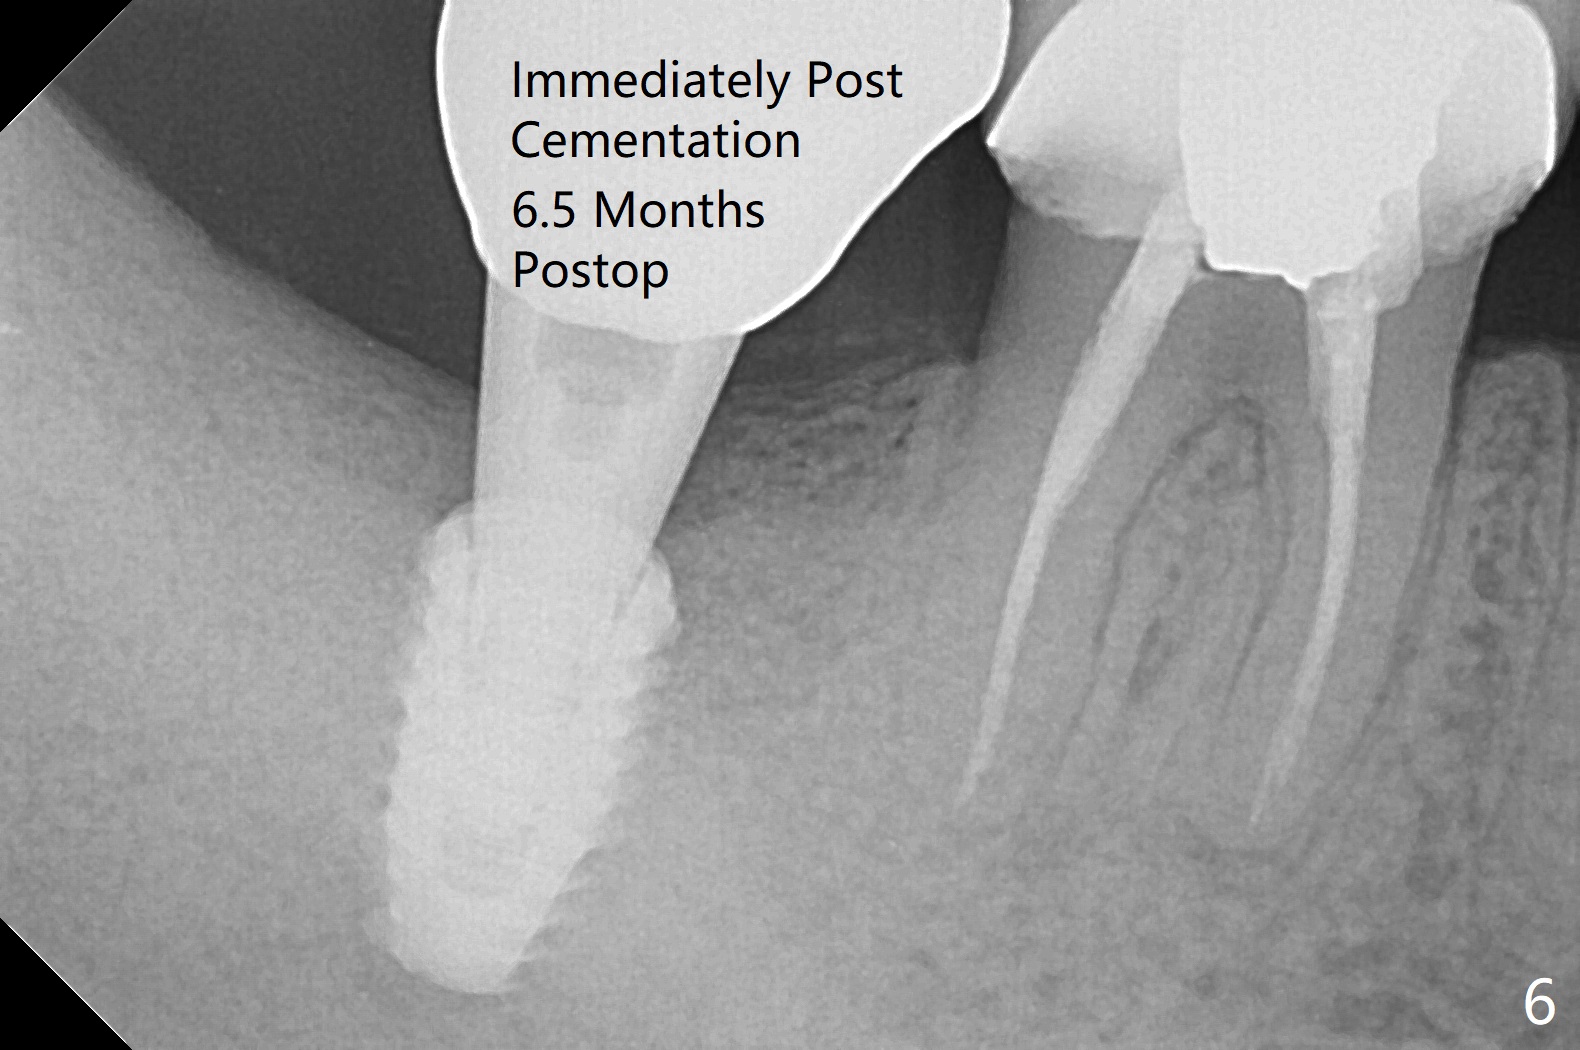
It is essential to check the occlusion clinically and in the lab prior to guide
design. Immediately post cementation PA confirms the implant distal placement (Fig.6).
Jennifer:
It seems like the implant has been placed according to the planning.
And let's not tap it for the grafted area. I see
the same bone density but the different contrasts on the CT data. So I will
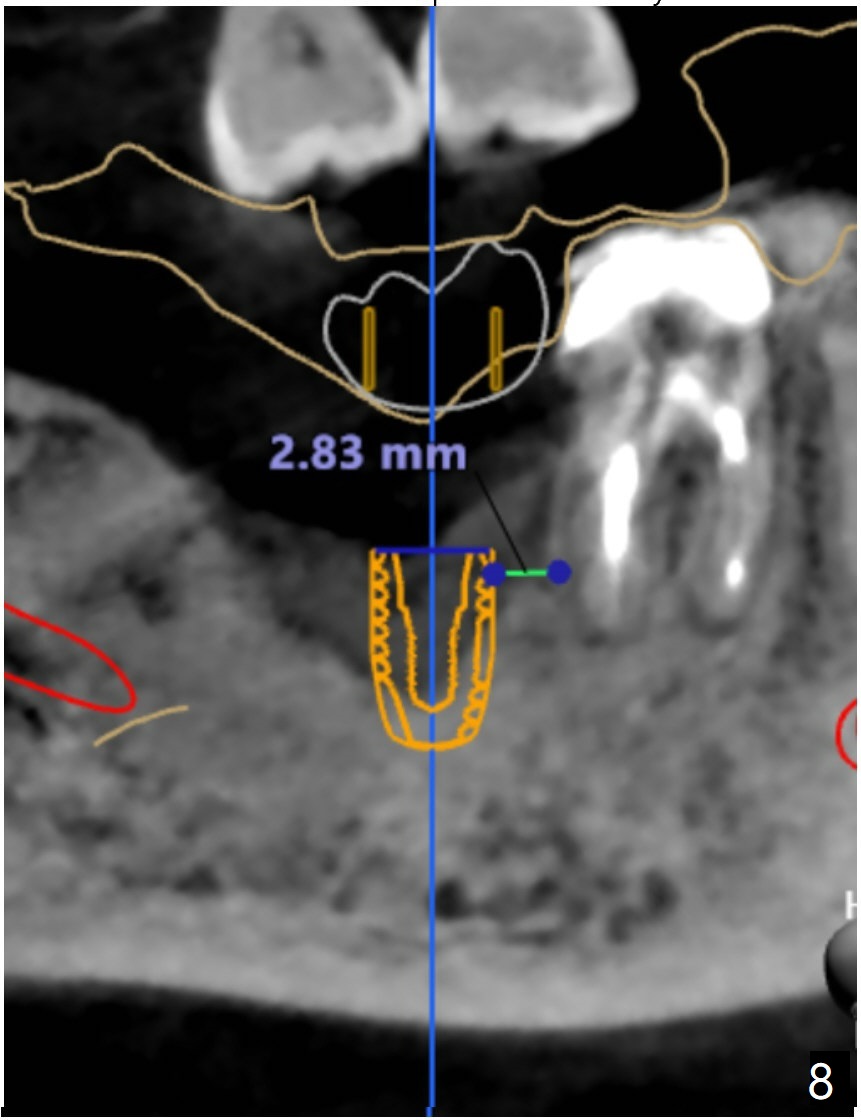
make sure to include that on the sequence next time. For the distalized
position, I don't think it is distalized that much because it is good to
have at least 2-3mm distance between implant to the nature root. I've
measure it and it was 2.83mm in between (Fig.8). But we can make this space
narrower if you want.
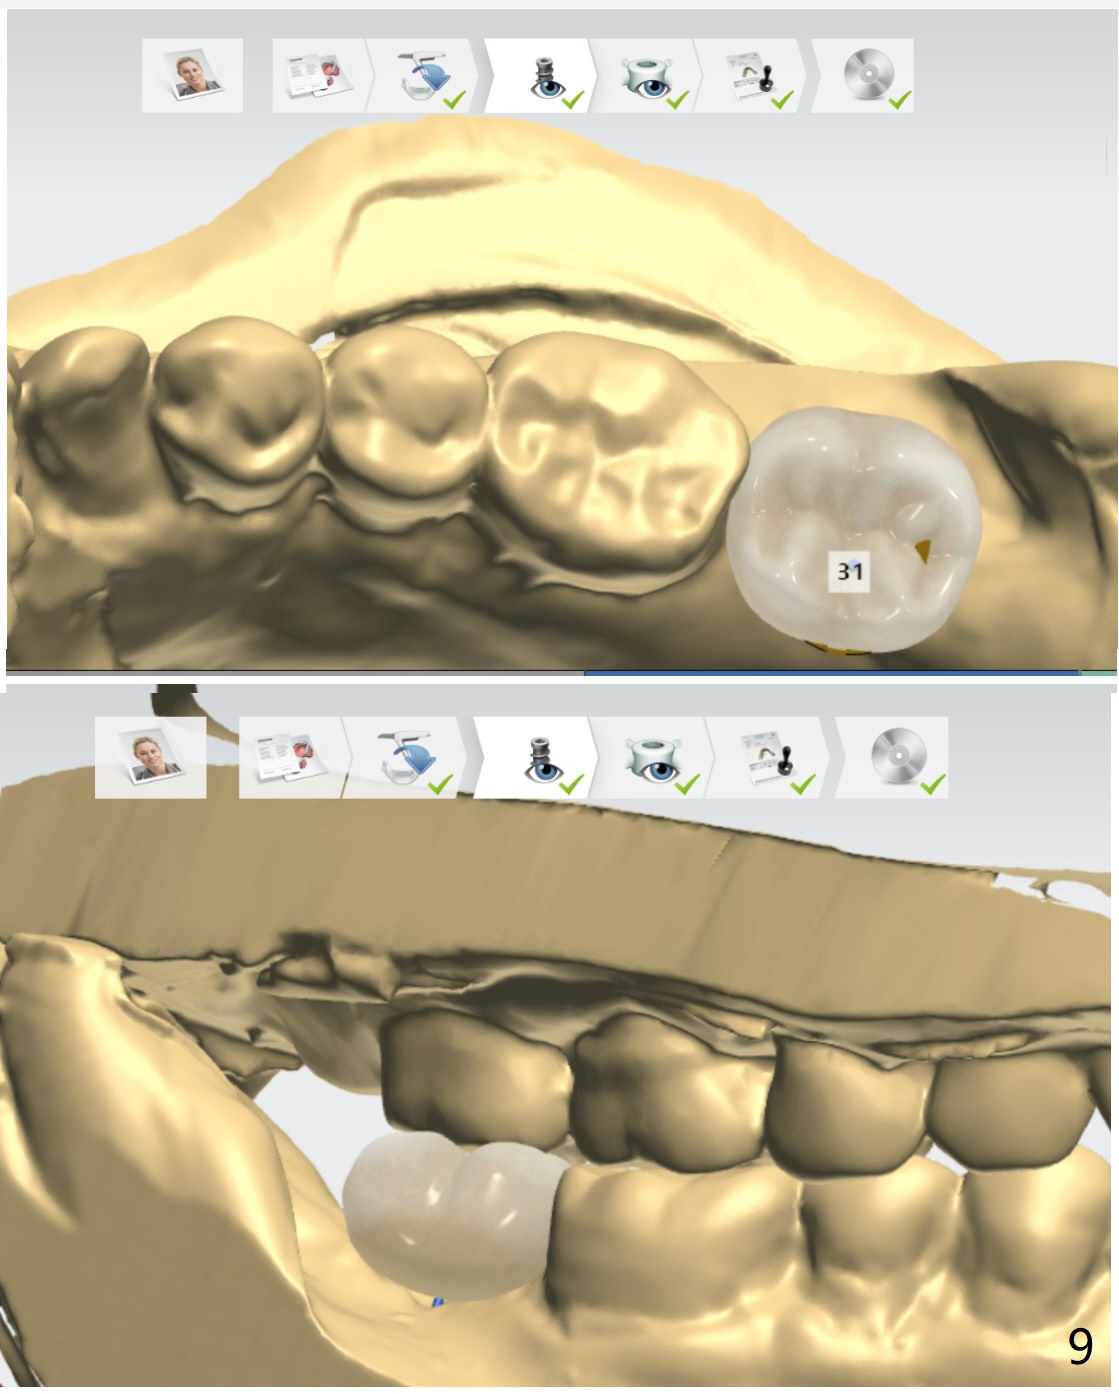
Final restoration quite looks like the provisional. Here're the screenshots
(Fig.9)
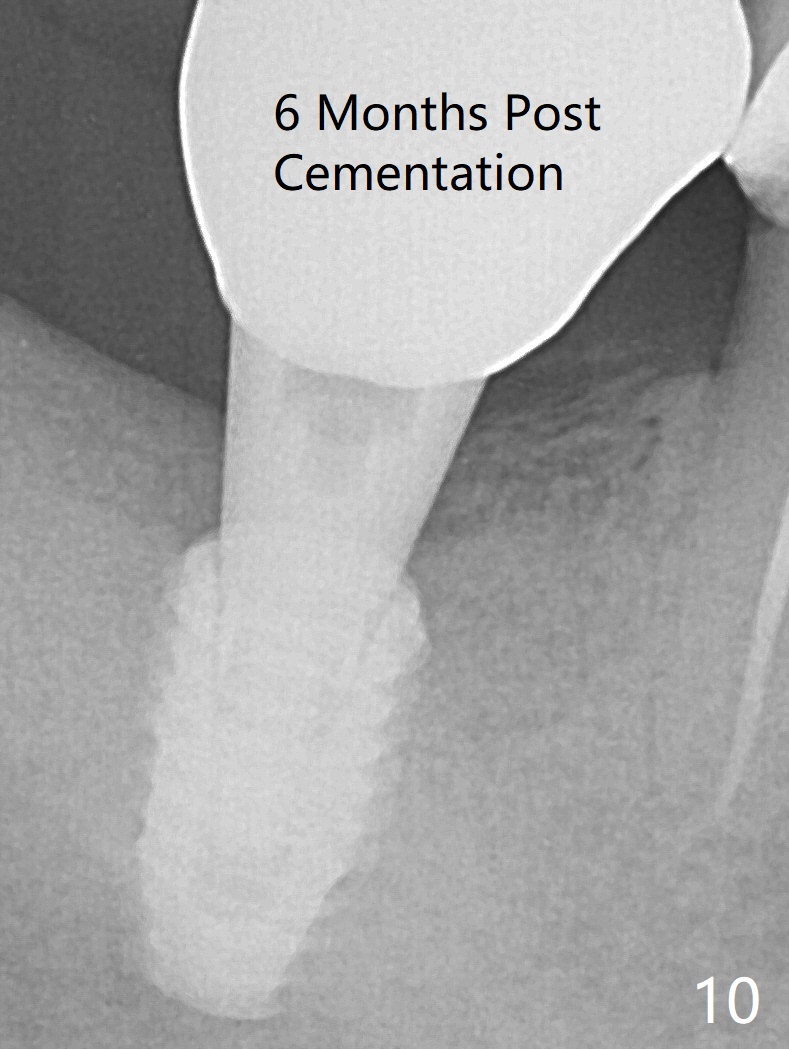
The trajectory is not right, since no matter how
the sensors are placed, the implant threads cannot be shown clearly (Fig.10), in
consistence with the distolingual access hole (Fig.11).
Return to
Lower
Molar Immediate Implant,
Armaments Xin Wei, DDS, PhD, MS 1st edition 05/01 /2018, last revision
05/29/2019
.jpg)