 |
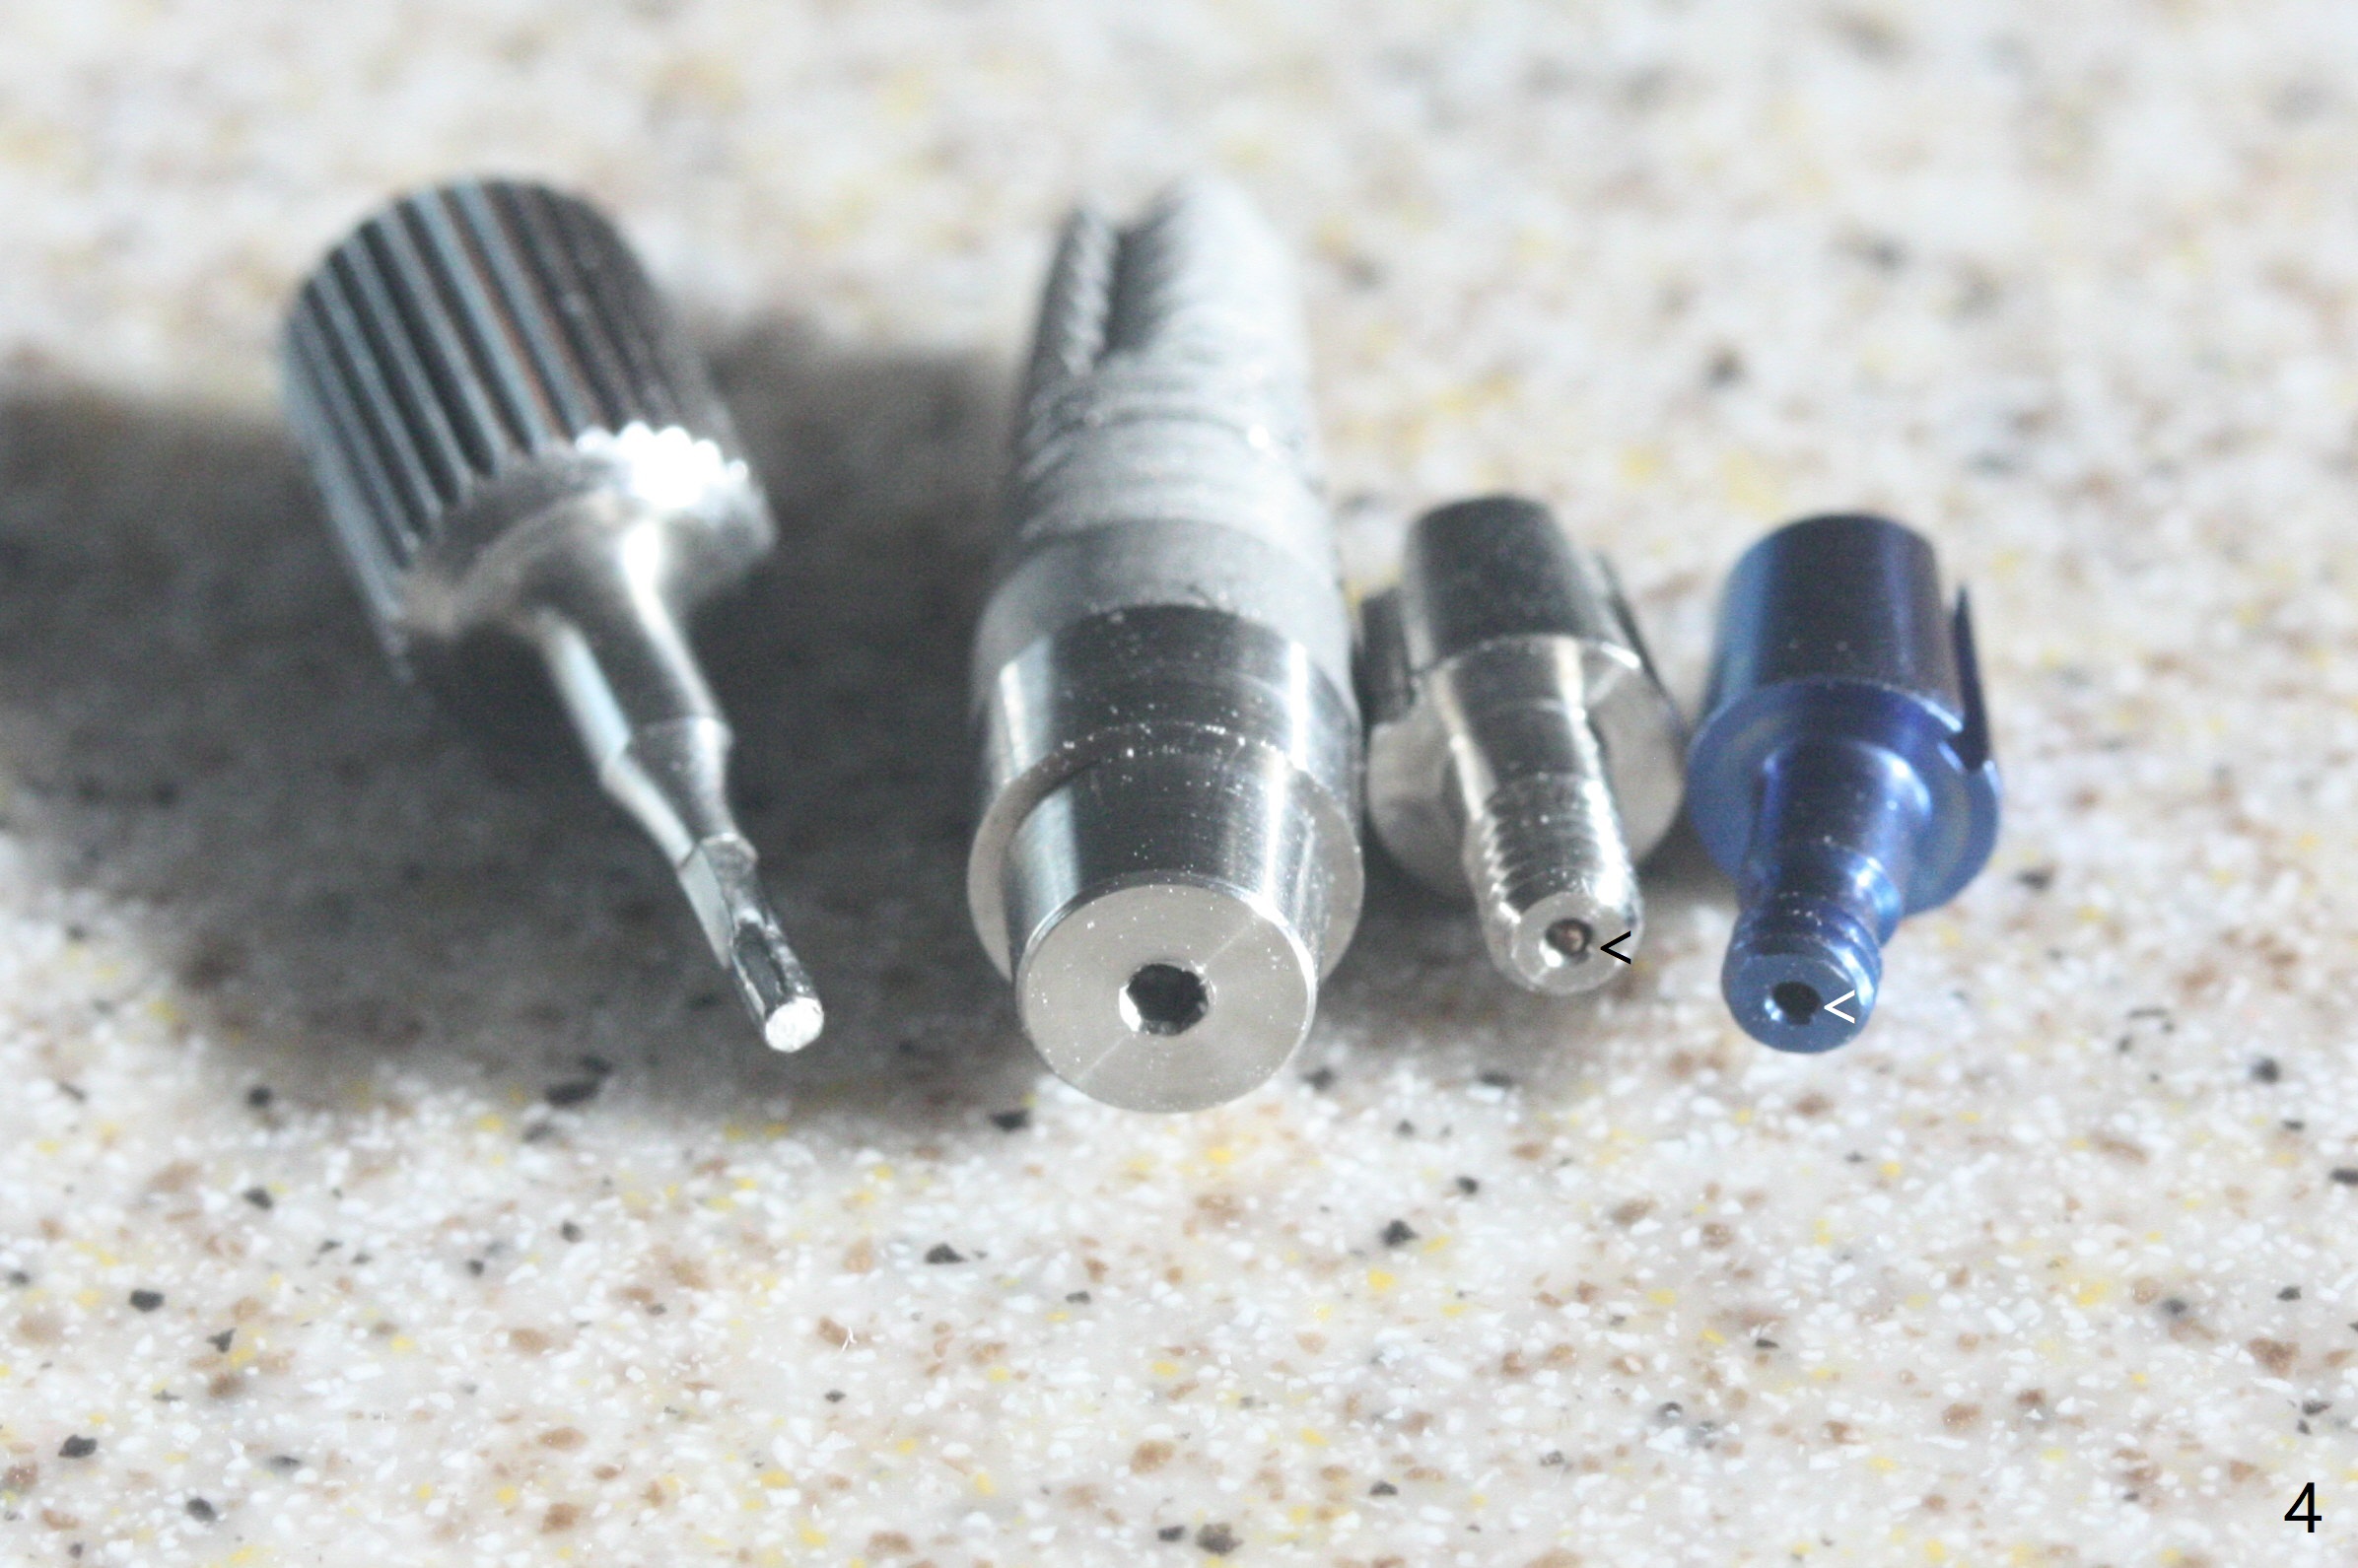
Tighten the abutment counterclockwise; to loosen it clockwise (Fig.4). It should be done with the fingers. To loosen the angled abutment, slightly drag the abutment from the implant using the driver. In Fig.4, the 5x3 mm abutment is seated in the implant well, while the other abutments turn upside down to show the escape holes (<). Choose the longer abutment for better retention. Excess length could be trimmed next. Apply a cement (better Calibra, Paneveria or RelyX Ultimate Adhesive Resin Cement, syringe) into the implant well (half full). Turn the preferred abutment counterclockwise until it is tight for the straight one (abutment). For an angled abutment, turn it into the desired position/angle and cure 5 second. Remove excess cement and cure another 20 second, as instructed by manufacture. When a straight abutment is turning tight, excess cement escapes between the space between the implant and abutment. Sometimes the excess cement enters the escape hole and channel and push the abutment driver out of the coronal end of the abutment into the oral cavity. It is the best to tie a piece of dental floss to the driver hole (Fig.3 *). The connection between the angled abutment and implant is looser (cement is critical. Adhesive one is required). Dislodgement of the abutment driver is rare.
Xin Wei, DDS, PhD, MS 1st edition 07/11/2020, last revision 07/11/2020