|
|
|
|
|
|
|
|
|
|
||
|
|
|
|
||
|
|
|
|
||
Apparent Nasal Floor Perforation
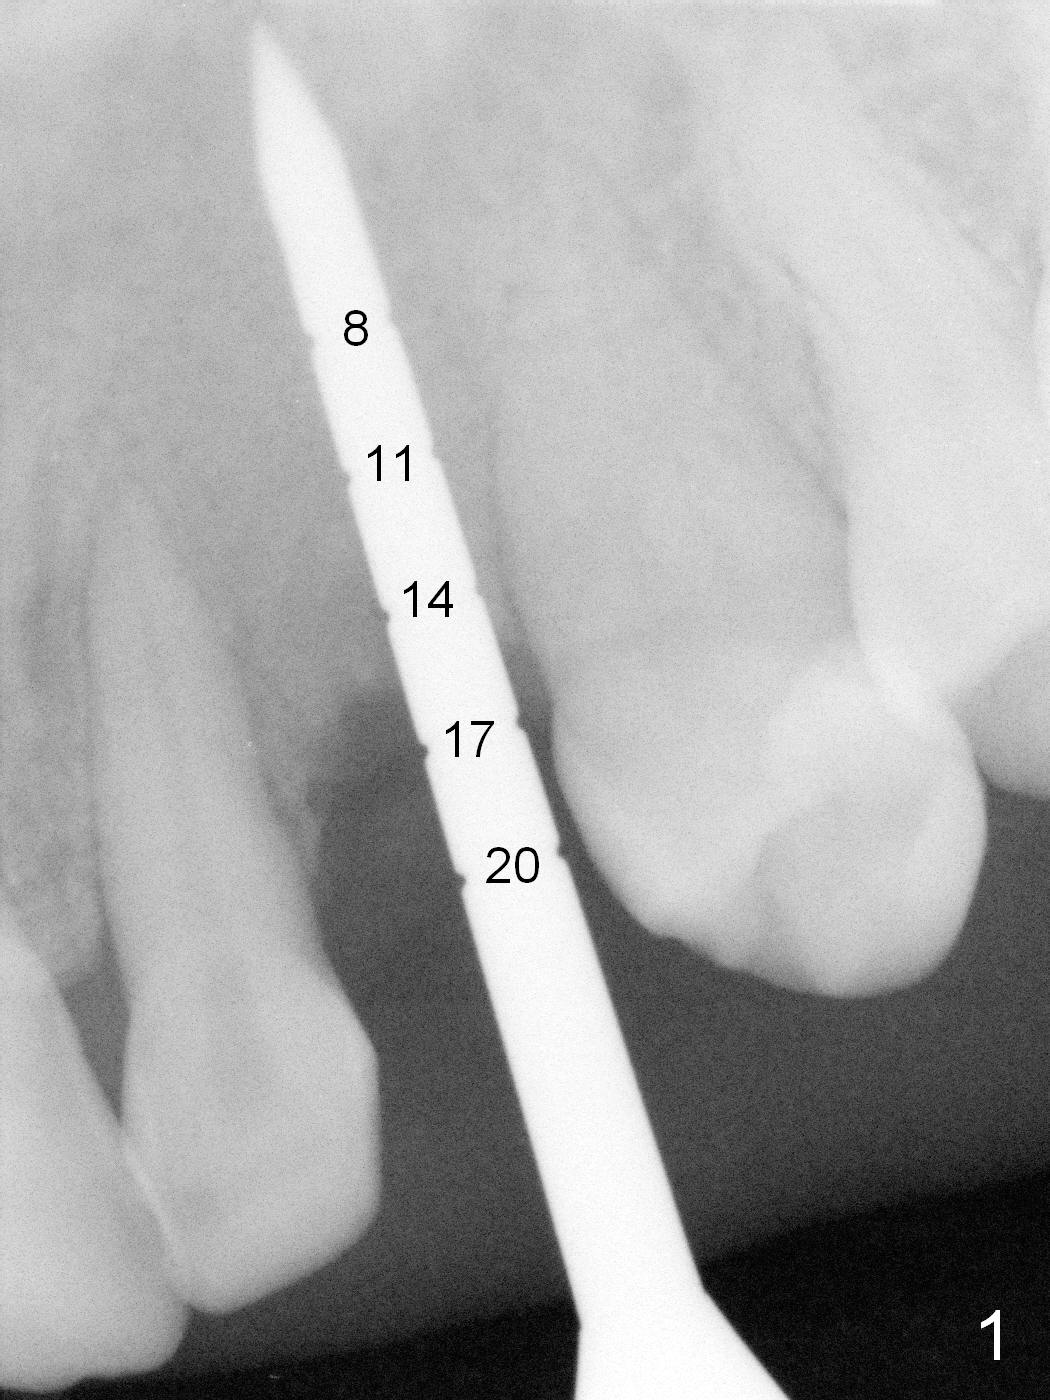
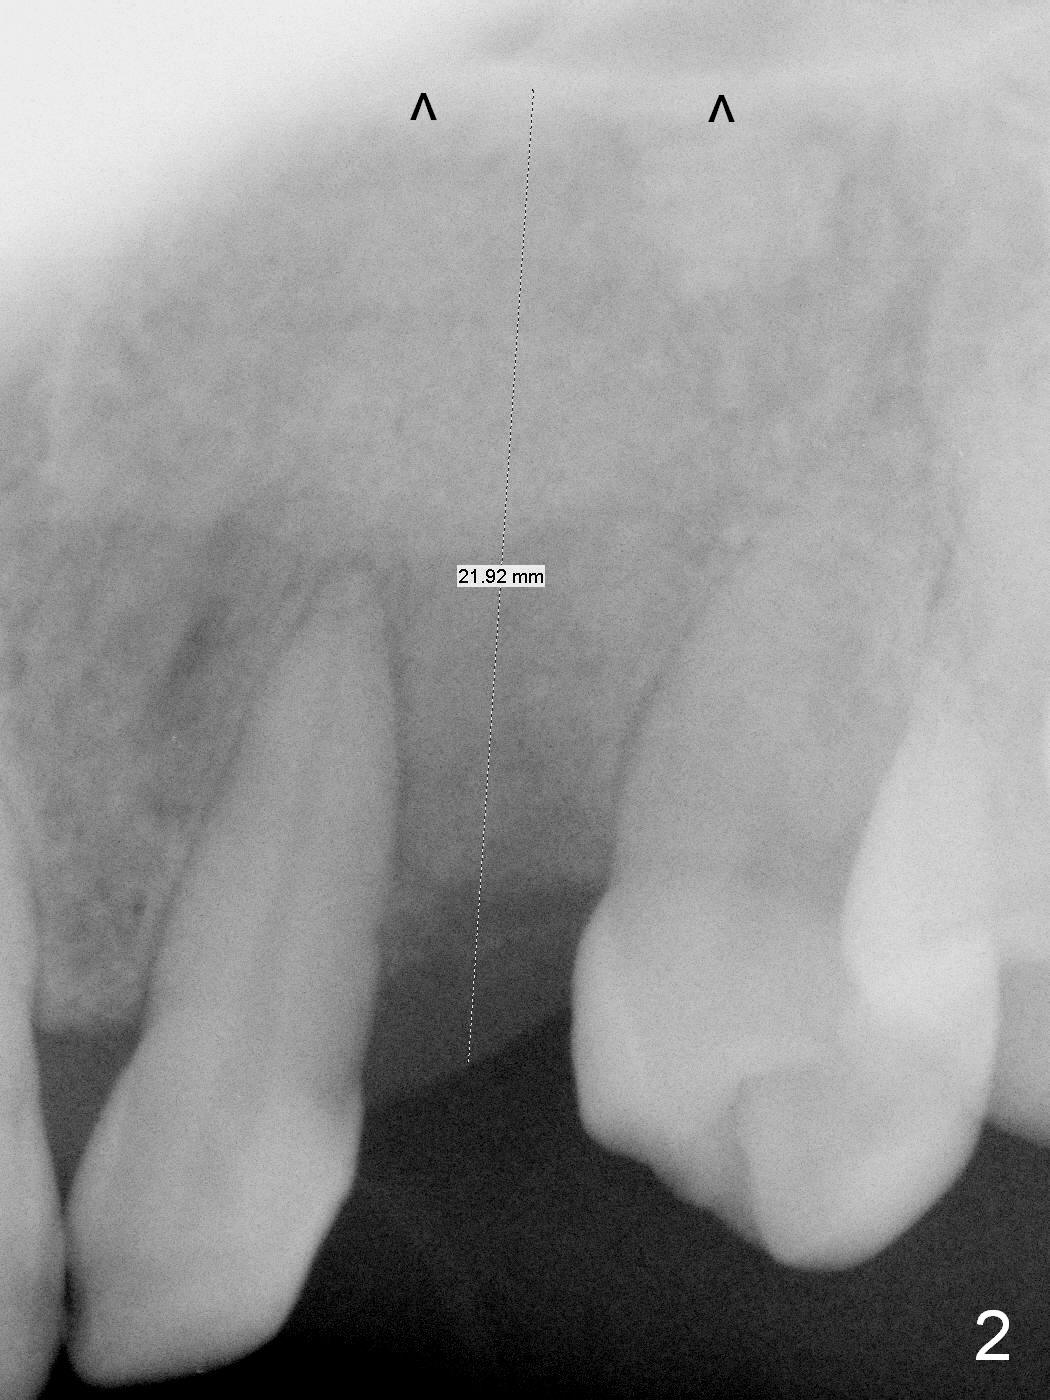
The ridge looks wide clinically 4 months post implant removal and socket preservation. In fact, the graft bone is soft and the ridge is narrow after incision. It appears that an angled 1 piece implant is an indication. A 1.2 mm pilot drill is used to start osteotomy. At approximately 17 mm, the patient feels pain. The nasal floor perforates? A 2 mm osteotome is utilized to enlarge the osteotomy. At 17 mm, the osteotome is stable (Fig.1), but the nasal floor appears out of view. Review of the preop PA shows that the distance between the gingival margin and the nasal floor (arrowheads) is ~22 mm (Fig.2). It should be safe and necessary to place a 3x20 mm 1-piece implant with 15° angulation. Insertion torque is between 40 and 45 Ncm.
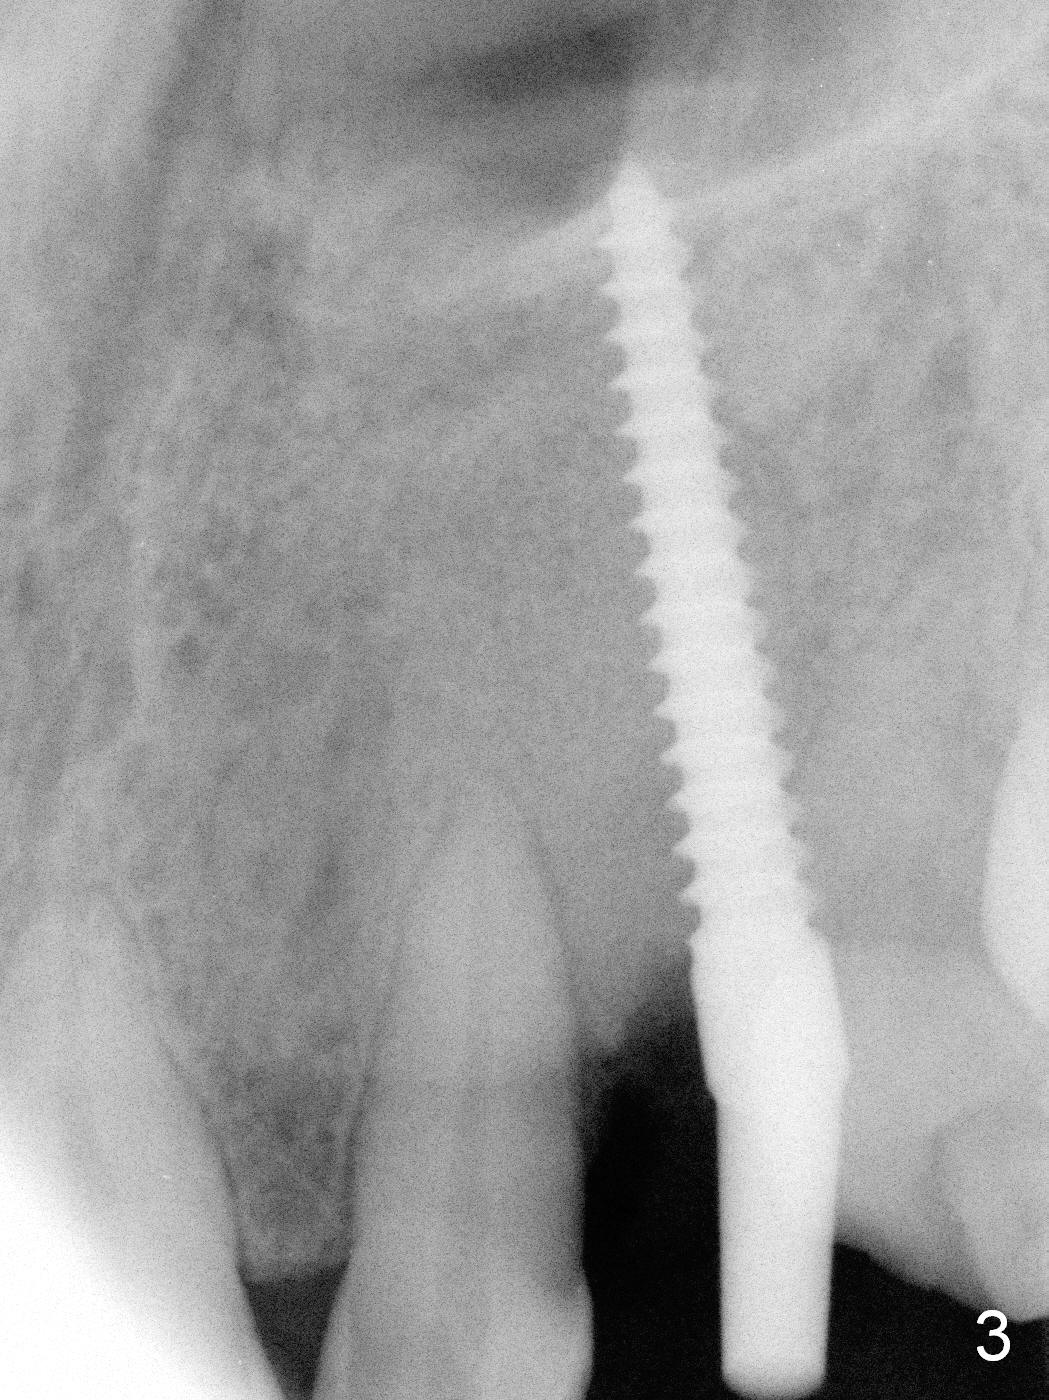
Intraop PA shows that the nasal floor is perforated (Fig.3). The patient experiences bilateral nasal obstruction. Sneezing produces trace of hemorrhage from the left nostril and large amount of secretion from both nostrils. The nasal speculum is misplaced in the clinic. Clinical nasal floor perforation cannot be confirmed. After abutment preparation, an immediate provisional is fabricated. Afrin is prescribed. Post-op instruction includes continuing Amoxicillin and Chlorhexidine rinse. A few hours postop, the patient reports no abnormality.
If nasal symptoms develops before osteointegration, the implant will be removed, the apex is sectioned and the rest of implant is to return. If the nasal symptoms develops after osteointegration, a vestibular incision is made, raise the soft tissue of the nasal floor, remove the apex of the implant that sticks into the nasal cavity.
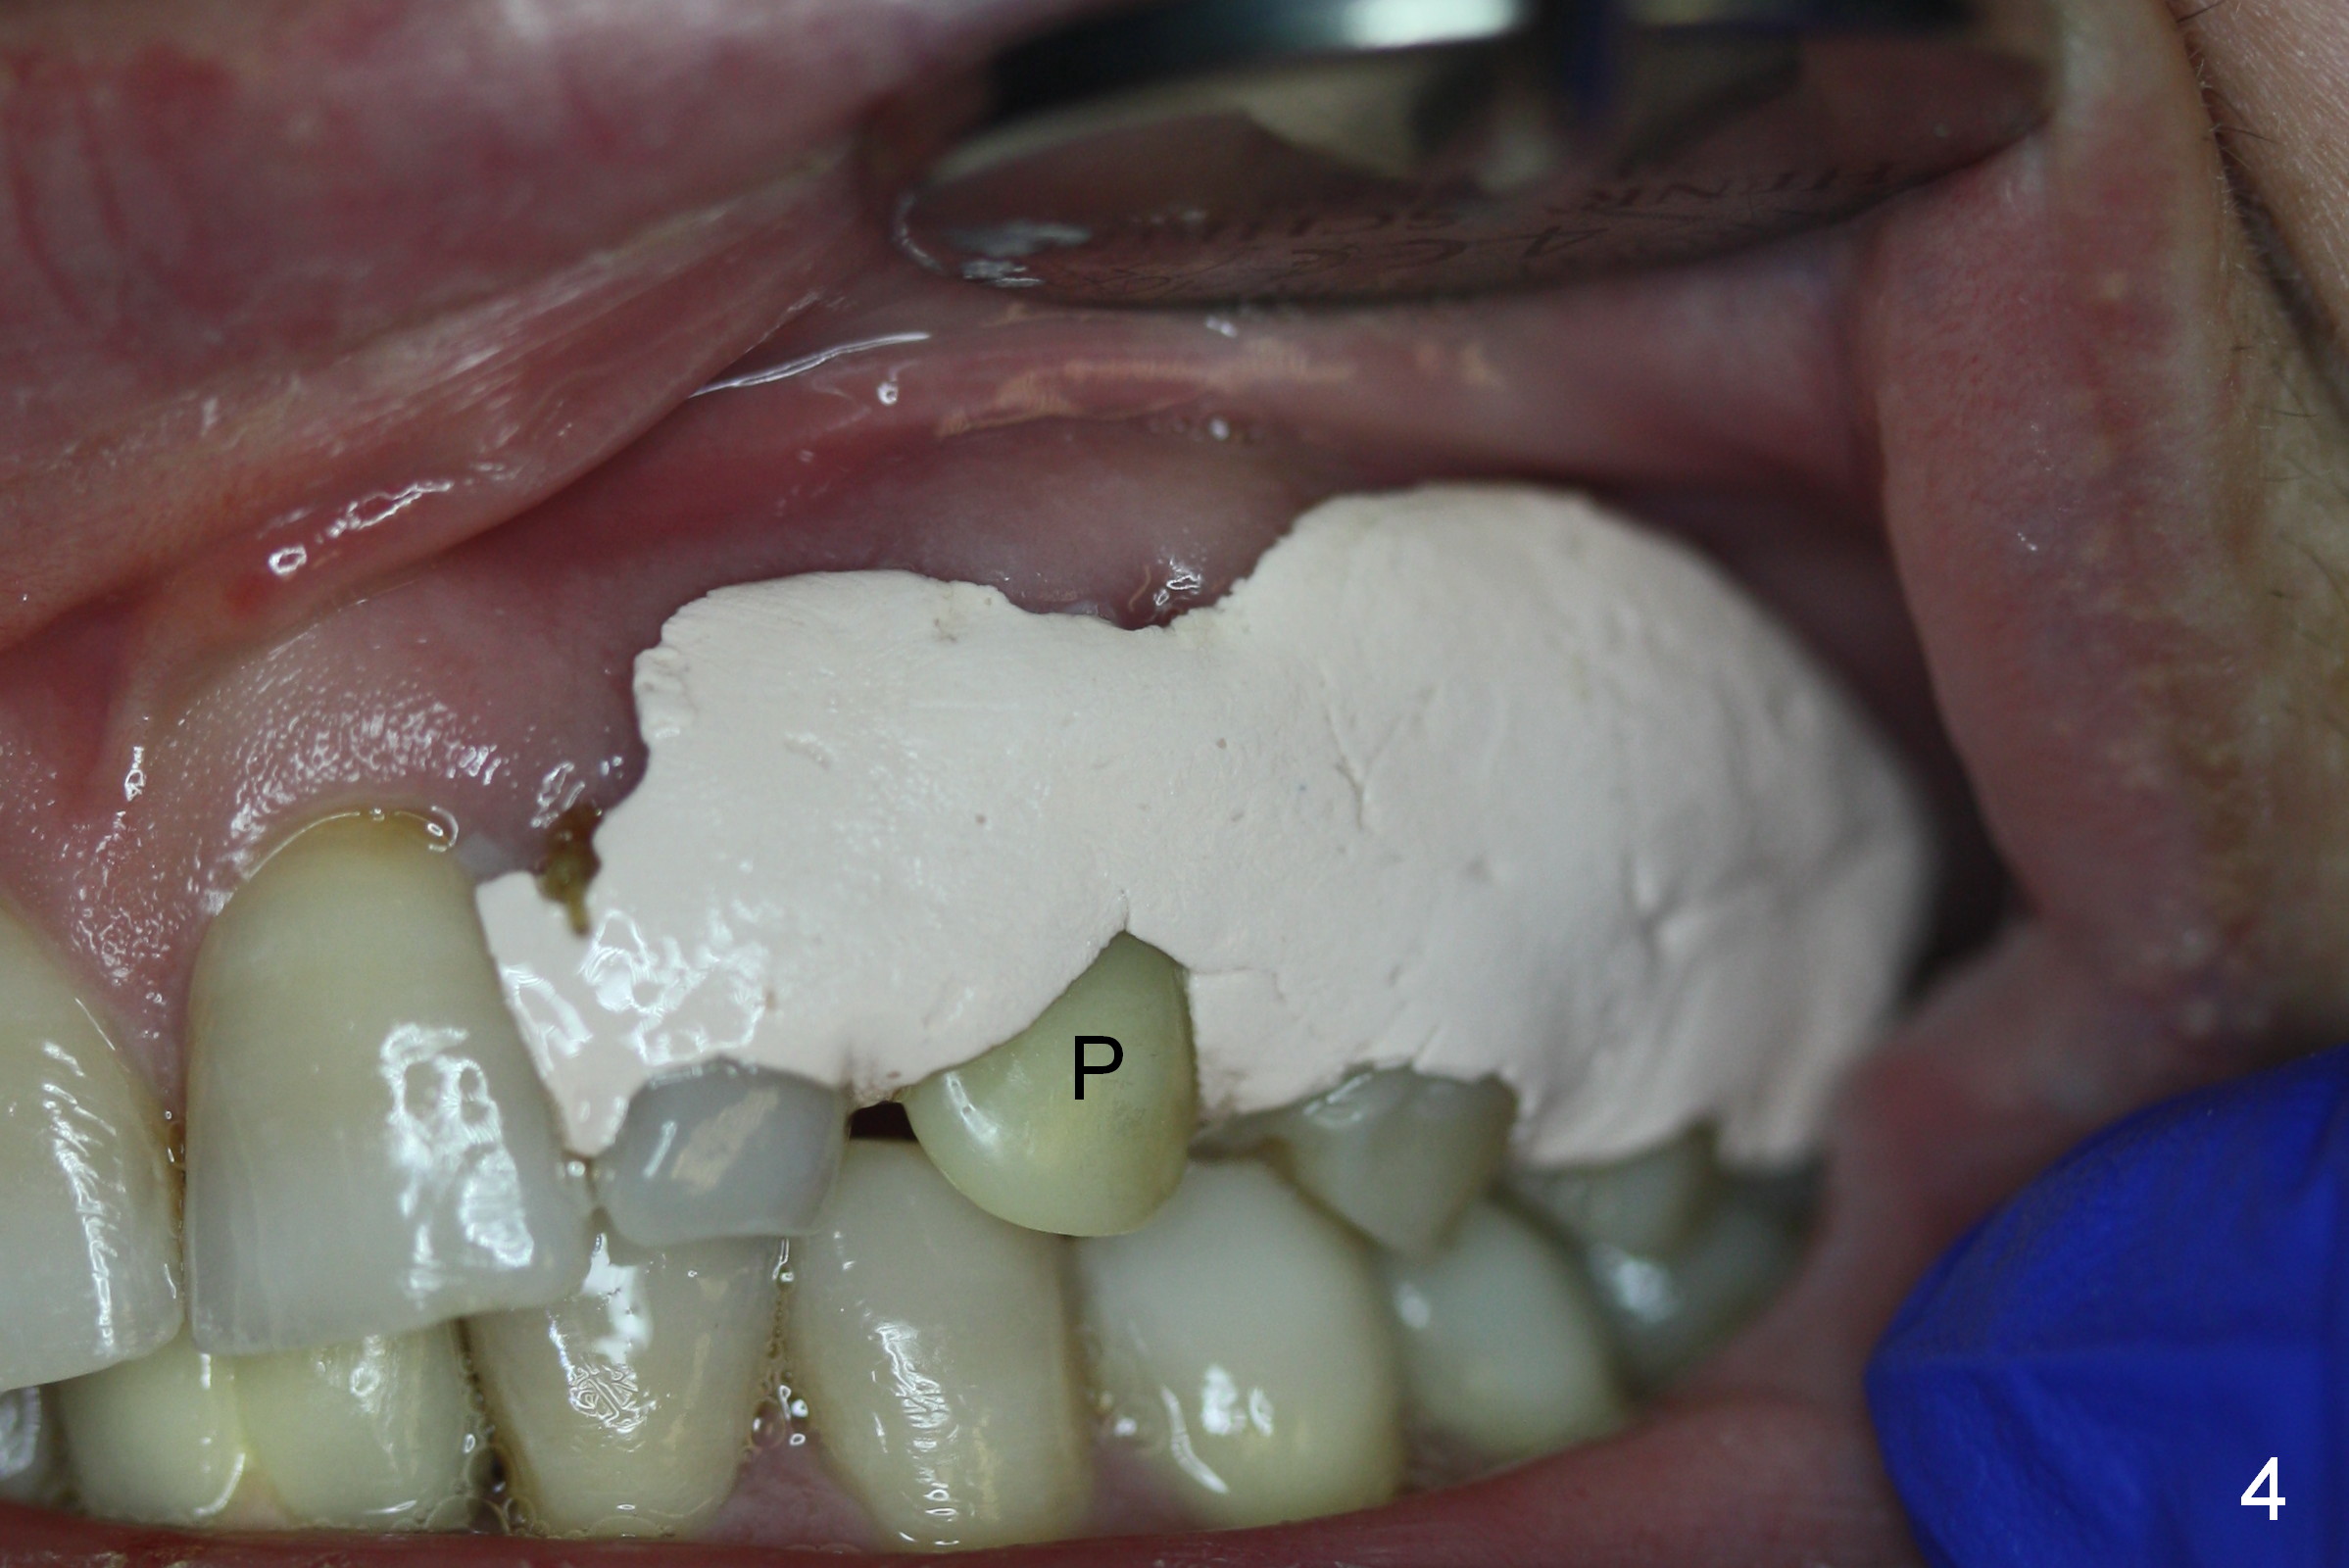
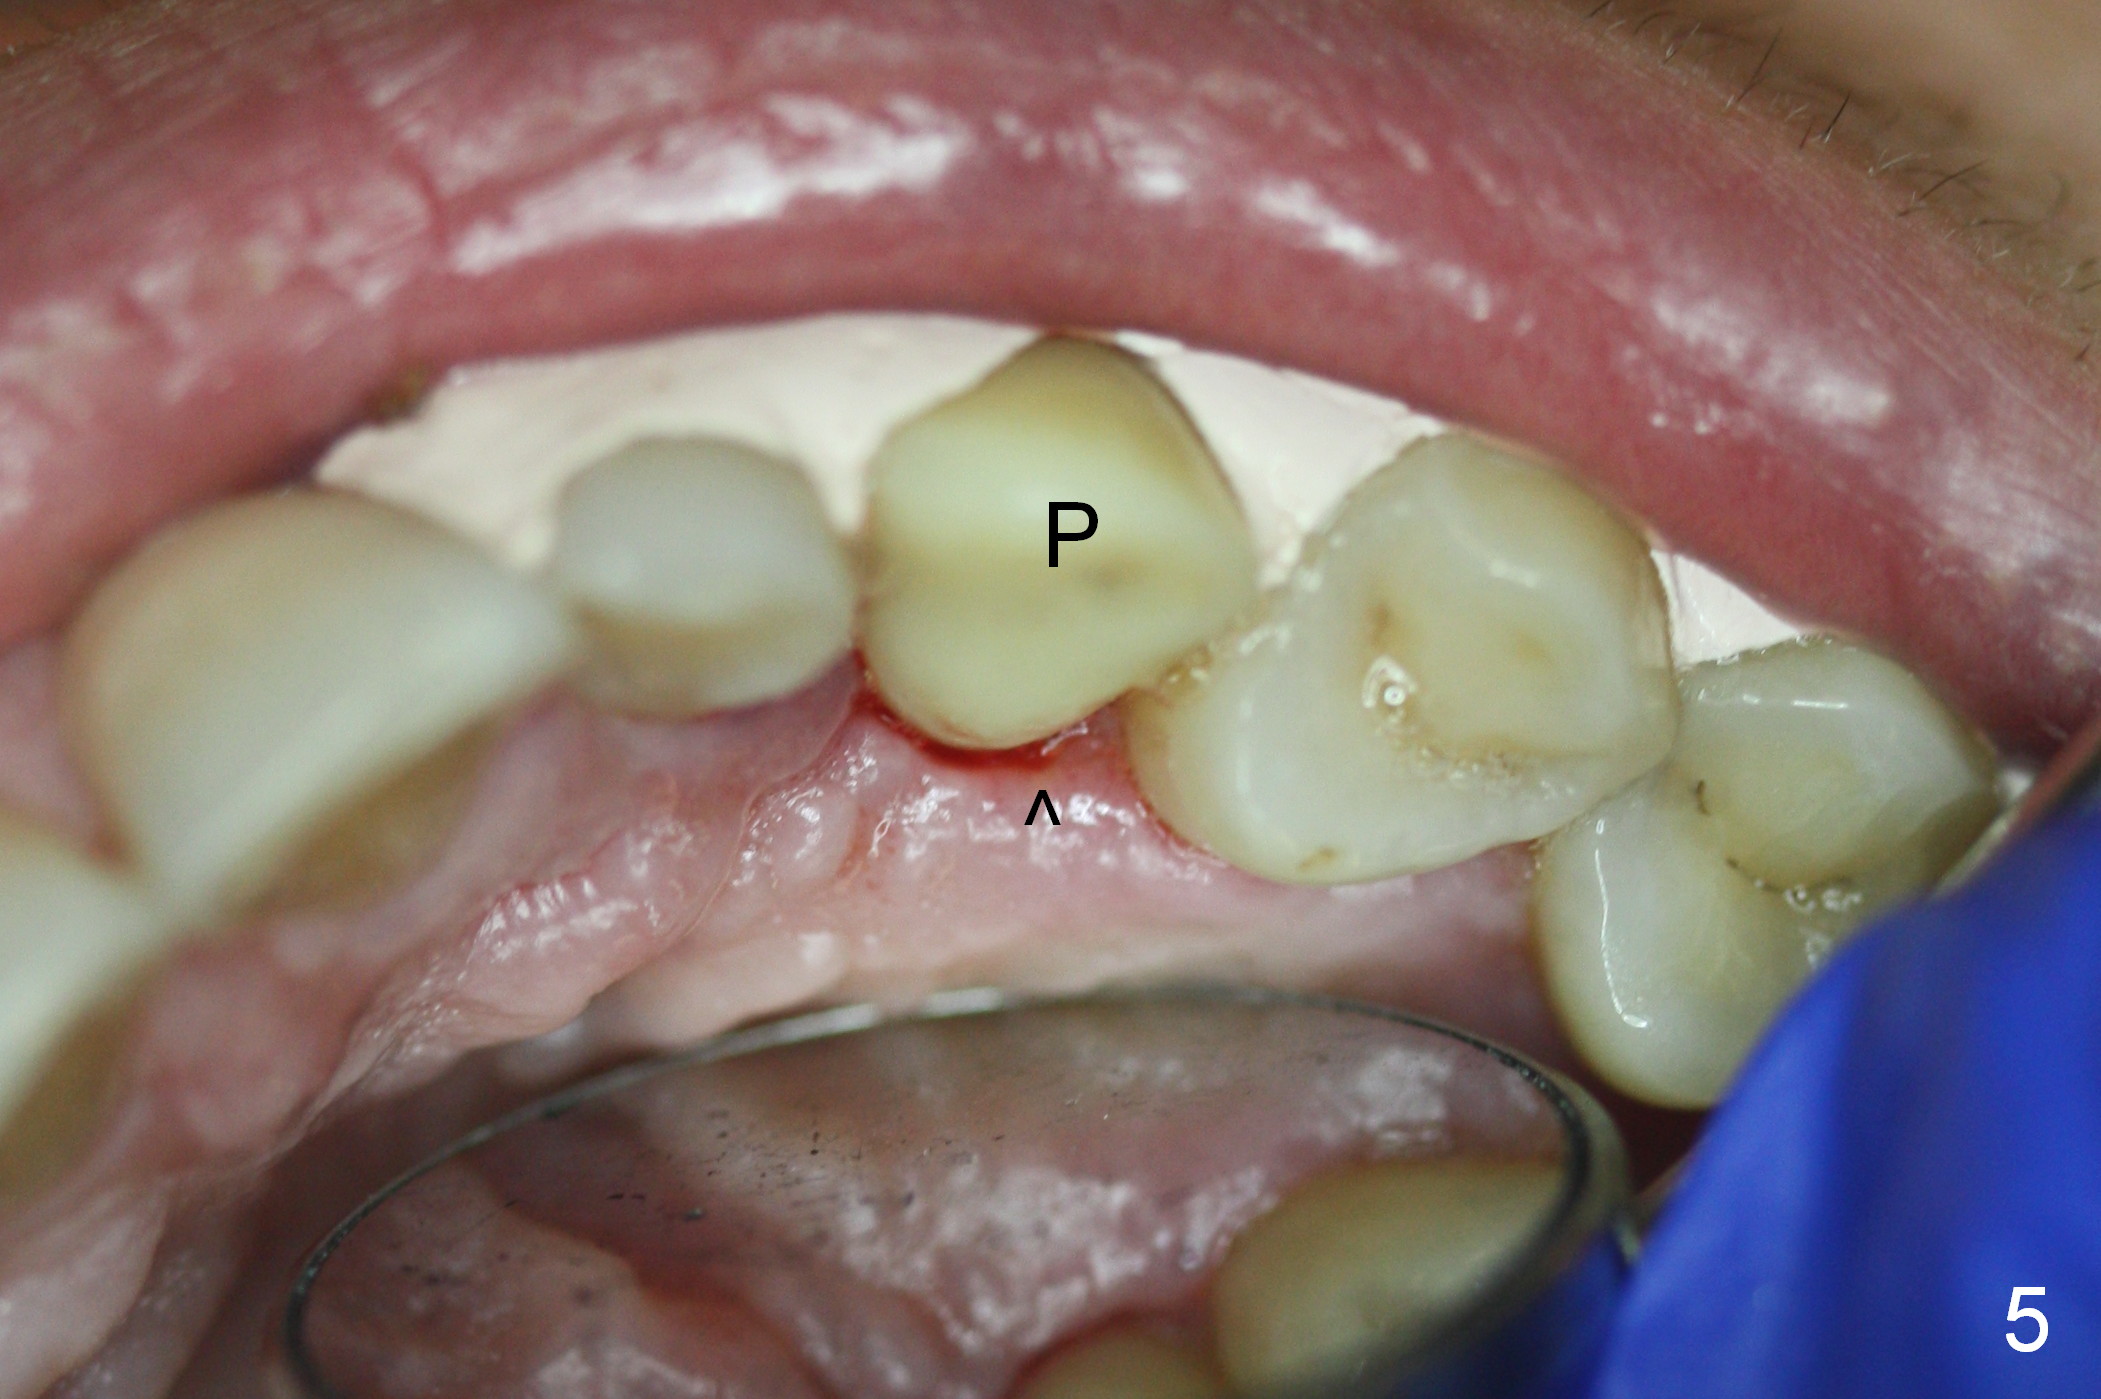
Six days postop, the patient is doing fine without nasal symptoms. Nasal speculum exam does not reveal apparent nasal floor perforation. The perio dressing remains around the provisional (Fig.4,5 P). Local scaling is provided for slightly tender palatal gingiva between the provisional and the neighboring tooth (Fig.5 ^). Continuous Chlorhexidine rinse is recommended.
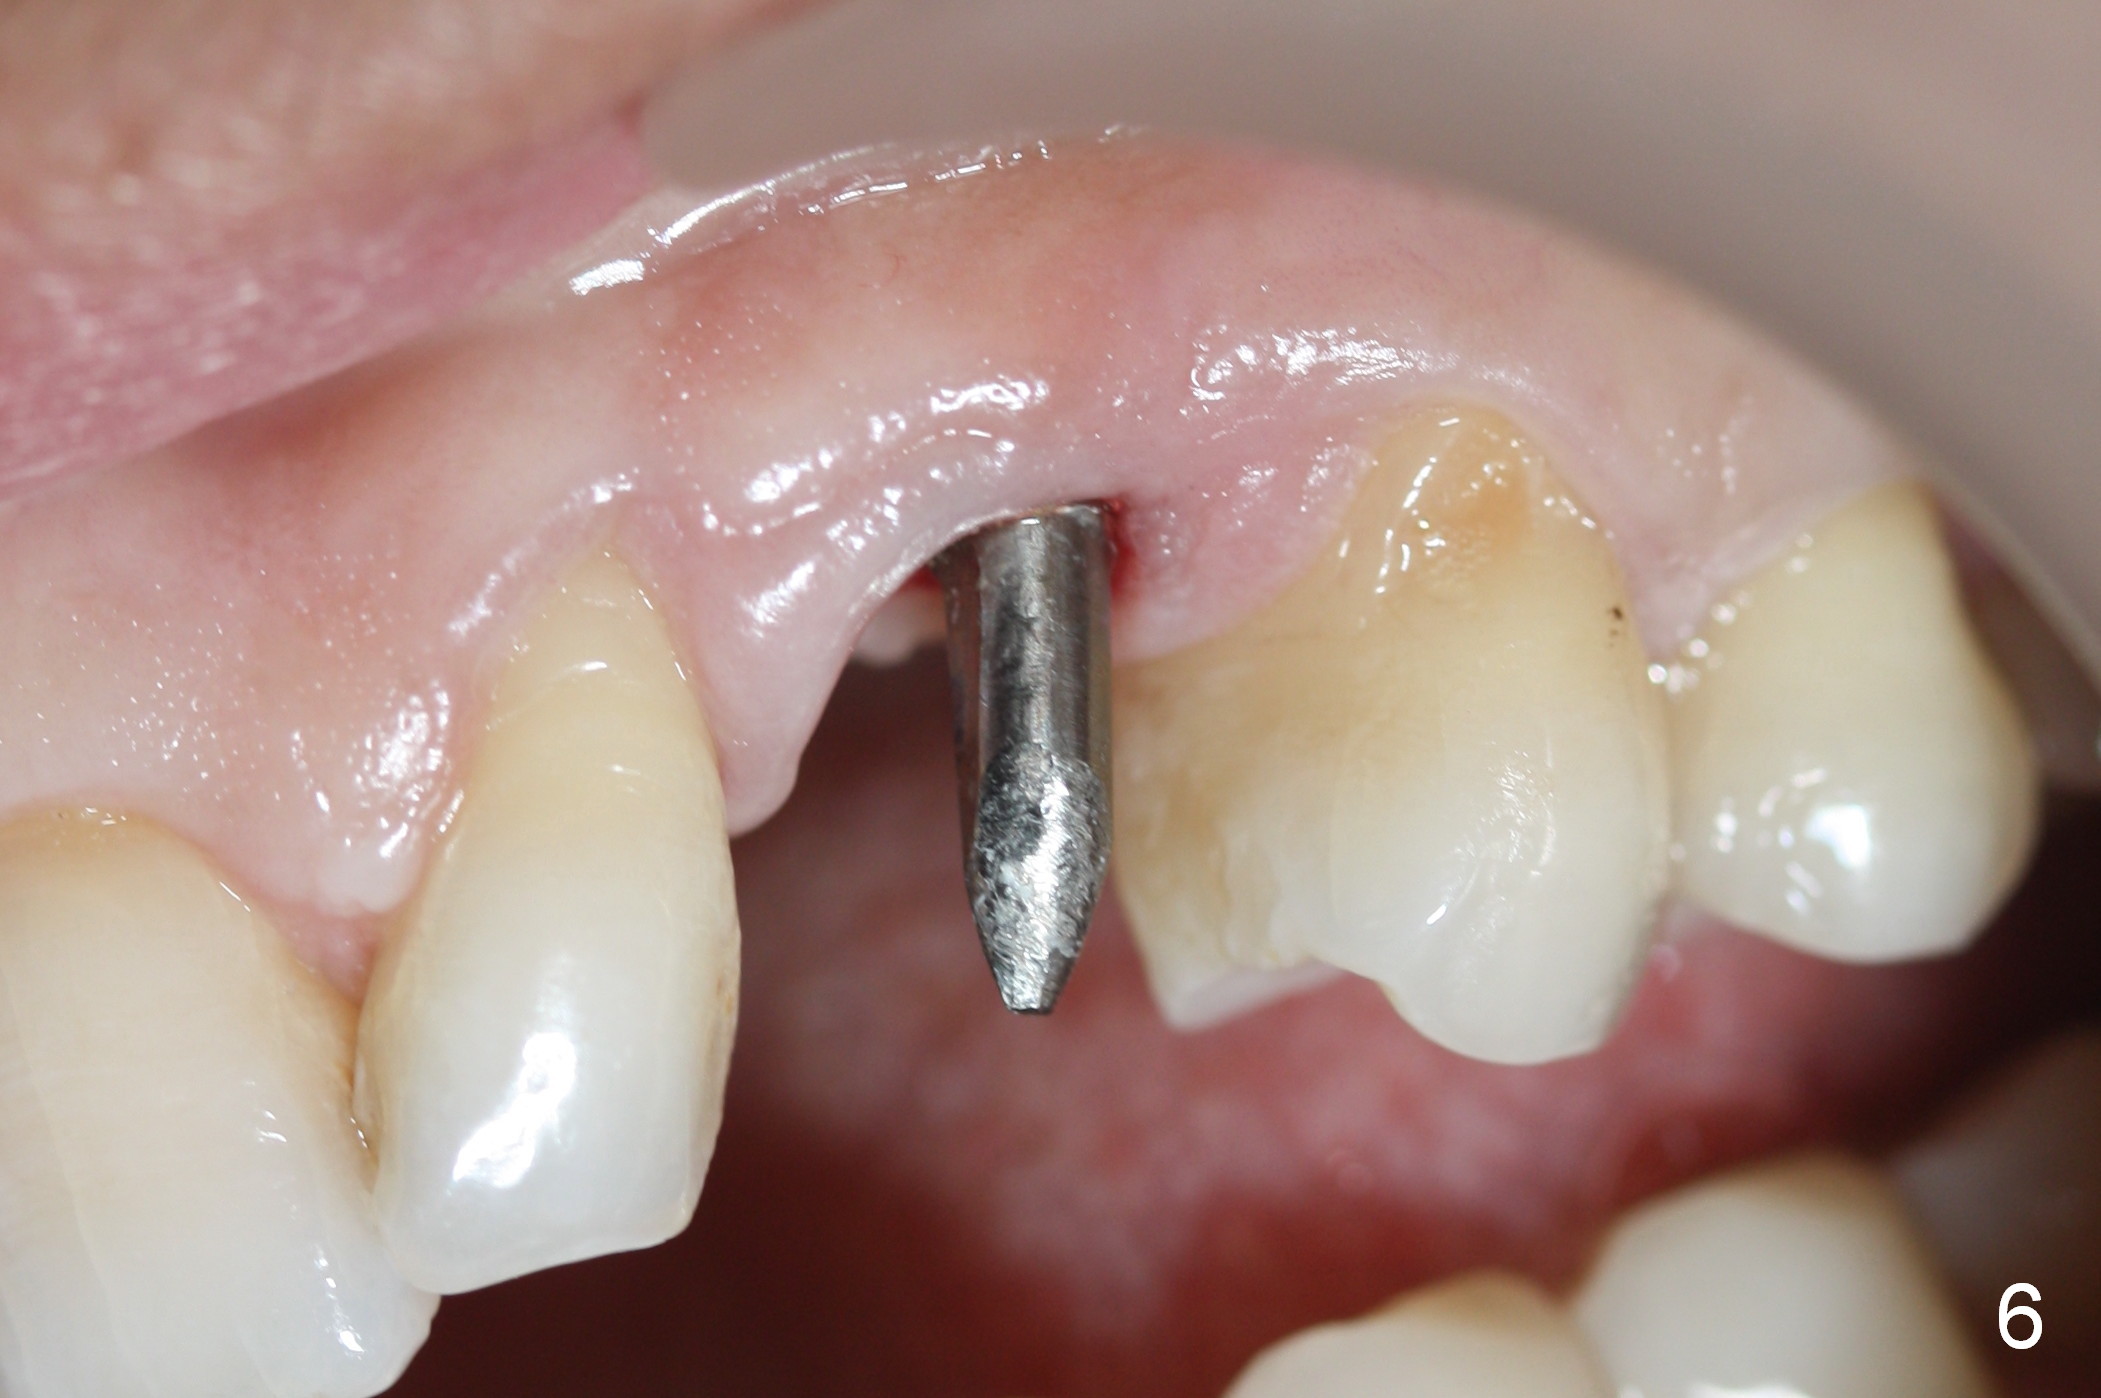
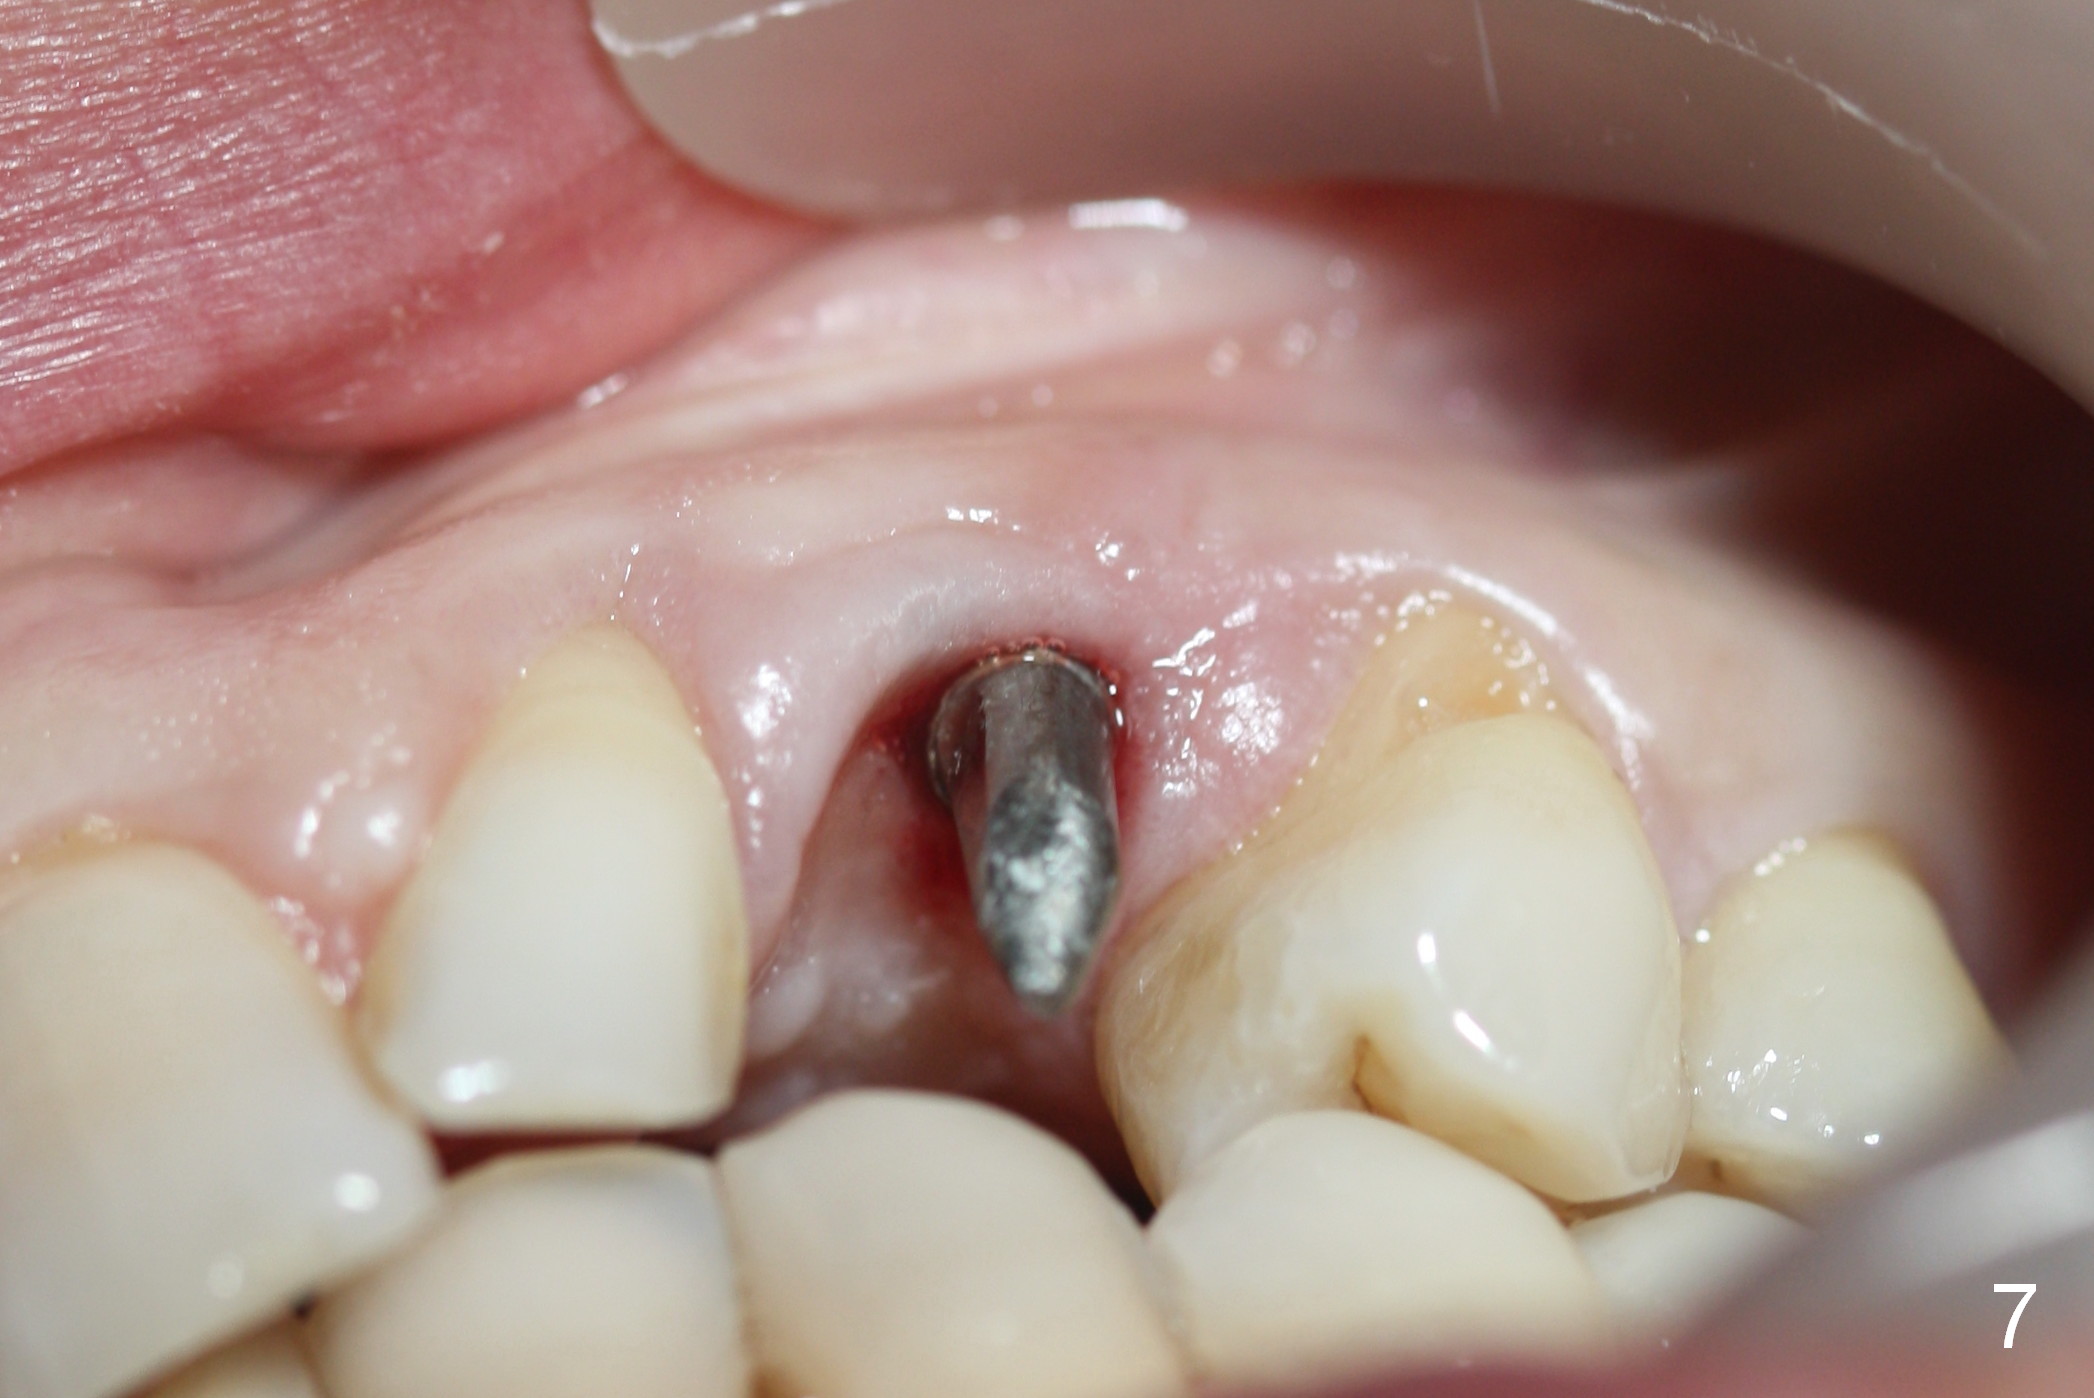
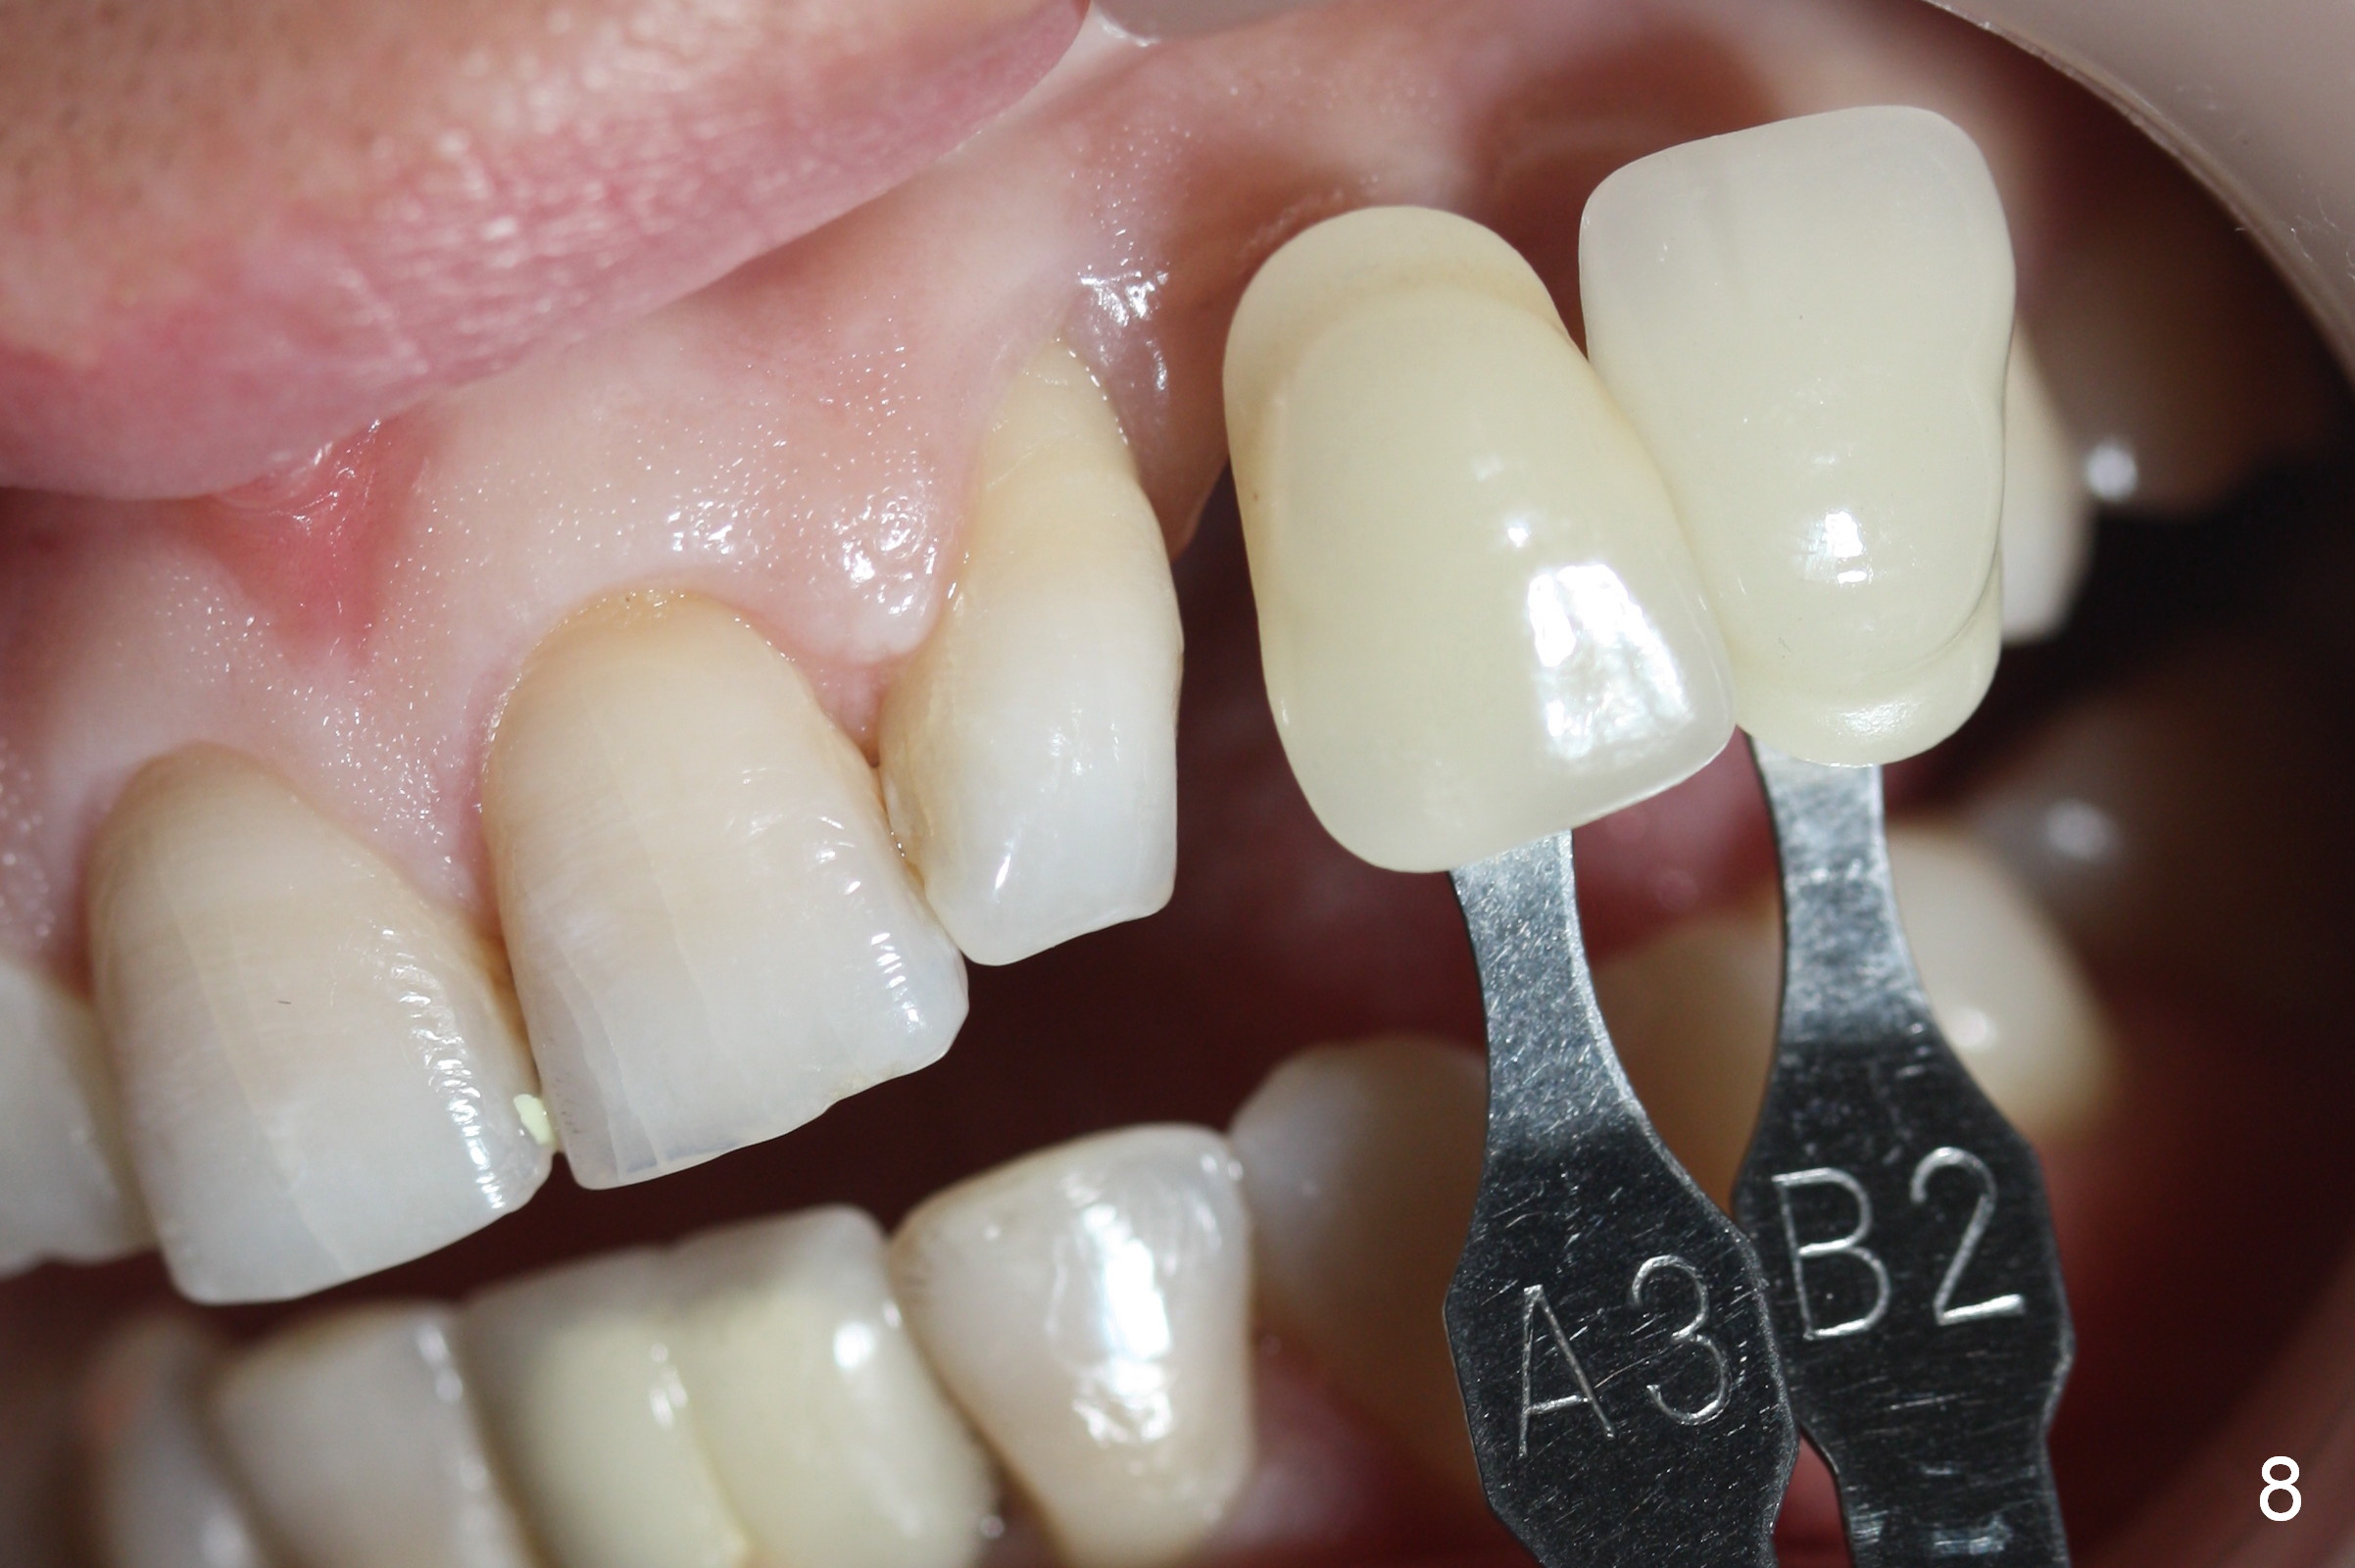
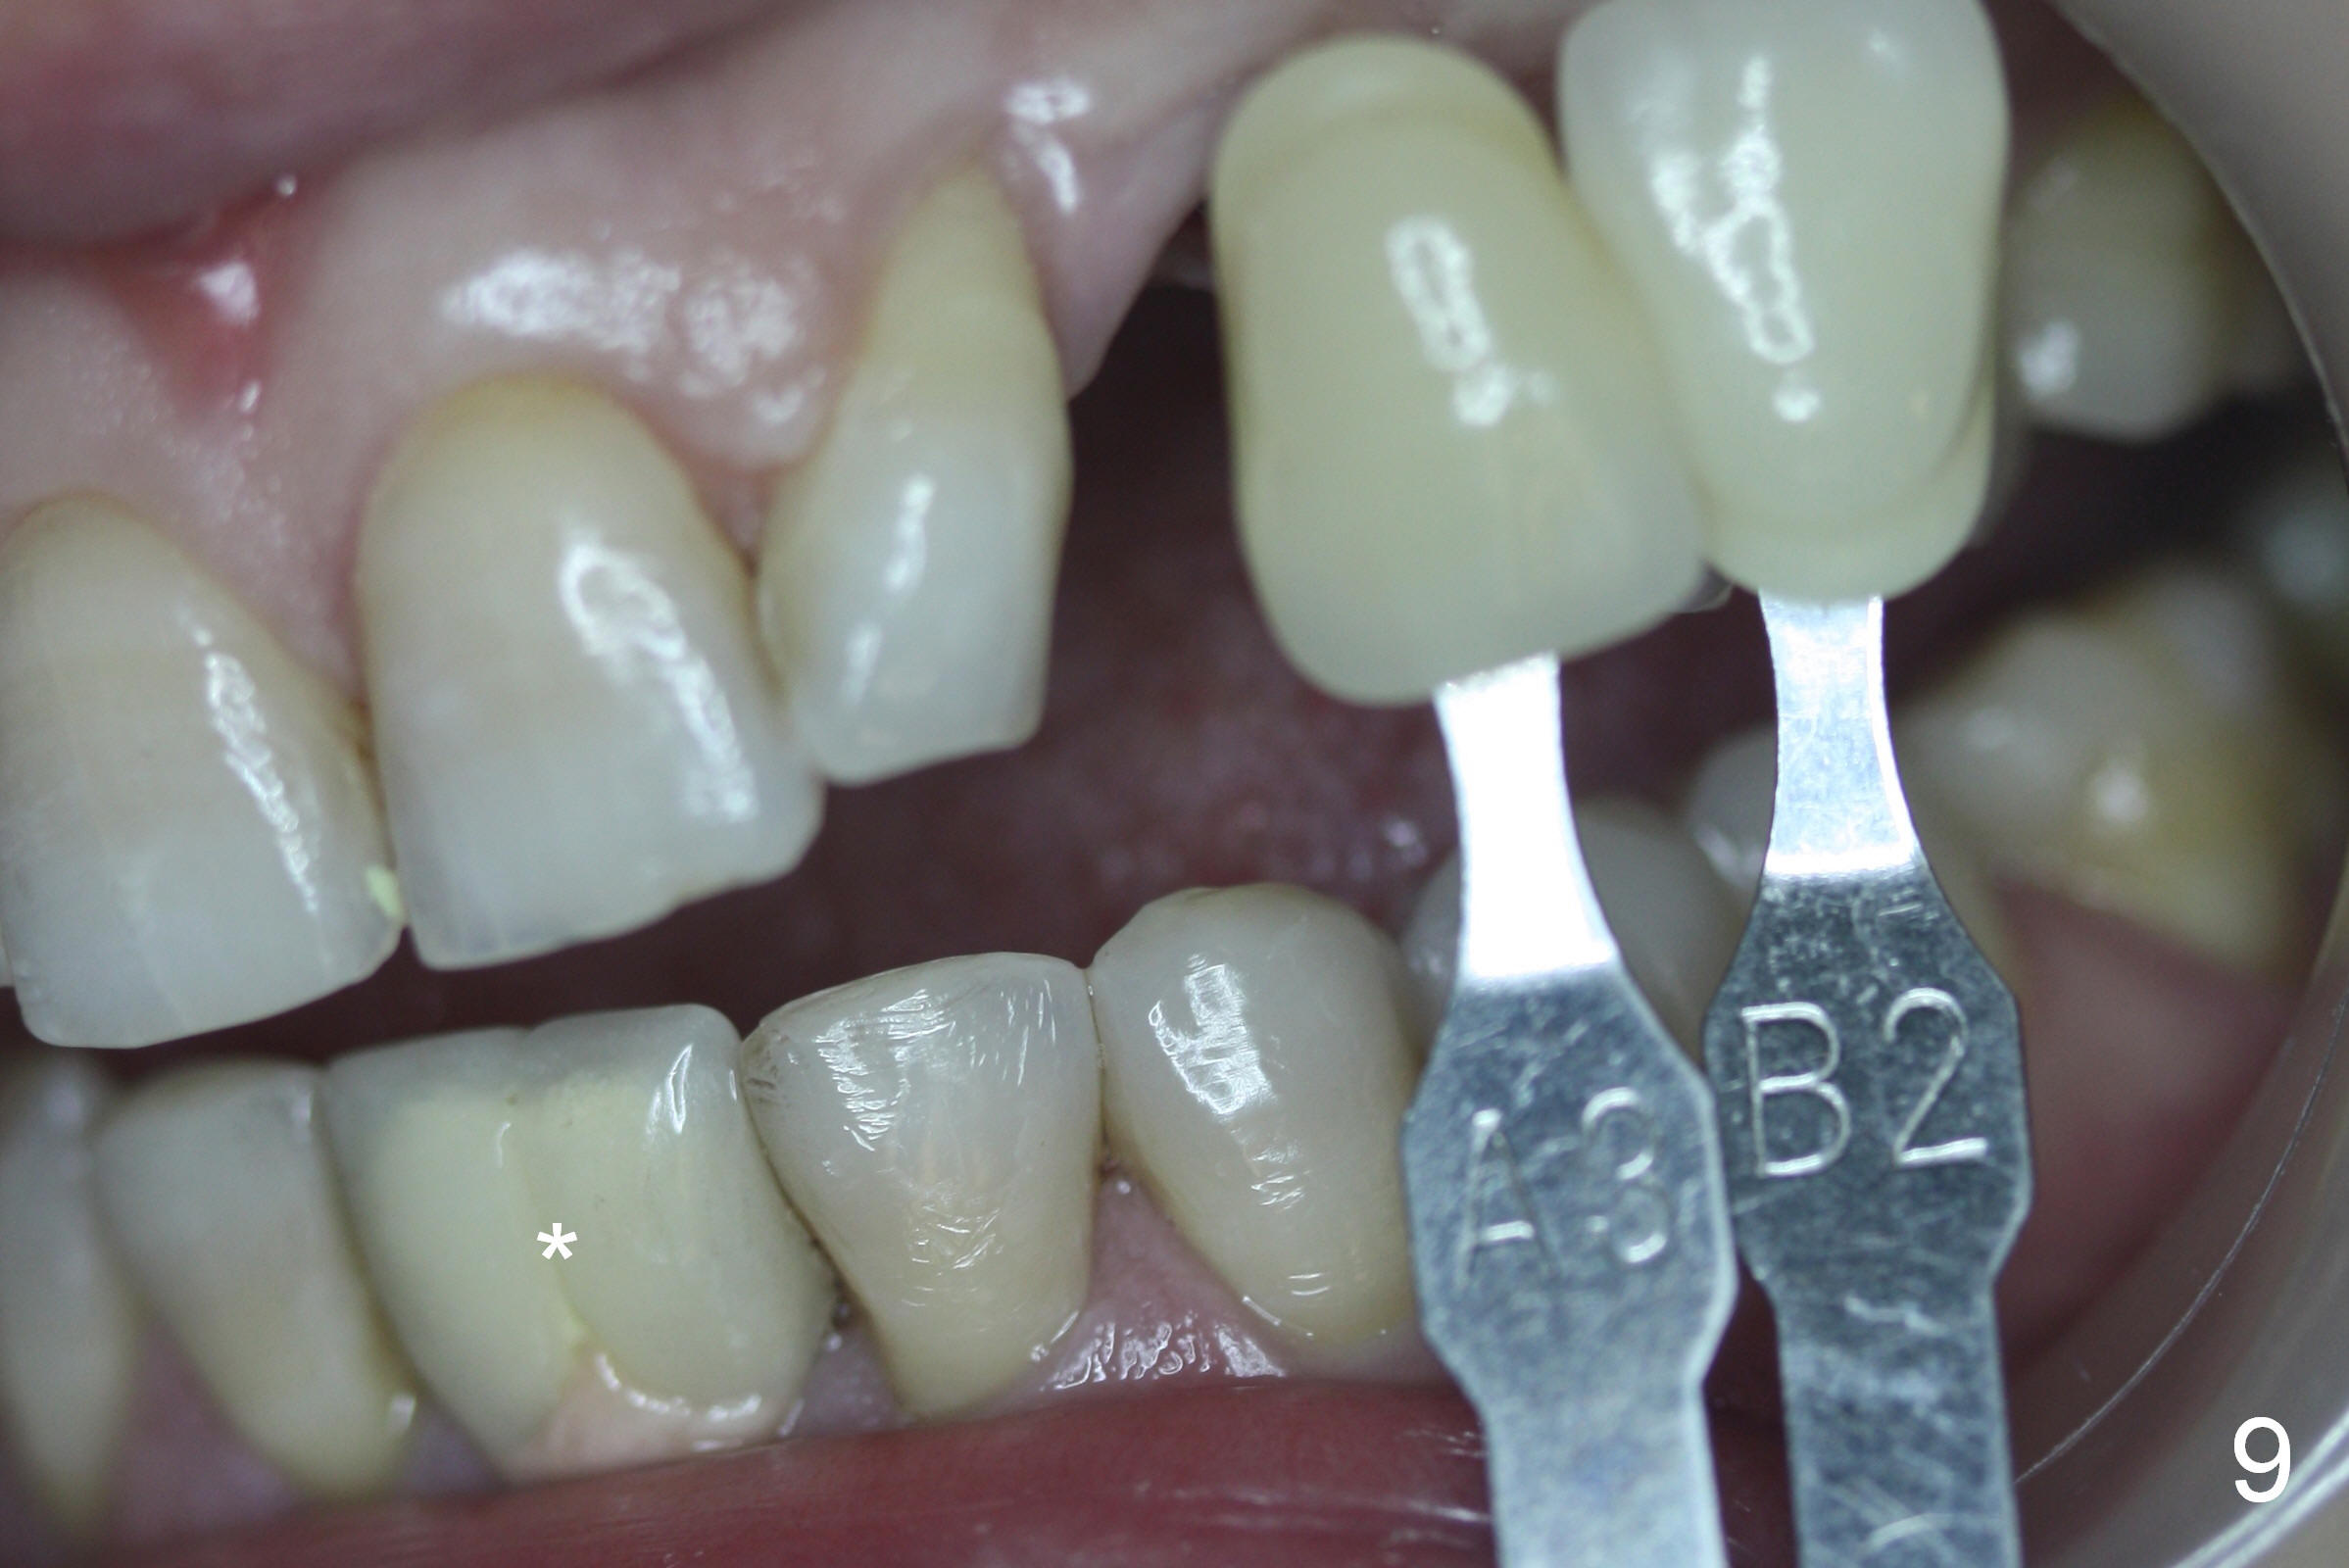
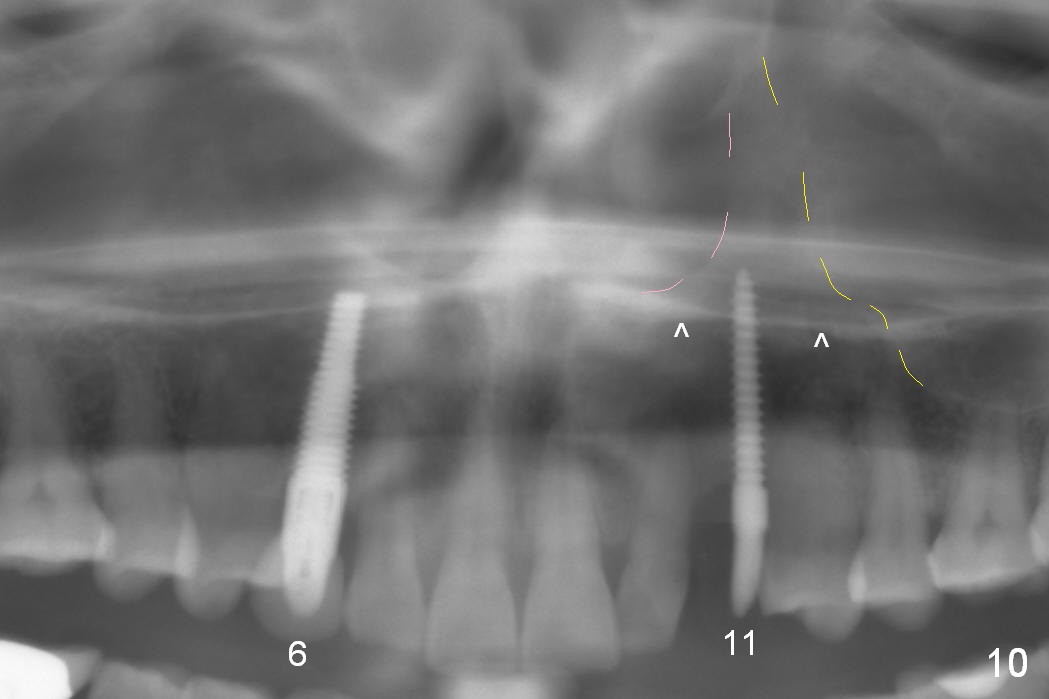
Eight months postop, the patient returns for #11 restoration. She reports no problem at #11, while there is light tenderness with a 2-piece implant (4.5x20 mm) at #6 at night (Fig.10, a portion of panoramic X-ray). Clinical exam reveals no abnormality at #6. Although the implant at #11 is buccally placed, there is no buccal plate atrophy (Fig.6,7). In fact the 20 mm 1-piece implant is placed in the bone (septum) between the nasal cavity (Fig.10 pink dashed line; Fig.13 (CBCT (52 year-old lady) N) and the maxillary sinus (yellow dashed line, S). In fact the apparent nasal floor indicated as arrowheads in Fig.2 and 10 is the horizontal plate of the palatine bone (hard palate)! Therefore there is no nasal floor perforation in this case. A long implant is indicated in the upper canine.
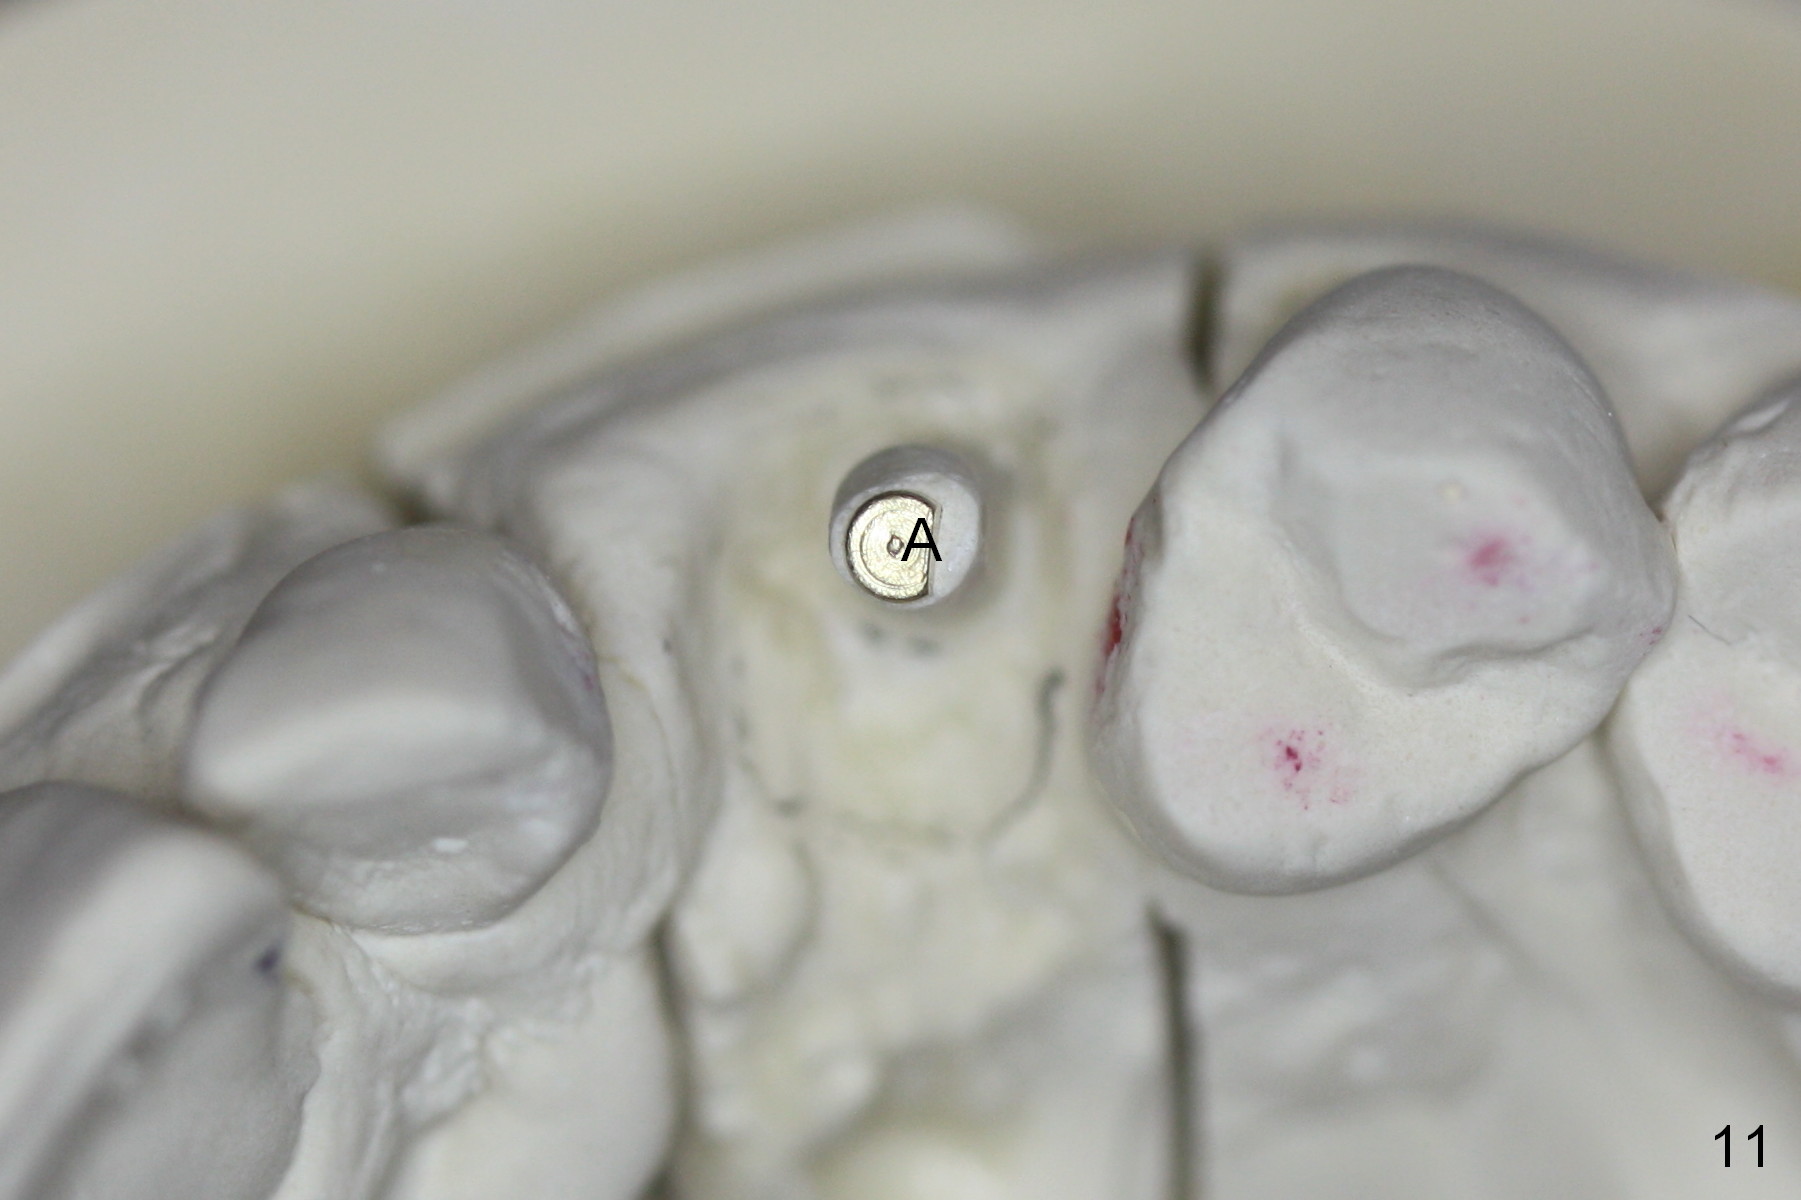
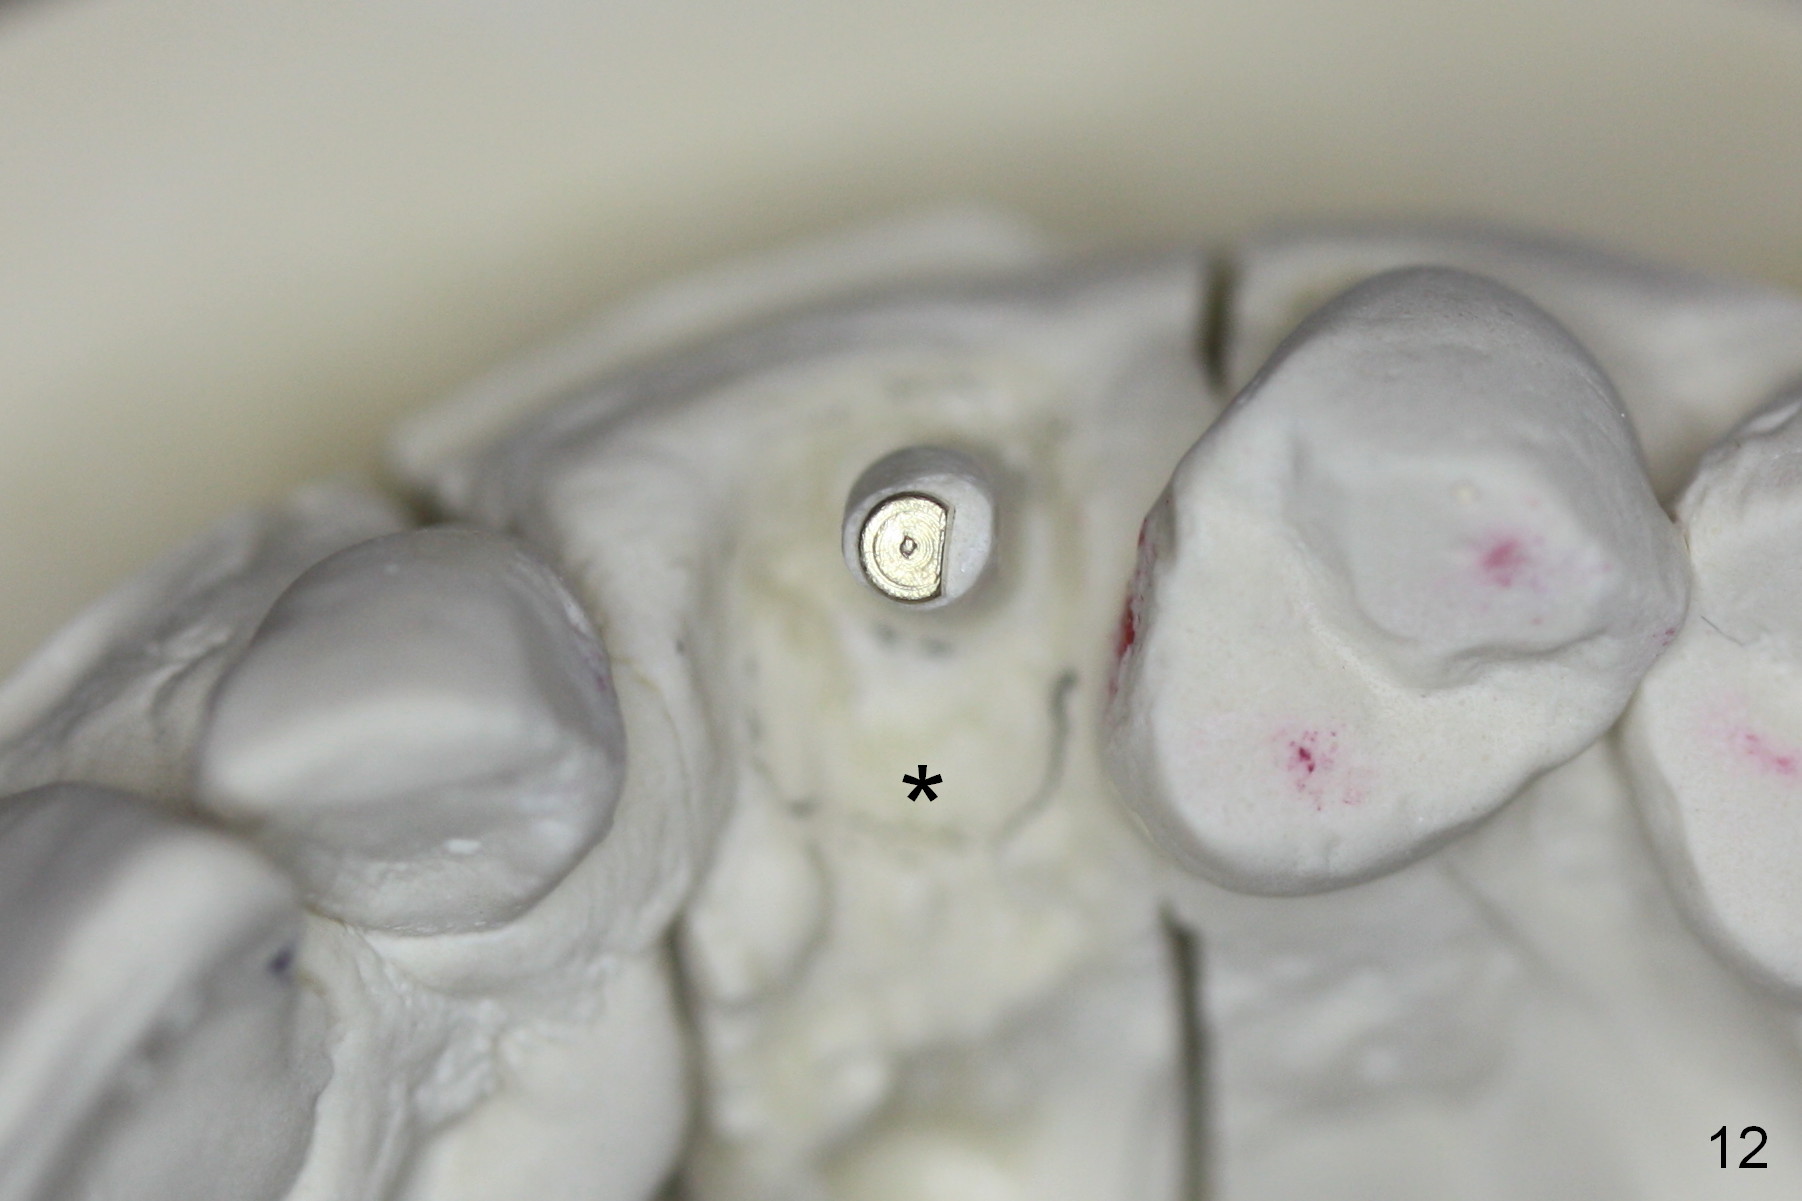
The main reason for the failure of this case is buccal placement of the implant (Fig.11 A: abutment). Every time an implant is placed at the upper anterior, make sure that palatal placement is done (Fig.12 *). The most critical step is the 1st pilot drill. If the position is not ideal, use a Lindemann bur for adjustment. Check repeatedly. If the implant starts to be deviated buccally, remove the implant, use the Lindemann bur to remove more of the palatal bone and place the implant palatally.
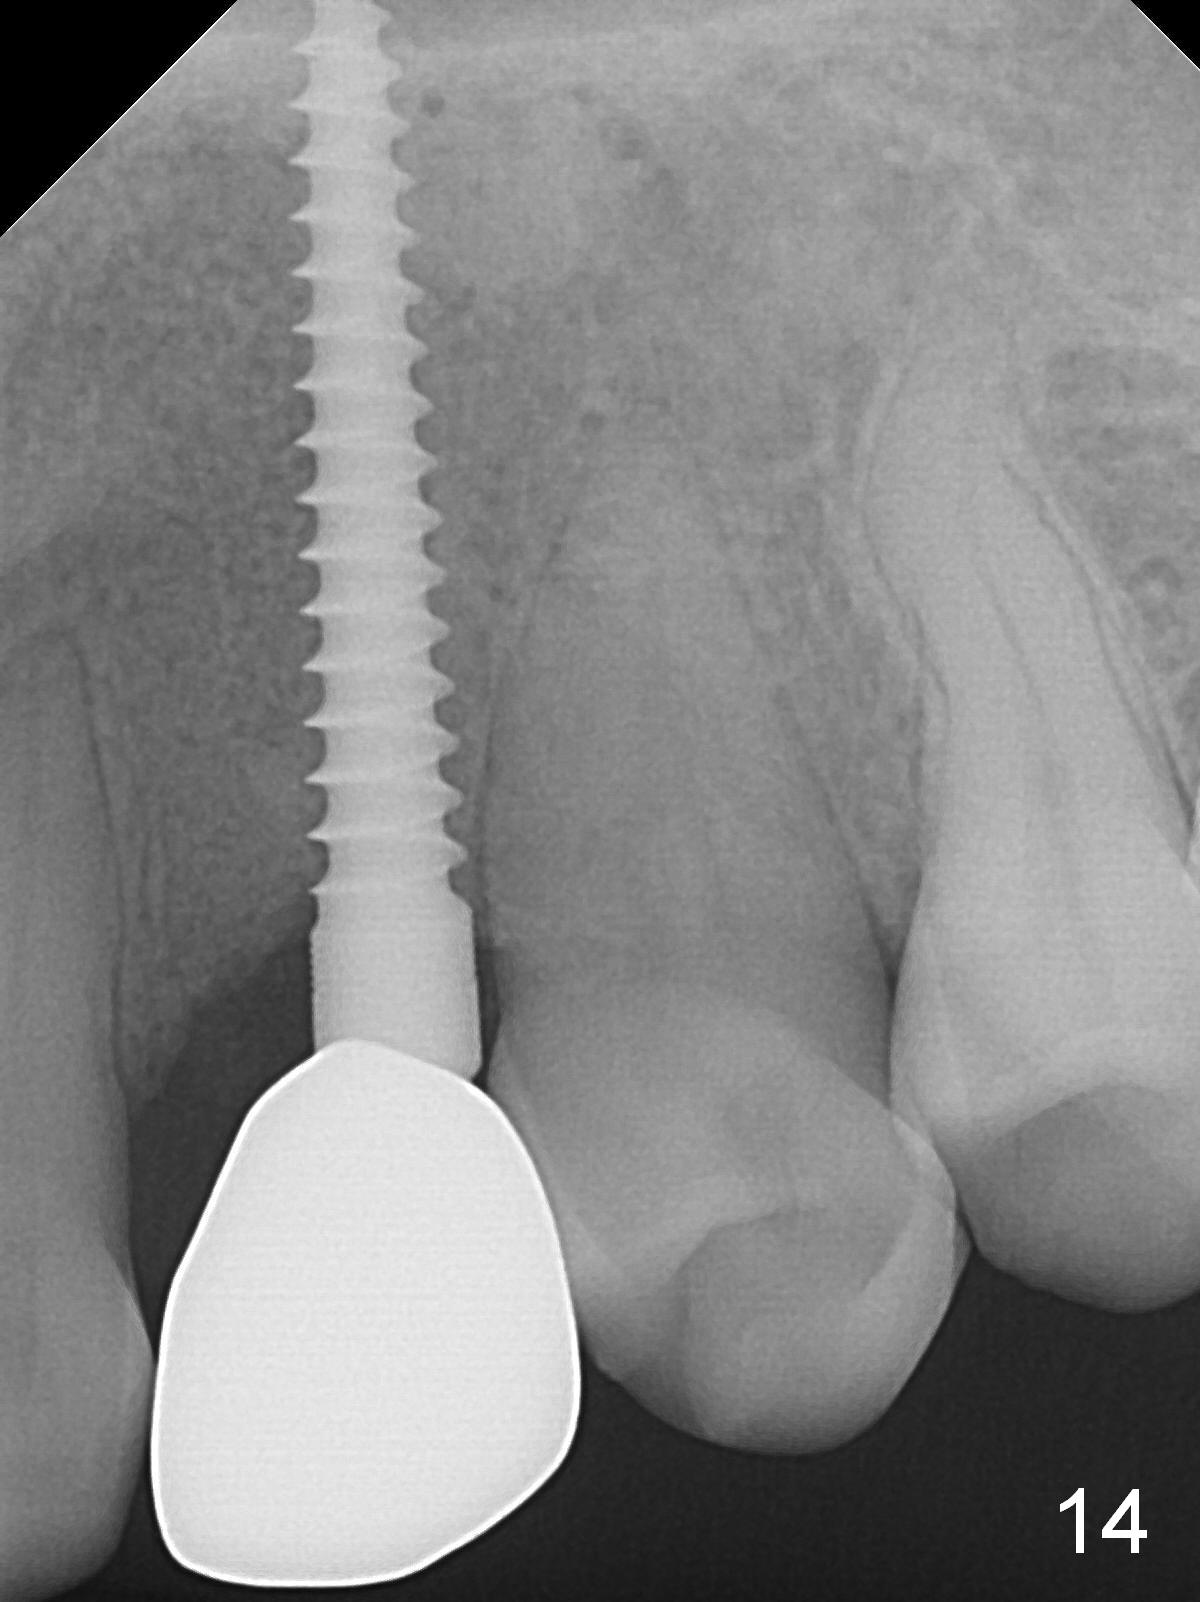
There is no gingival recesssion (data not shown) or bone loss around the implant 1 year post cementation (Fig.14).
Return to Upper
Canine Immediate Implant,
Dr.
Wu,
Technicians,
Anatomy, 1-Piece
Xin Wei, DDS, PhD, MS 1st edition 03/27/2015, last revision 01/19/2018