 |
 |
|
 |
 |
 |
Septum Placement of Lower Molar Immediate Implant
Placement of an immediate implant in the septum of a lower molar is not an easy task, but it is critical for restoration. Drills have tendency to slide into either the mesial or distal socket. If initial osteotomy is straight, right in the septum and long, the following drills may have less chance of sliding.
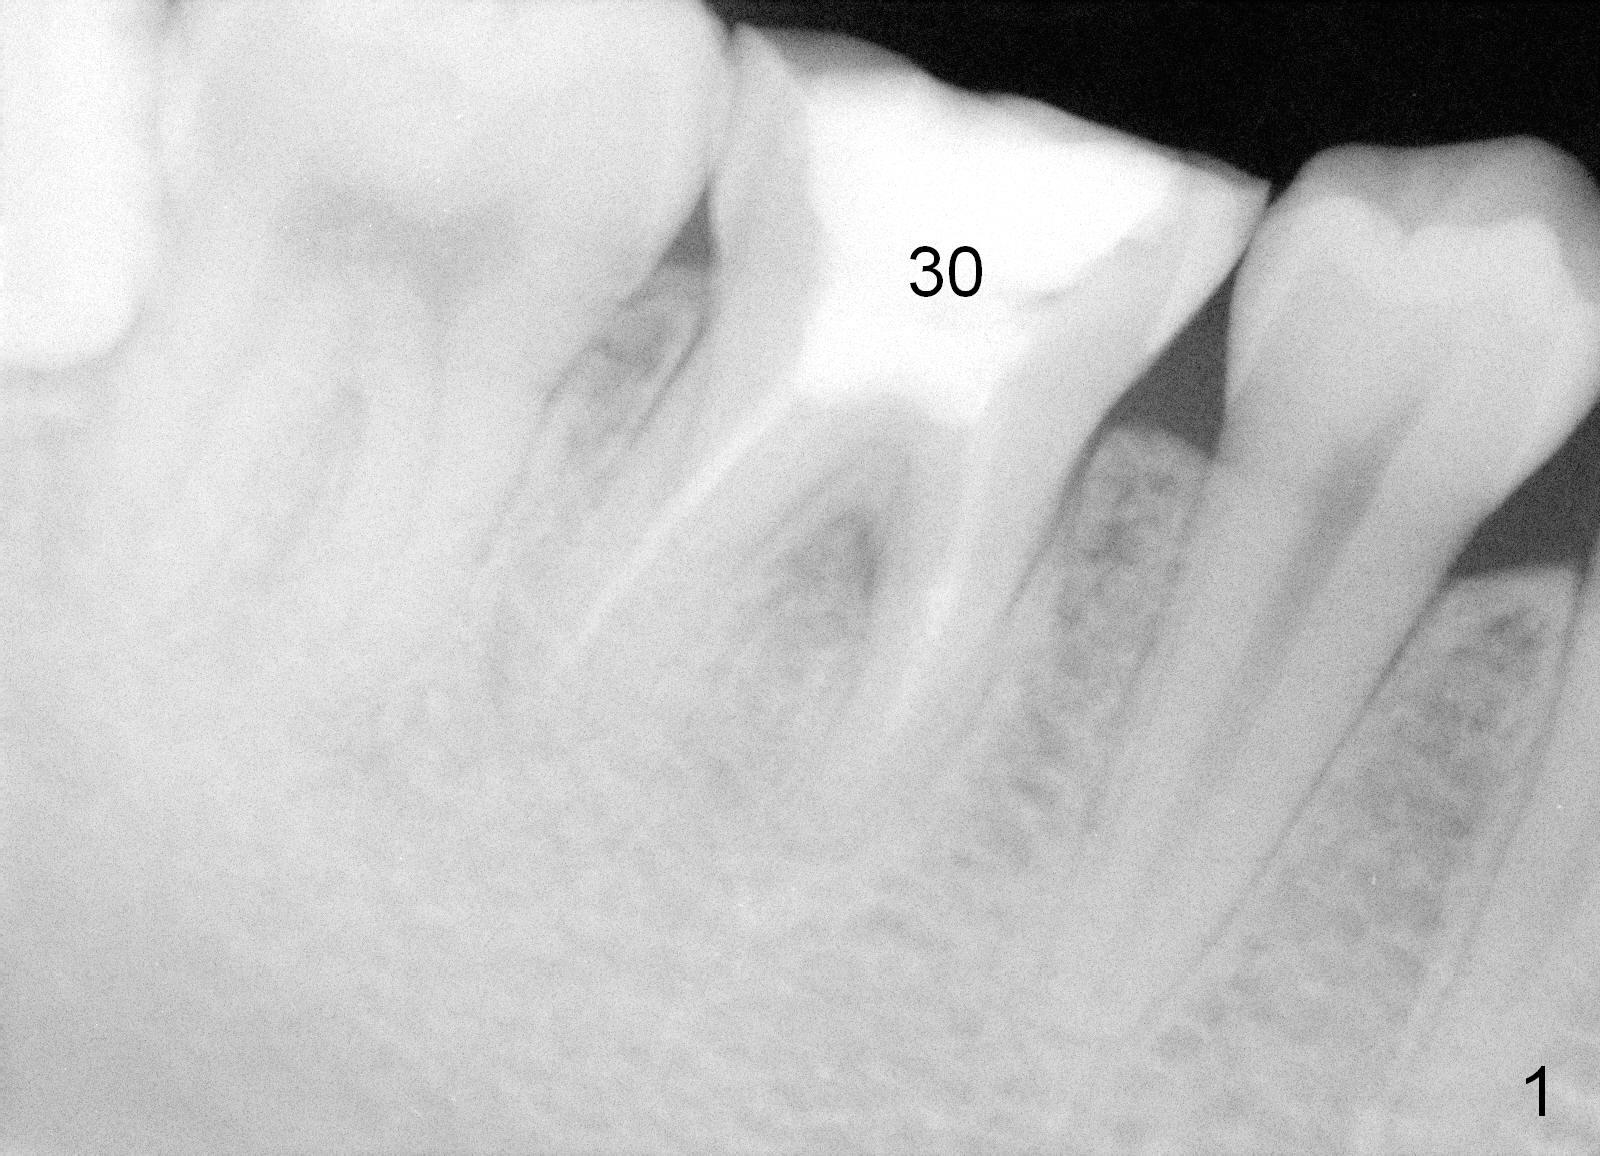
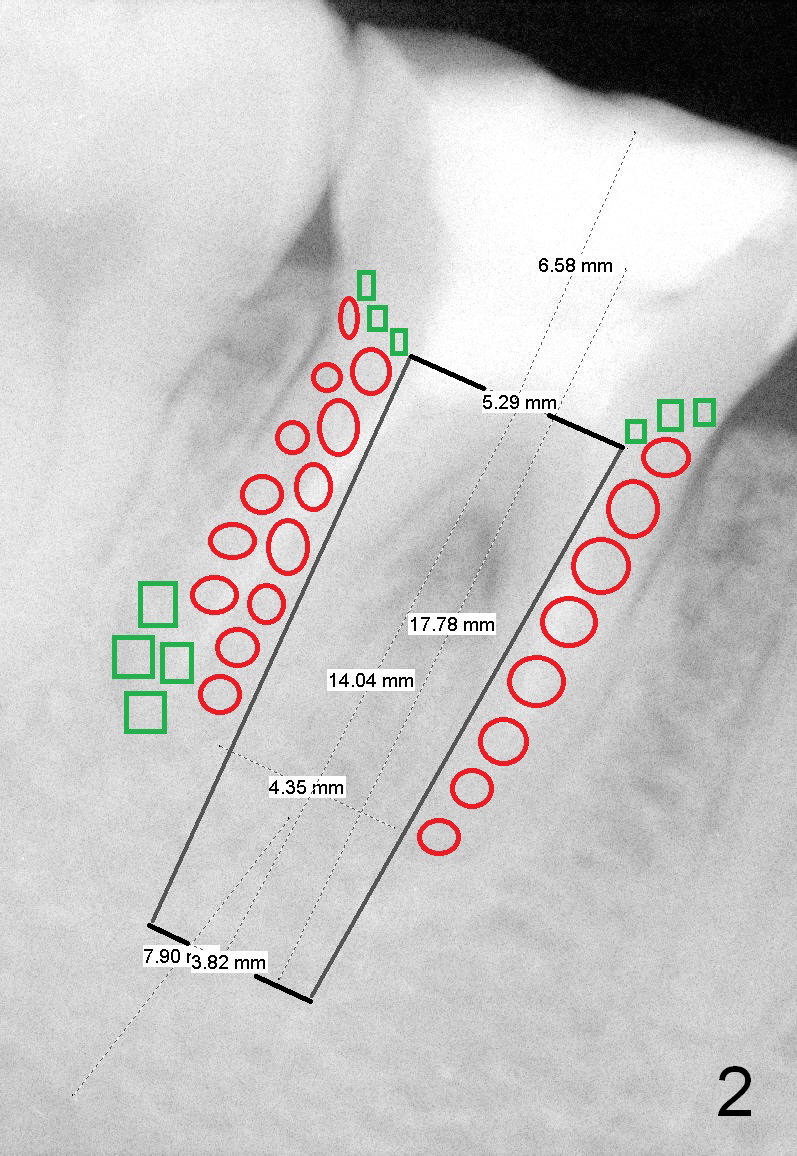
The bone height of the lower right 1st molar of a 24-year-old lady is sufficient (Fig.1). There is nearly 8 mm between the apices of the 1st lower molar and the Inferior Alveolar Nerve (Fig.2). Approximately 4-5 mm new bone can be gained for an immediate implant. Our plan is to use a relatively long and narrow bone-level implant (5.3x14 mm). Too large implant (6-8 mm) may break off the thin lateral septal wall and slide into the socket. The drawback using the smaller implant is that more bone graft is going to be used (Fig.2 red circles; collagen plug or membrane (green squares)).
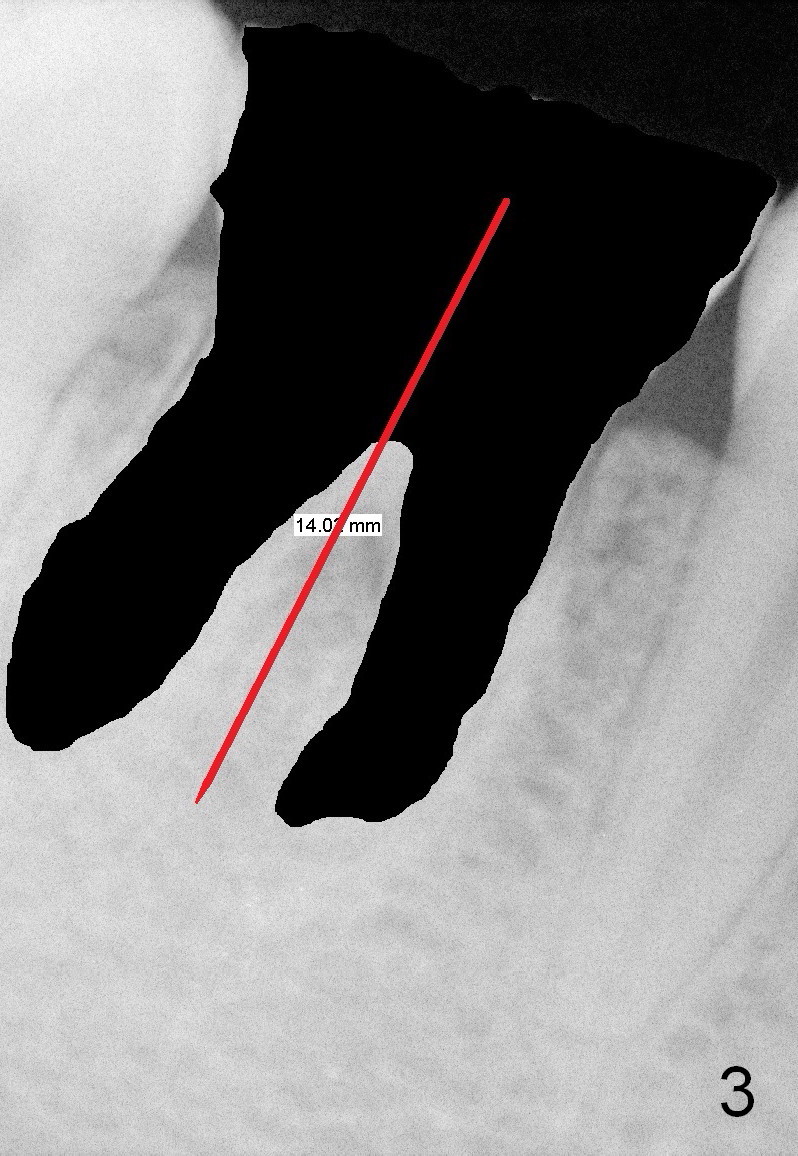
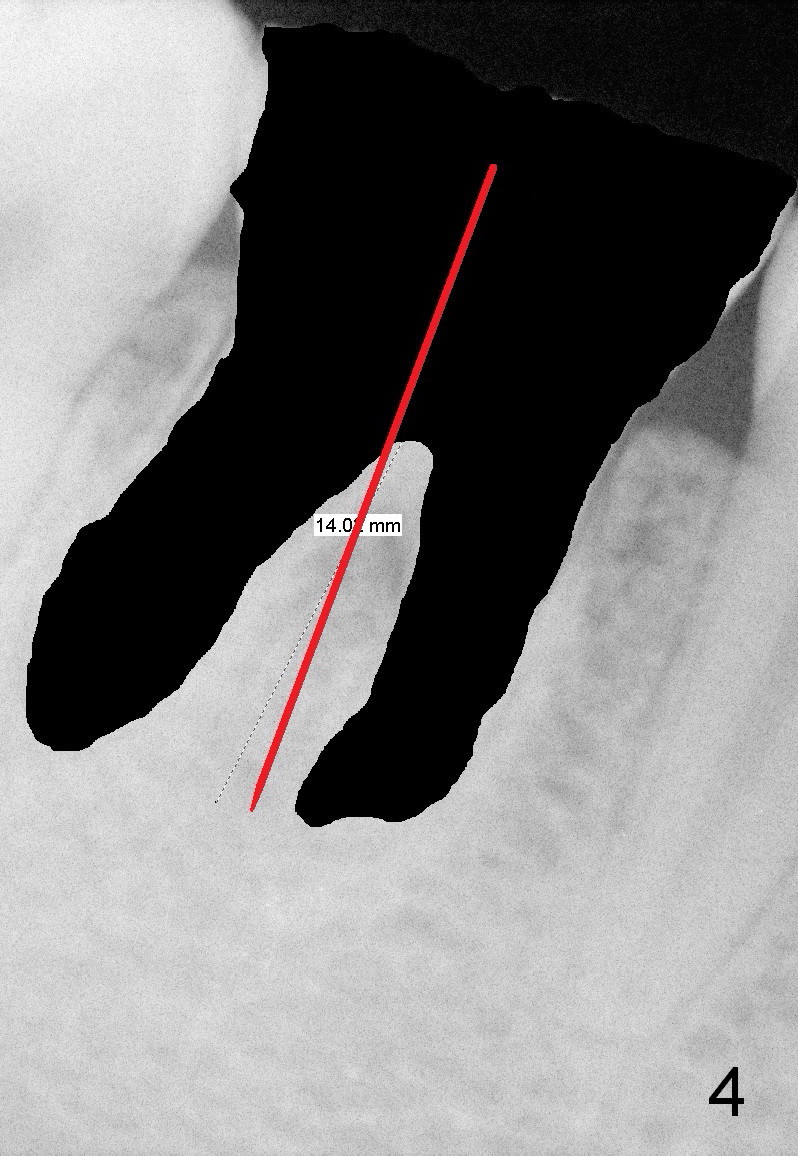
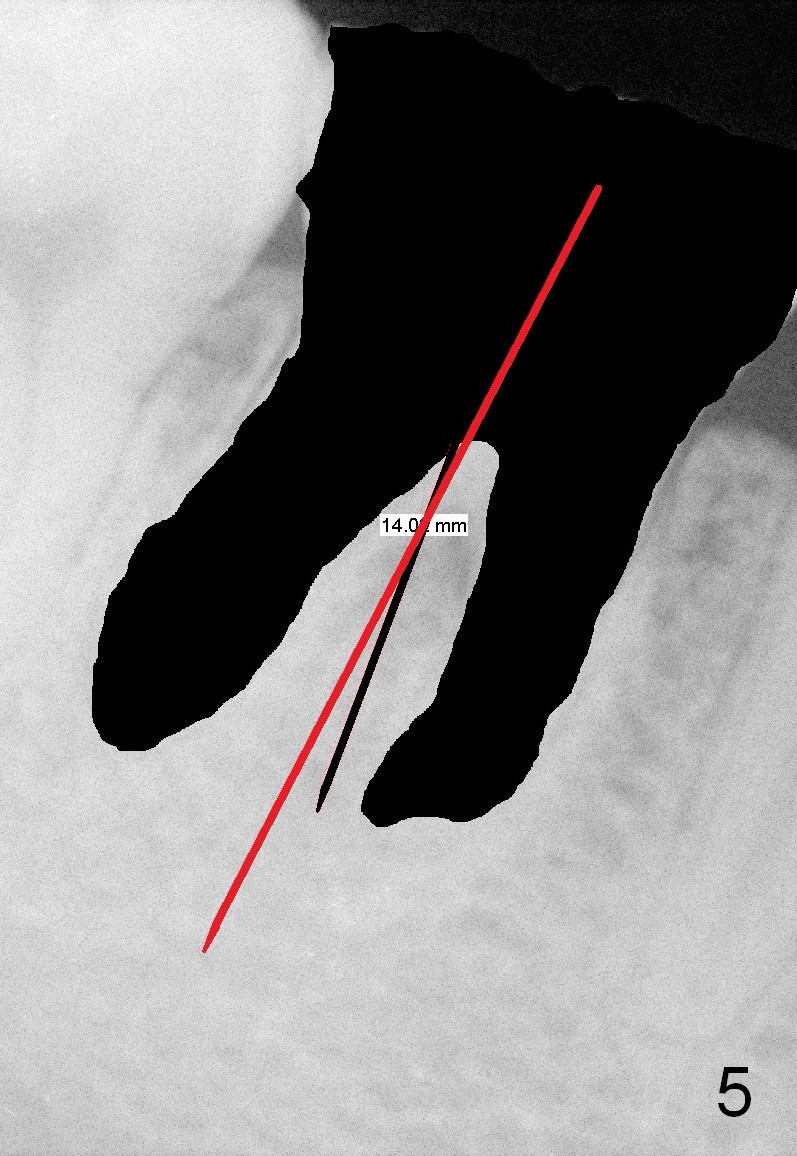
First of all, use a sharp small pilot drill (1.2, 1.5 or 2.0 mm) 3 mm shy of the extended length. For this case, the initial depth will be 14 mm from the gingival margin (Fig.3: red long arrow). If the drill is straight and in the middle of the septum (1st intraop PA), keep drilling for the next 3 mm. If the trajectory is off (Fig.4), withdraw the drill (Fig.5 black long arrow), find a new starting point, change the trajectory and finish osteotomy depth (red long arrow) if the new trajectory is deemed correct. Take more X-ray if necessary.
The following drills follow the same trajectory. This method has worked for the upper molar septum, where the base of the septum is larger.
An immediate provisional will be routine fabricated to close the socket opening and keep bone graft and membrane in place. In addition, the tooth #3 has supraerupted. The occlusal surface of the tooth #30 has been trimmed substantially (Fig.1). A temporary abutment may be used.
Return to Lower Molar Immediate Implant
Xin Wei, DDS, PhD, MS 1st edition 04/15/2015, last revision 04/15/2015