 |
 |
 |
 |
||
 |
 |
 |
 |
 |
|
From Guide to Free Hand
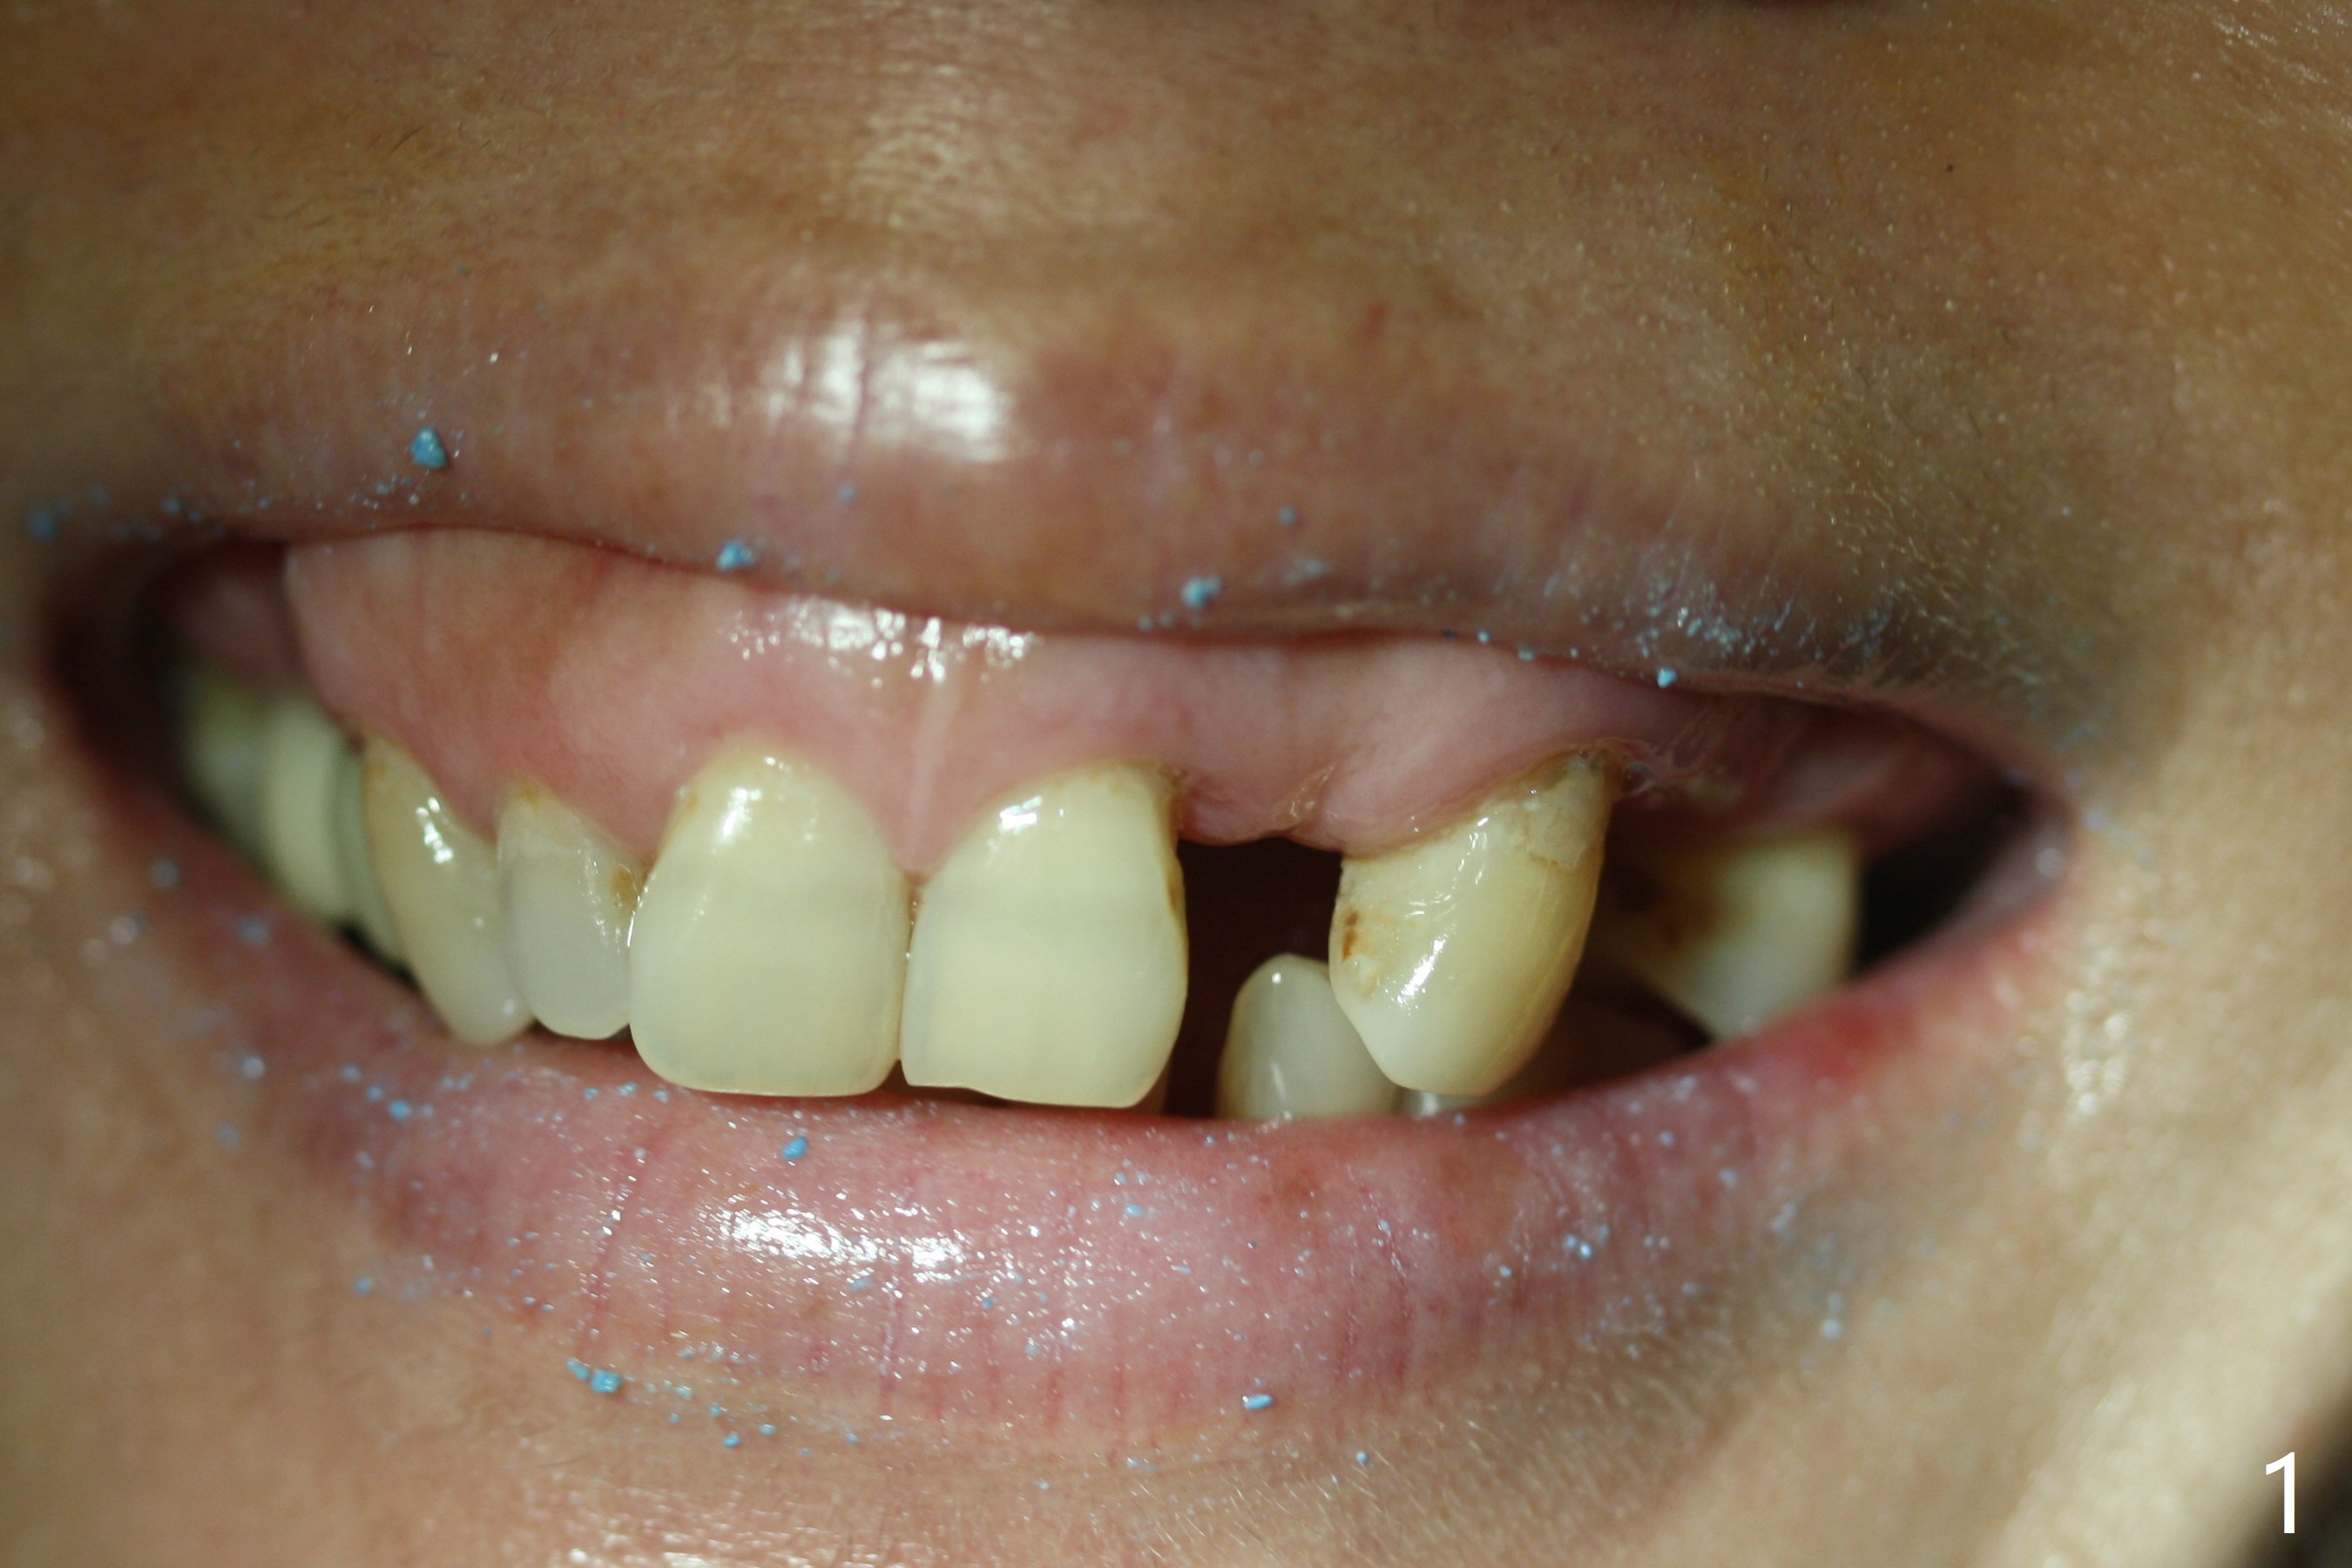
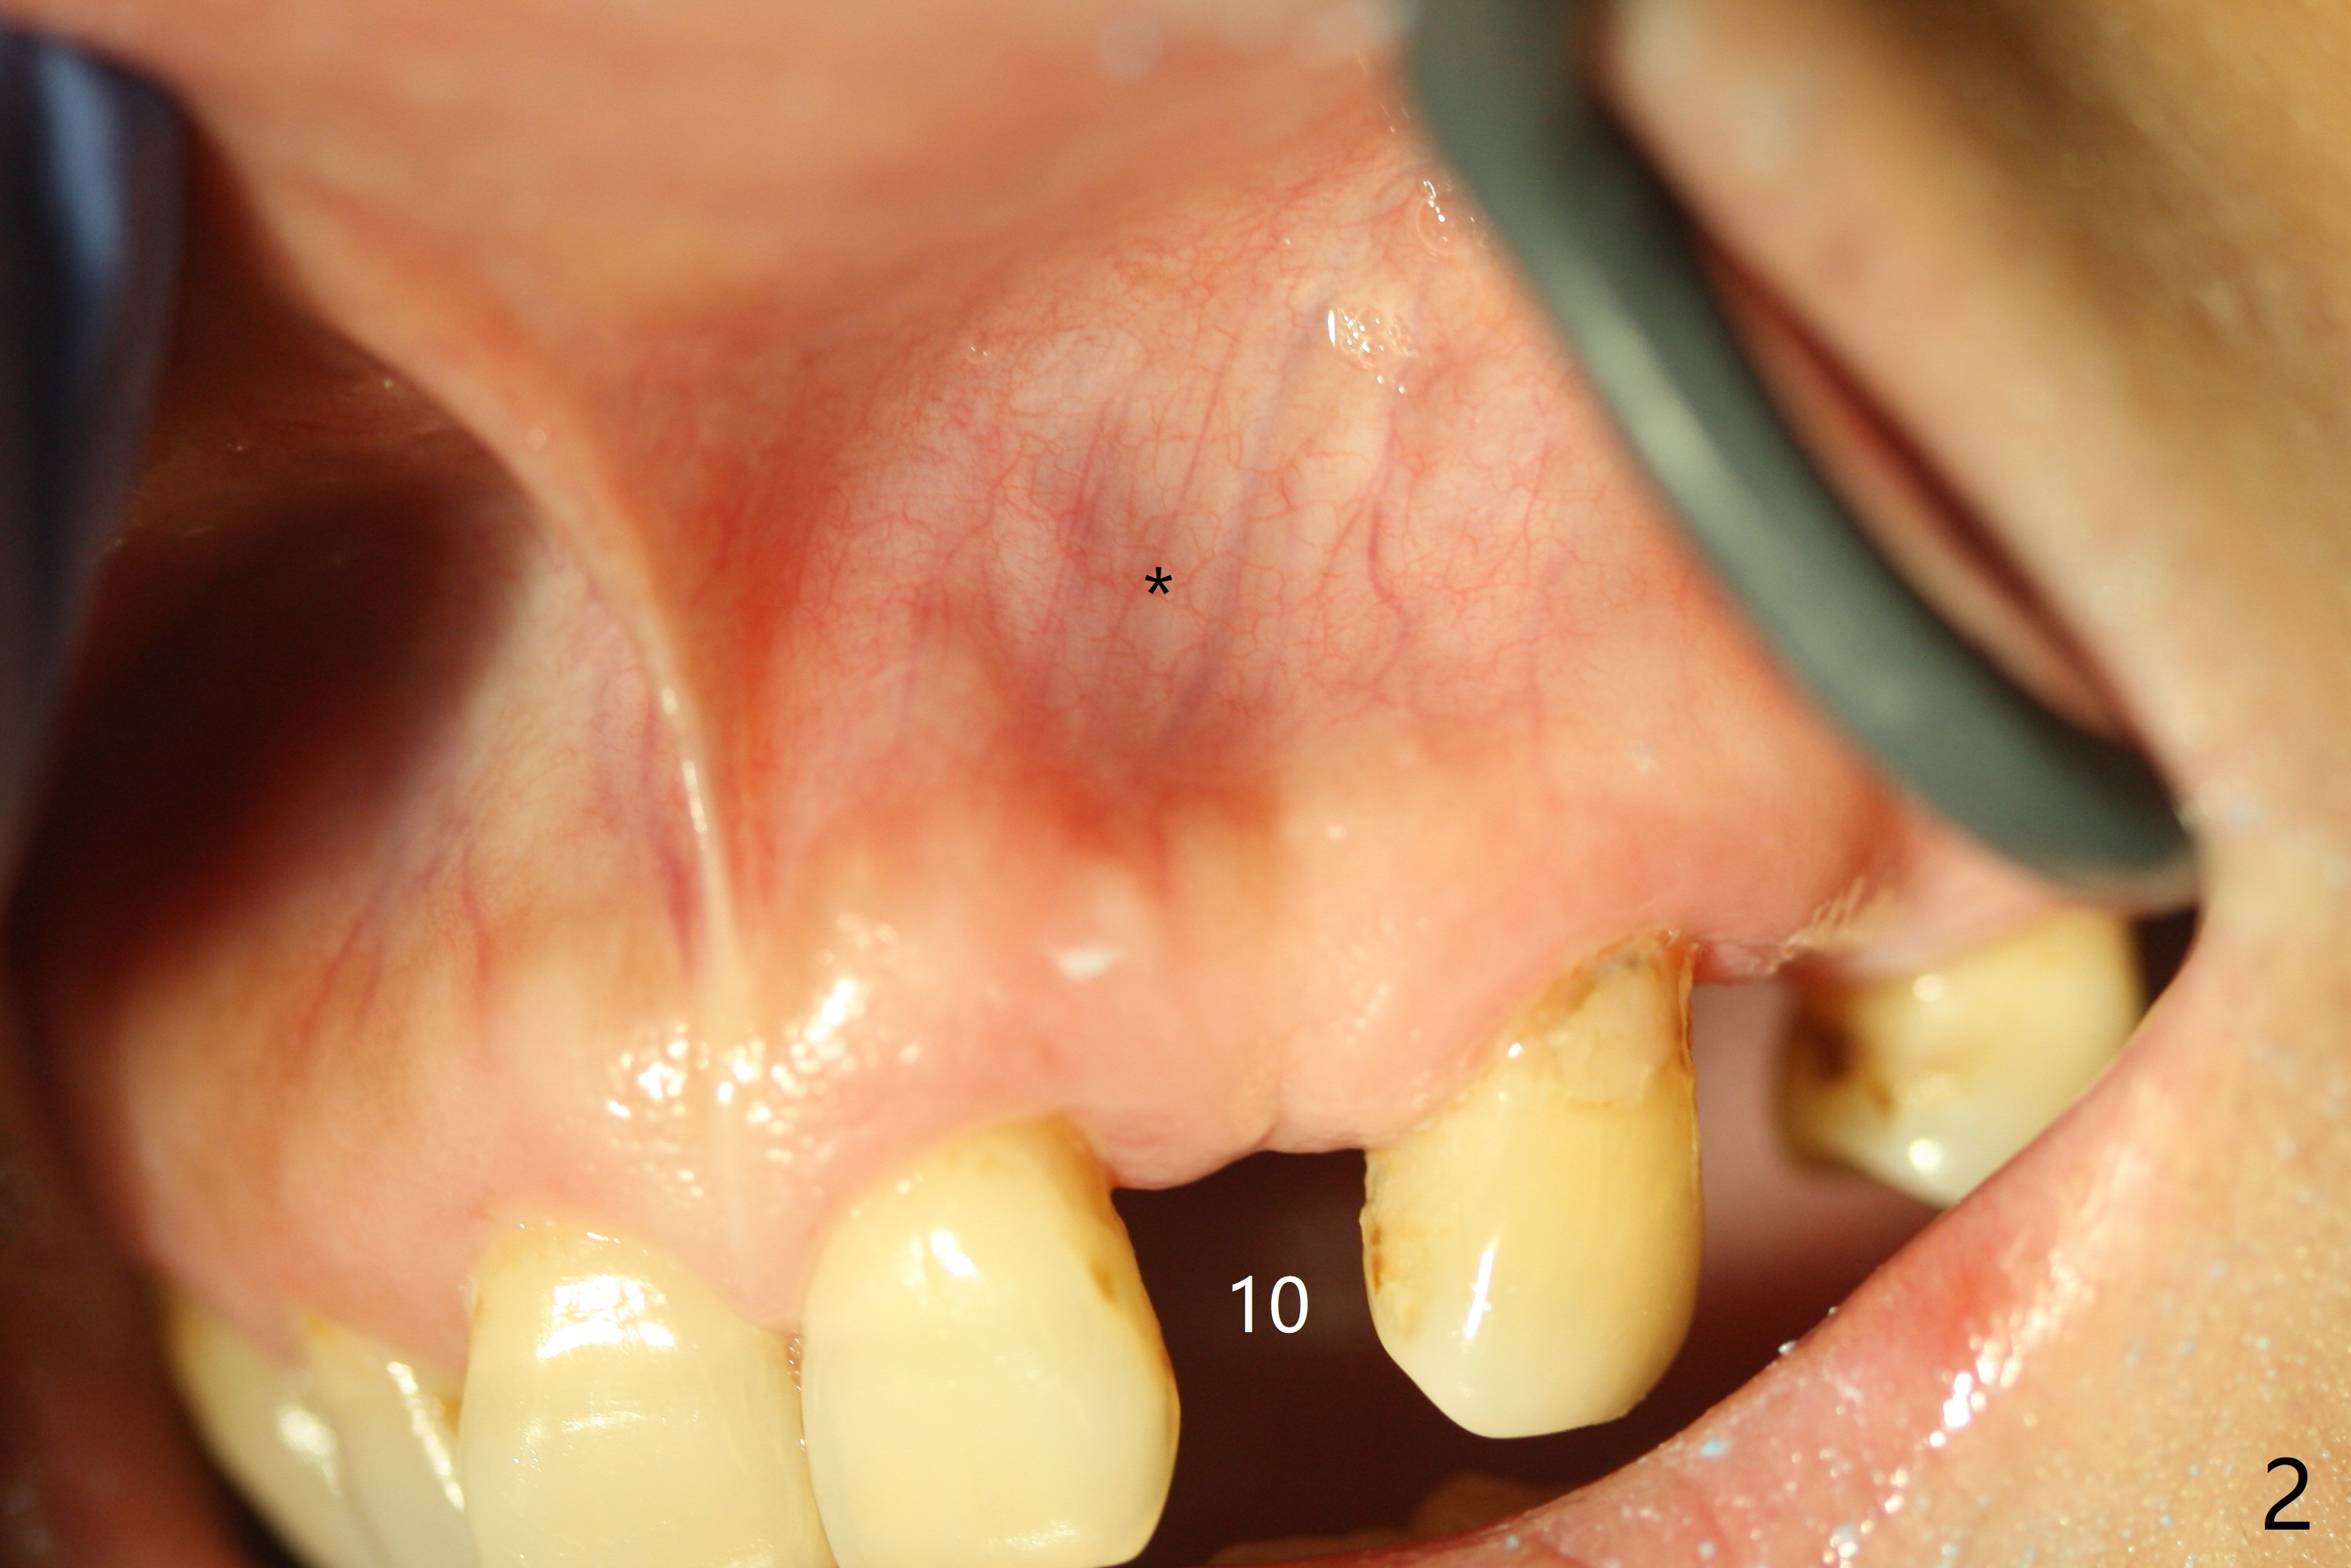
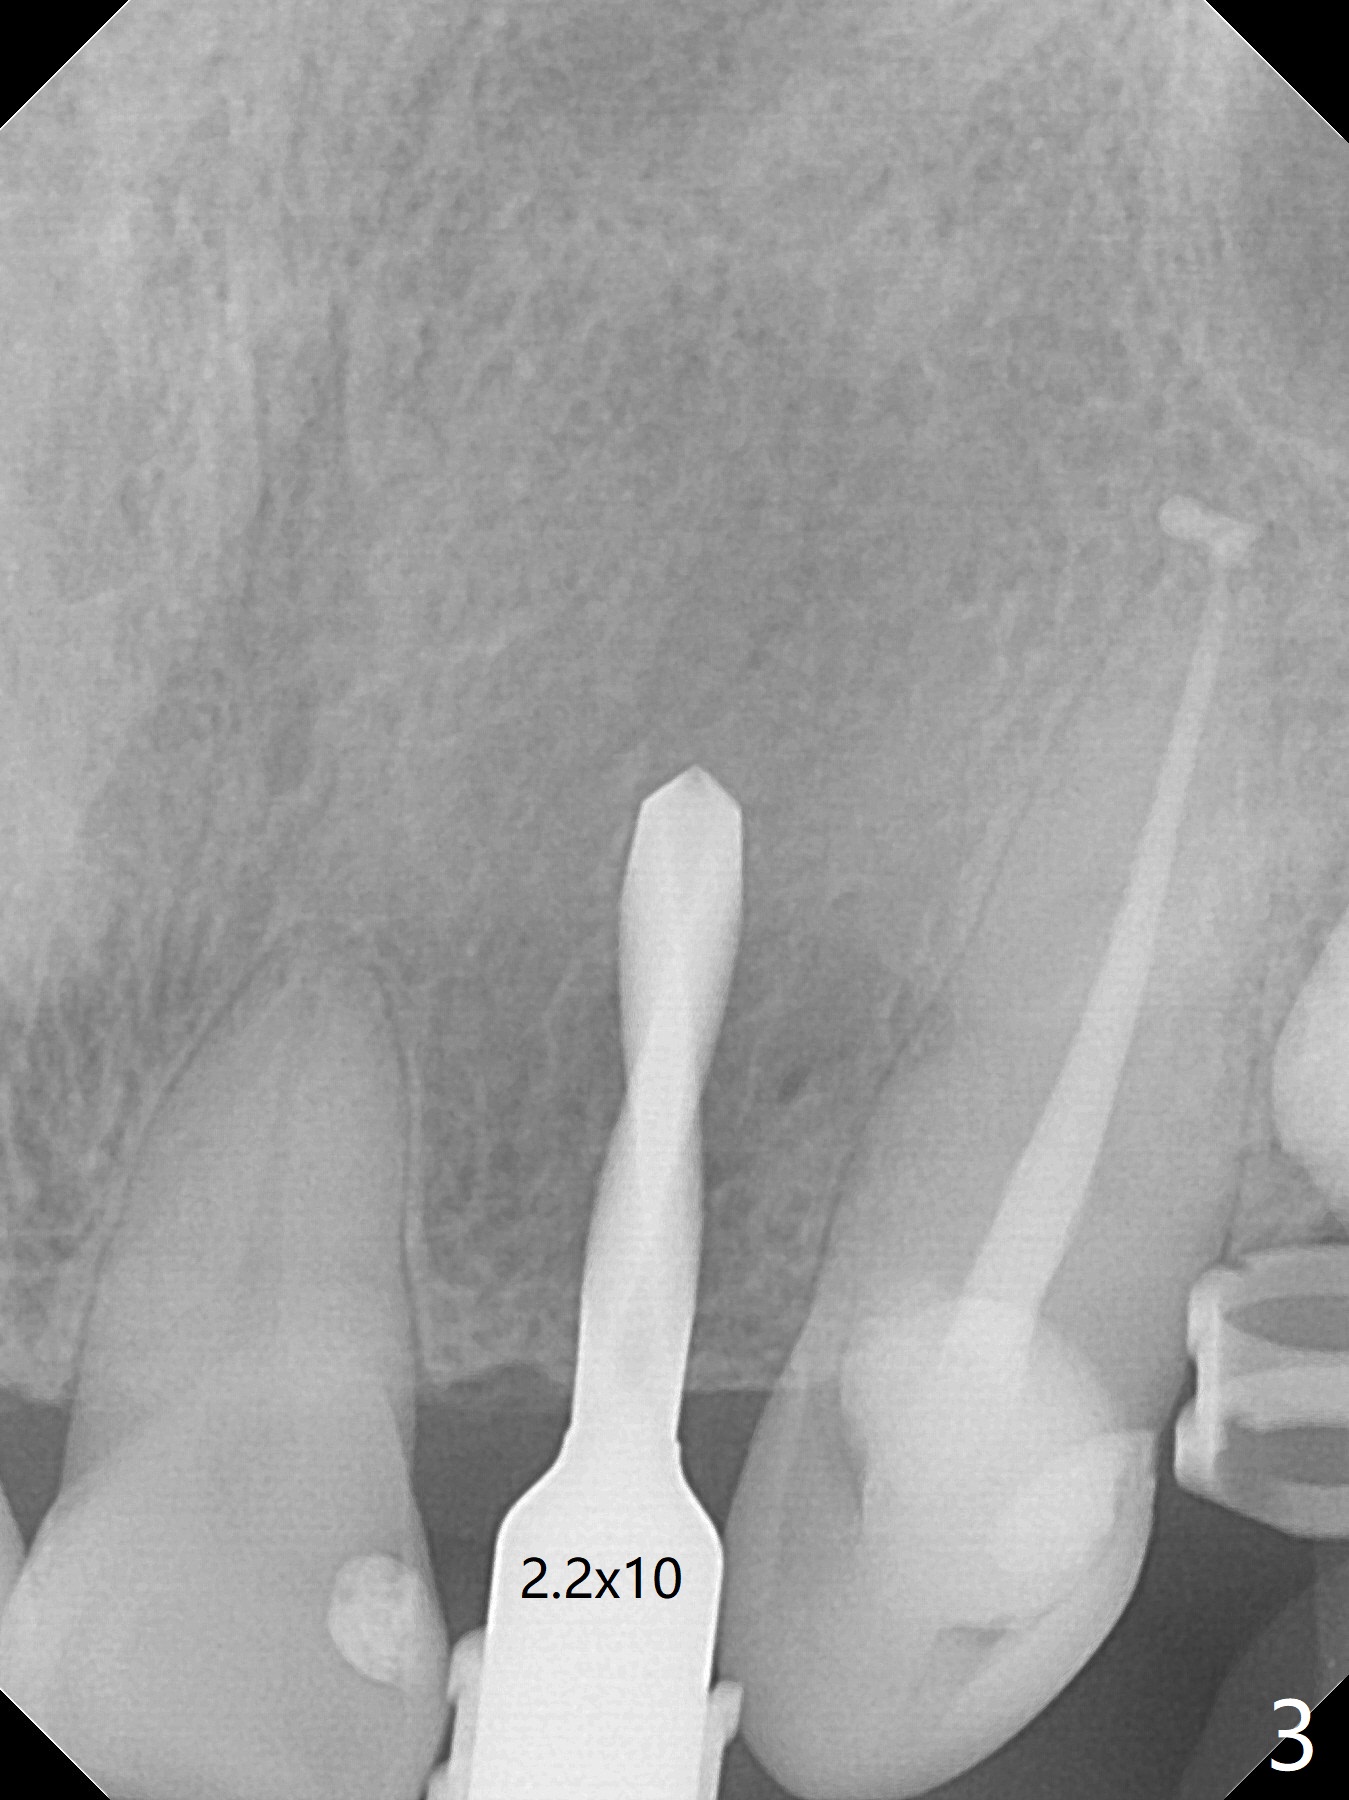
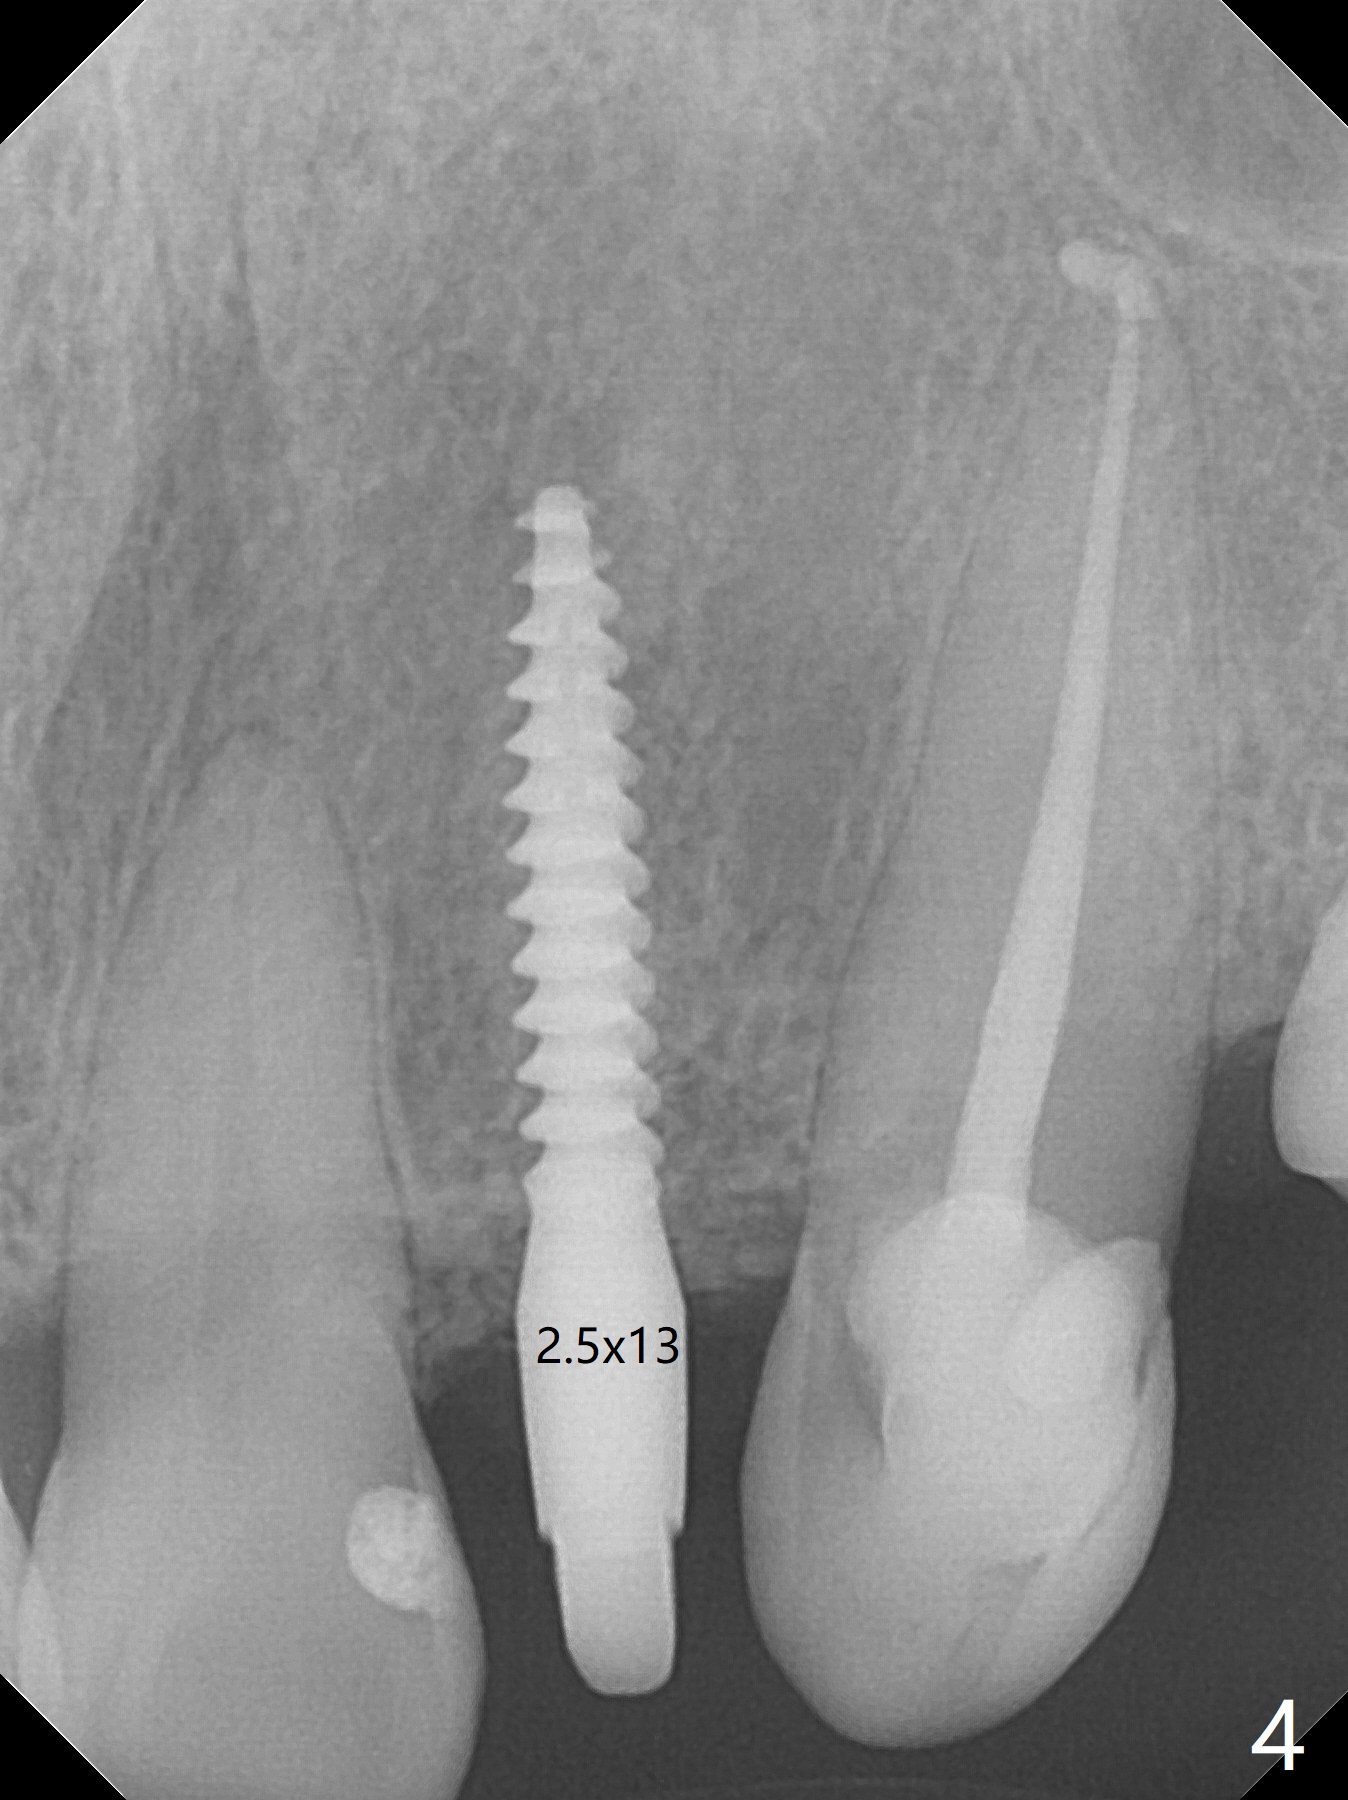
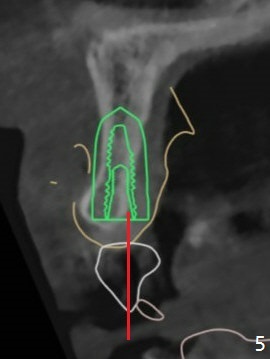
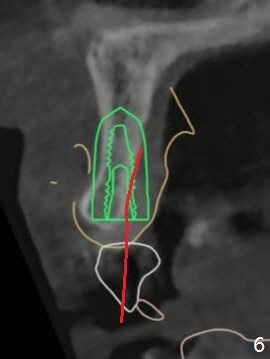
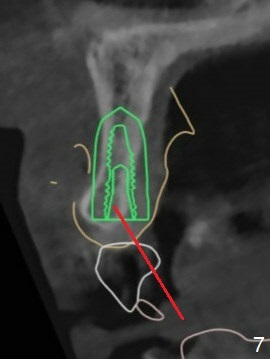
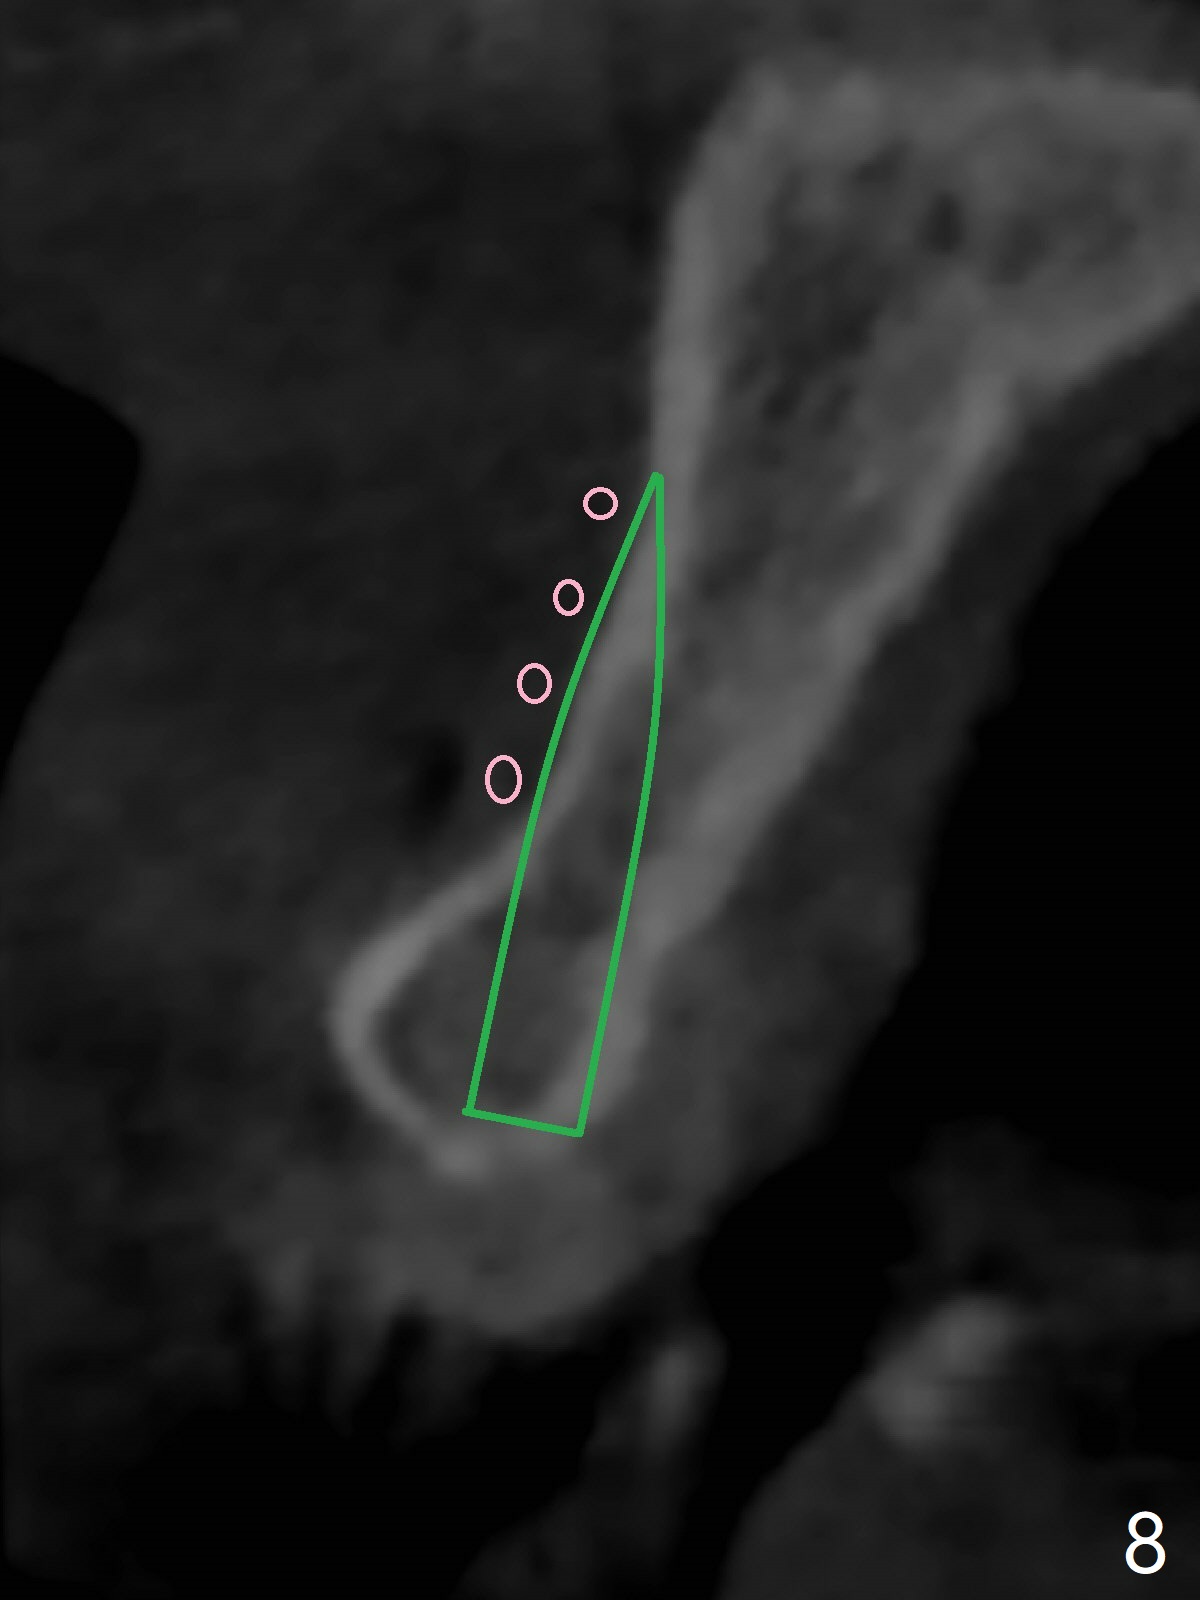
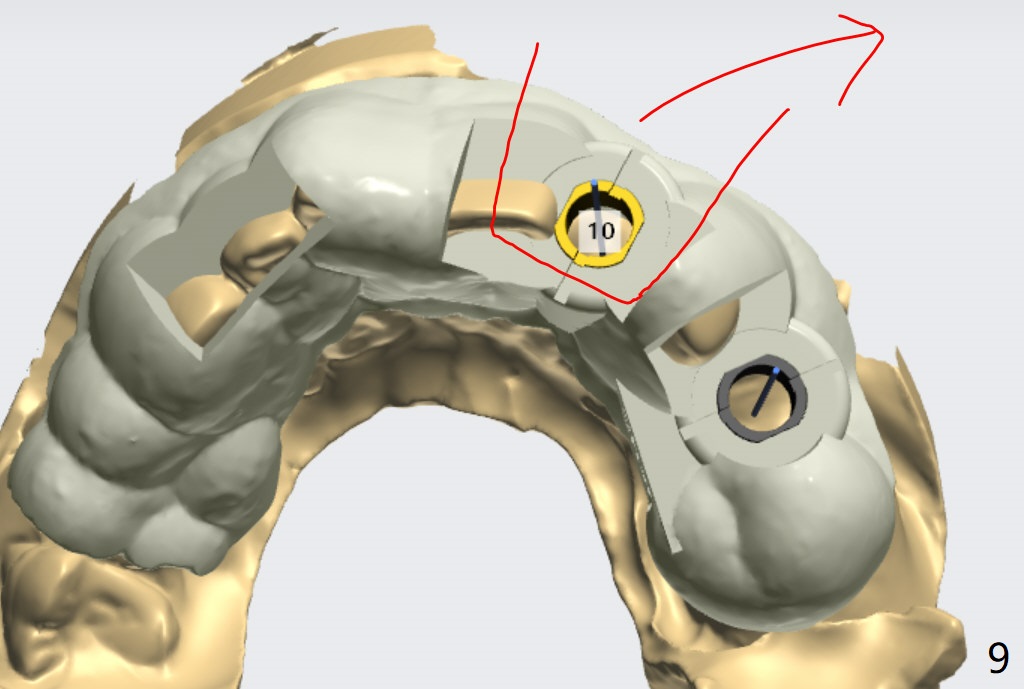
The patient has gummy smile (Fig.1). The edentulous ridge at #10 has buccal concavity (Fig.2 *). The surgical guide fits well without #9 distal trimming. With 34 mg Xylocaine and 17 mcg Epinephrine infiltration at #10 and 12, the patient feels pain when 2.2 (in fact 1.9) x8.5 mm drill is being used. When Septocaine is added, the osteotomy at #10 is found distal. Out of curiosity, PA is taken with 2.2x10 mm drill in place; its trajectory seems satisfactory (Fig.3). When a 2.5x13 mm 1-piece implant is placed free hand, it deviates palatal, which is confirmed with incision after addition of 34 mg Xylocaine and 34 mcg Epinephrine. A new osteotomy is created by S-Mini Kit buccal to the previous one. With Lindamann bur to adjust the position of the new osteotomy twice, the last drill (2.0 mm) apparently starts to perforate the apical portion of the buccal plate. The perforation seems to enlarge when the mini implant is re-placed (Fig.4, 8 (green area) <30 Ncm). With Vanilla graft (Fig.8 pink circles) and abutment height adjustment (Fig.4), a provisional is fabricated with occlusal clearance. There are two reasons for failure of the surgical guide: failure to trim the tooth #9 distal (minor palatal guide displacement, Fig.5) and deflection of pointed drill and 2.2 mm drills over the hard palatal plate slope (Fig.6). To avoid this complication, the pointed drill should be done free hand initially, after incision and obliquely (Fig.7). The guide is placed to finish the rest of osteotomy if deem to be appropriate.
Return to Upper Incisor Immediate Implant Trajectory Guided Surgery Xin Wei, DDS, PhD, MS 1st edition 09/24/2018, last revision 11/07/2018