
 |
 |
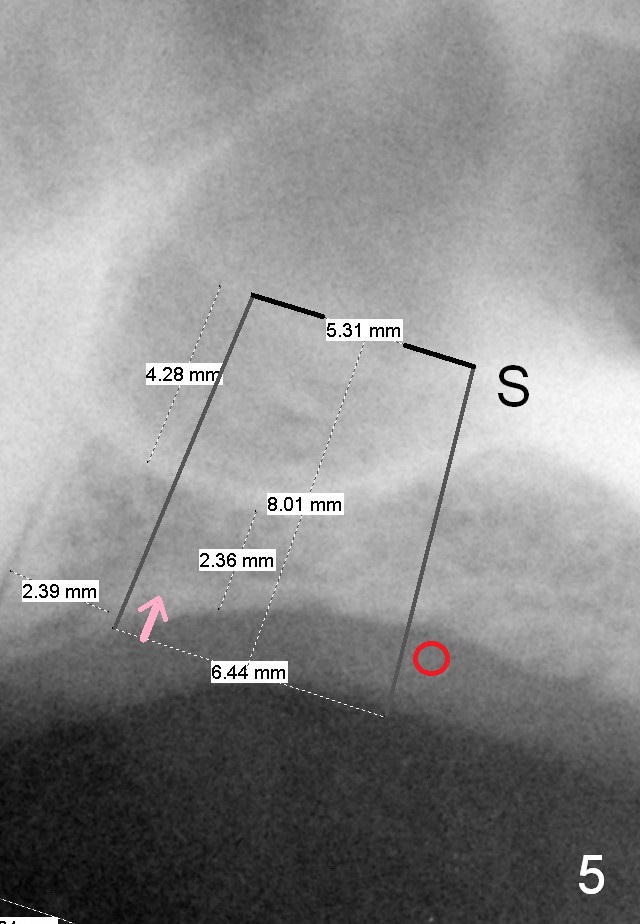
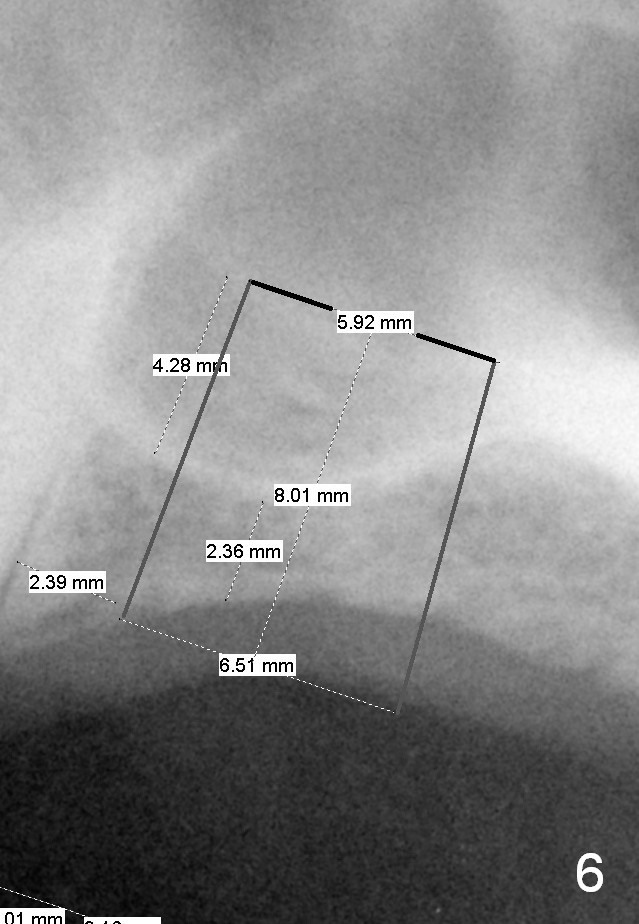
Another set of choice will be bone-level implants (SM and UF). The advantage of the former is its taper; the difference of the base and apex diameter is 1.1 mm (Fig.5 vs. 0.6 mm for UF (Fig.6)). It appears that a smaller parallel-walled drills can be used for the former (underprep) so that primary stability is more easily achievable. But according to the manufacture, the design of the latter allows the threads to be more aggressive. The surface treatment of the latter is more advanced (hybrid sand blast & acid etched vs. resorbable blast media; osseointegration occurs quicker for the latter). Or a trephine bur in each cassette will be used to start osteotomy. There is a 2 mm increment mark over the trephine bur, easily identified. The bone height in the center is ~ 2 mm. After removal of 2 mm bone with the smallest bur (Ø3.9/Ø4.7mm), use the small graft syringe to transport mixture of autogenous bone (from trephine bur), allograft and Osteogen to the osteotomy site and use 4.5 or 5.0 mm Bicon Osteotome to push the graft upward (3-4 times). The depth is from 2 to 4 mm gradually. Then use the smallest tap (5.9 mm) to push more graft upward (4-6 mm) and take PA. If stability is not high, use the next sized tap. The implant should be placed slightly subcrestally mesially (Fig.5 arrow), while slightly supracrestally distally with bone graft (red circle). If the sinus membrane ruptures severely, extend the envelop incision for lateral window approach.
Xin Wei, DDS, PhD, MS 1st edition 02/15/2015, last revision 02/17/2015