 |
 |
 |
 |
 |
|
Immediate Provisional for Upper 1st Molar with Ortho Consideration
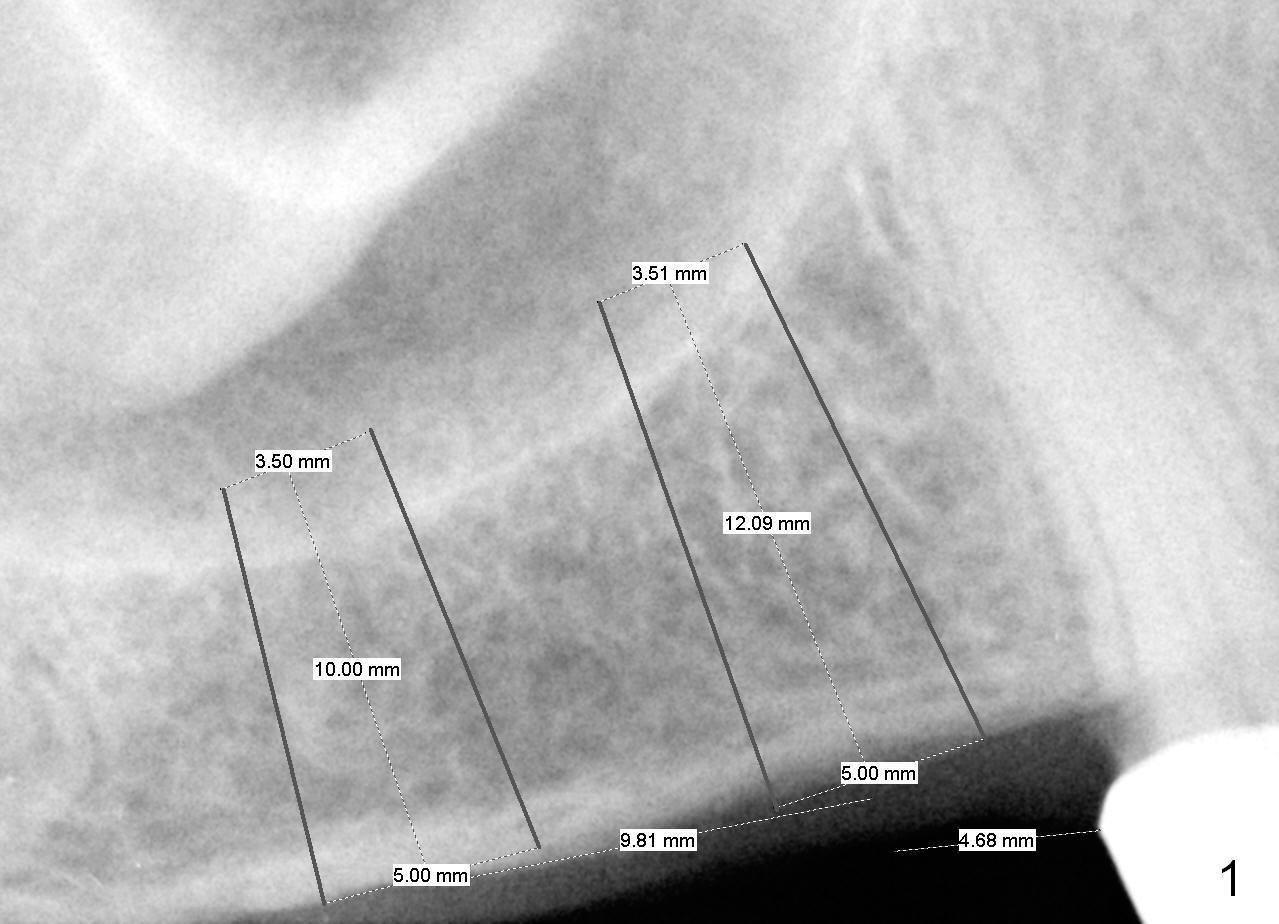
The patient will return for #3 implant. Prepare 4 and 6 mm tissue punches, since his ridge is wide. Implant spacer is set 4.5 mm, as compared to 5 mm normally, because the tooth #4 has shifted distally. Limited ortho using #5 as an anchorage is going to mesialize #4. Add acrylic to #5 temp occlusal surface and wire hooks to the buccal and palatal surfaces of the temp as shown in Fig.10. Create space between #4 and 5. Add composite in the buccal and lingual surfaces as stops to prevent power chains from sliding.
Initial osteotomy will be 10 mm. If the bone feels soft while 2 mm pilot drilling, use bone expanders until 2 sizes smaller than 5 mm SM implant (notice the apical diameter). Eventually use bone graft to lift the sinus floor. If the bone is not soft, use DIO burs in a slow speed to see whether autogenous bone can be collected or not.
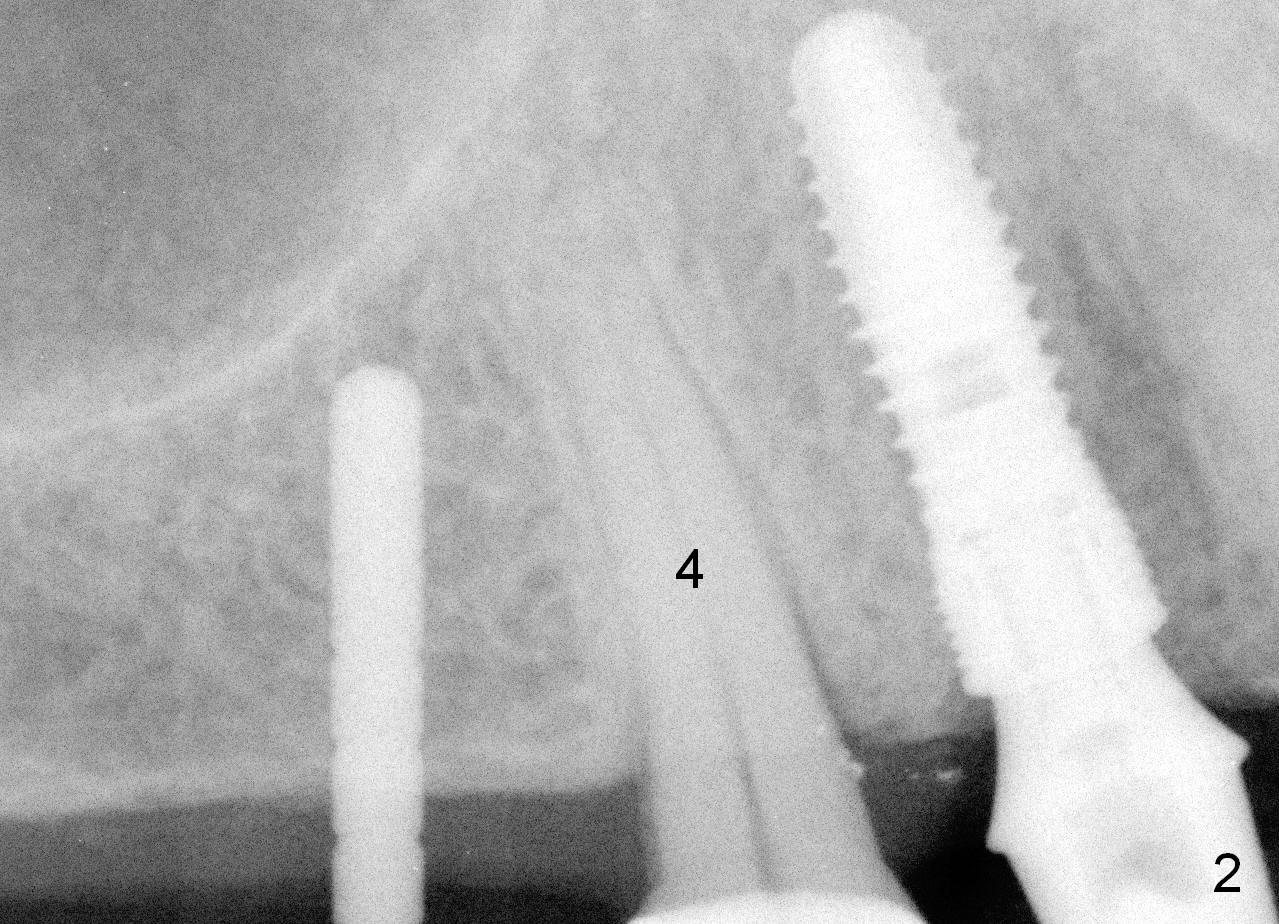
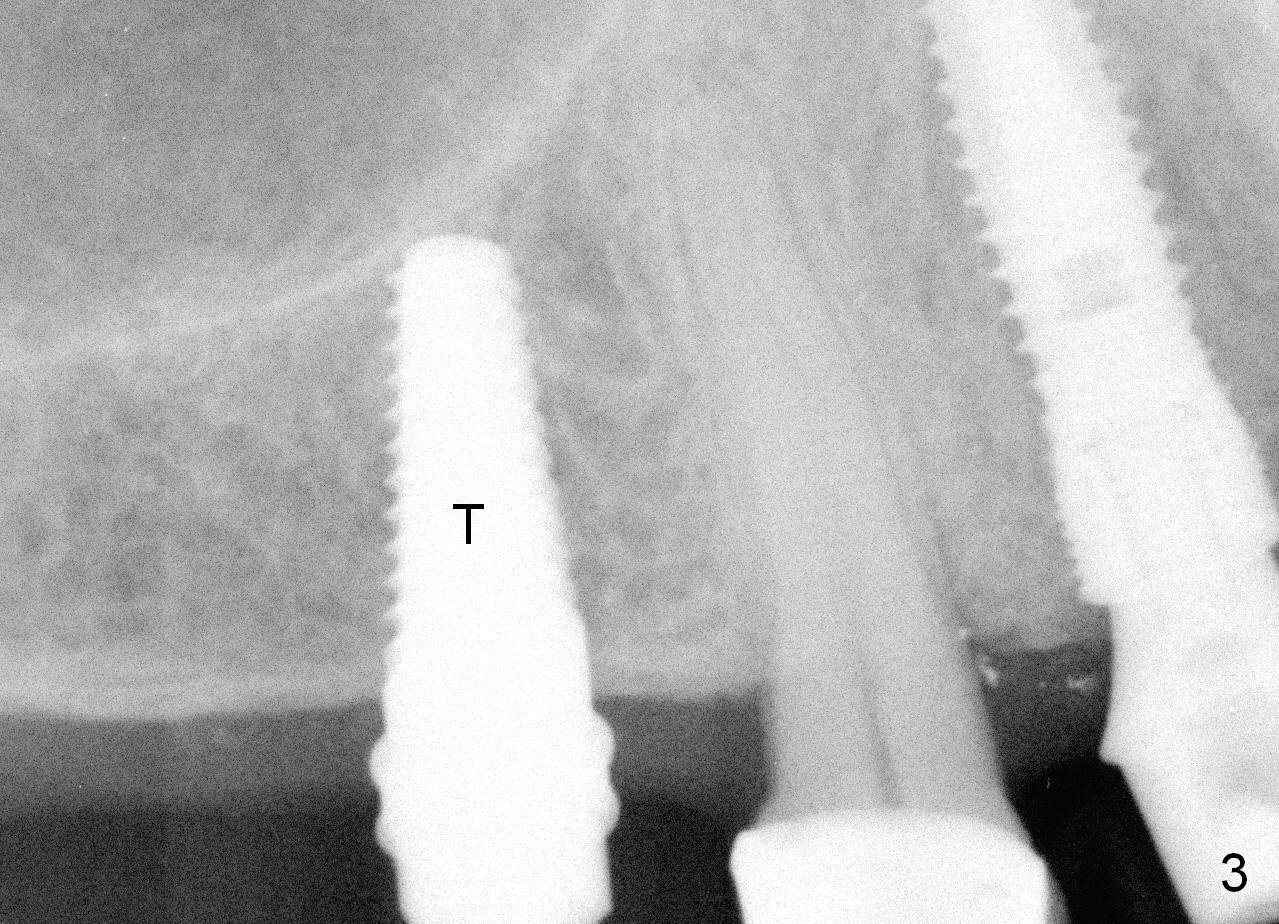
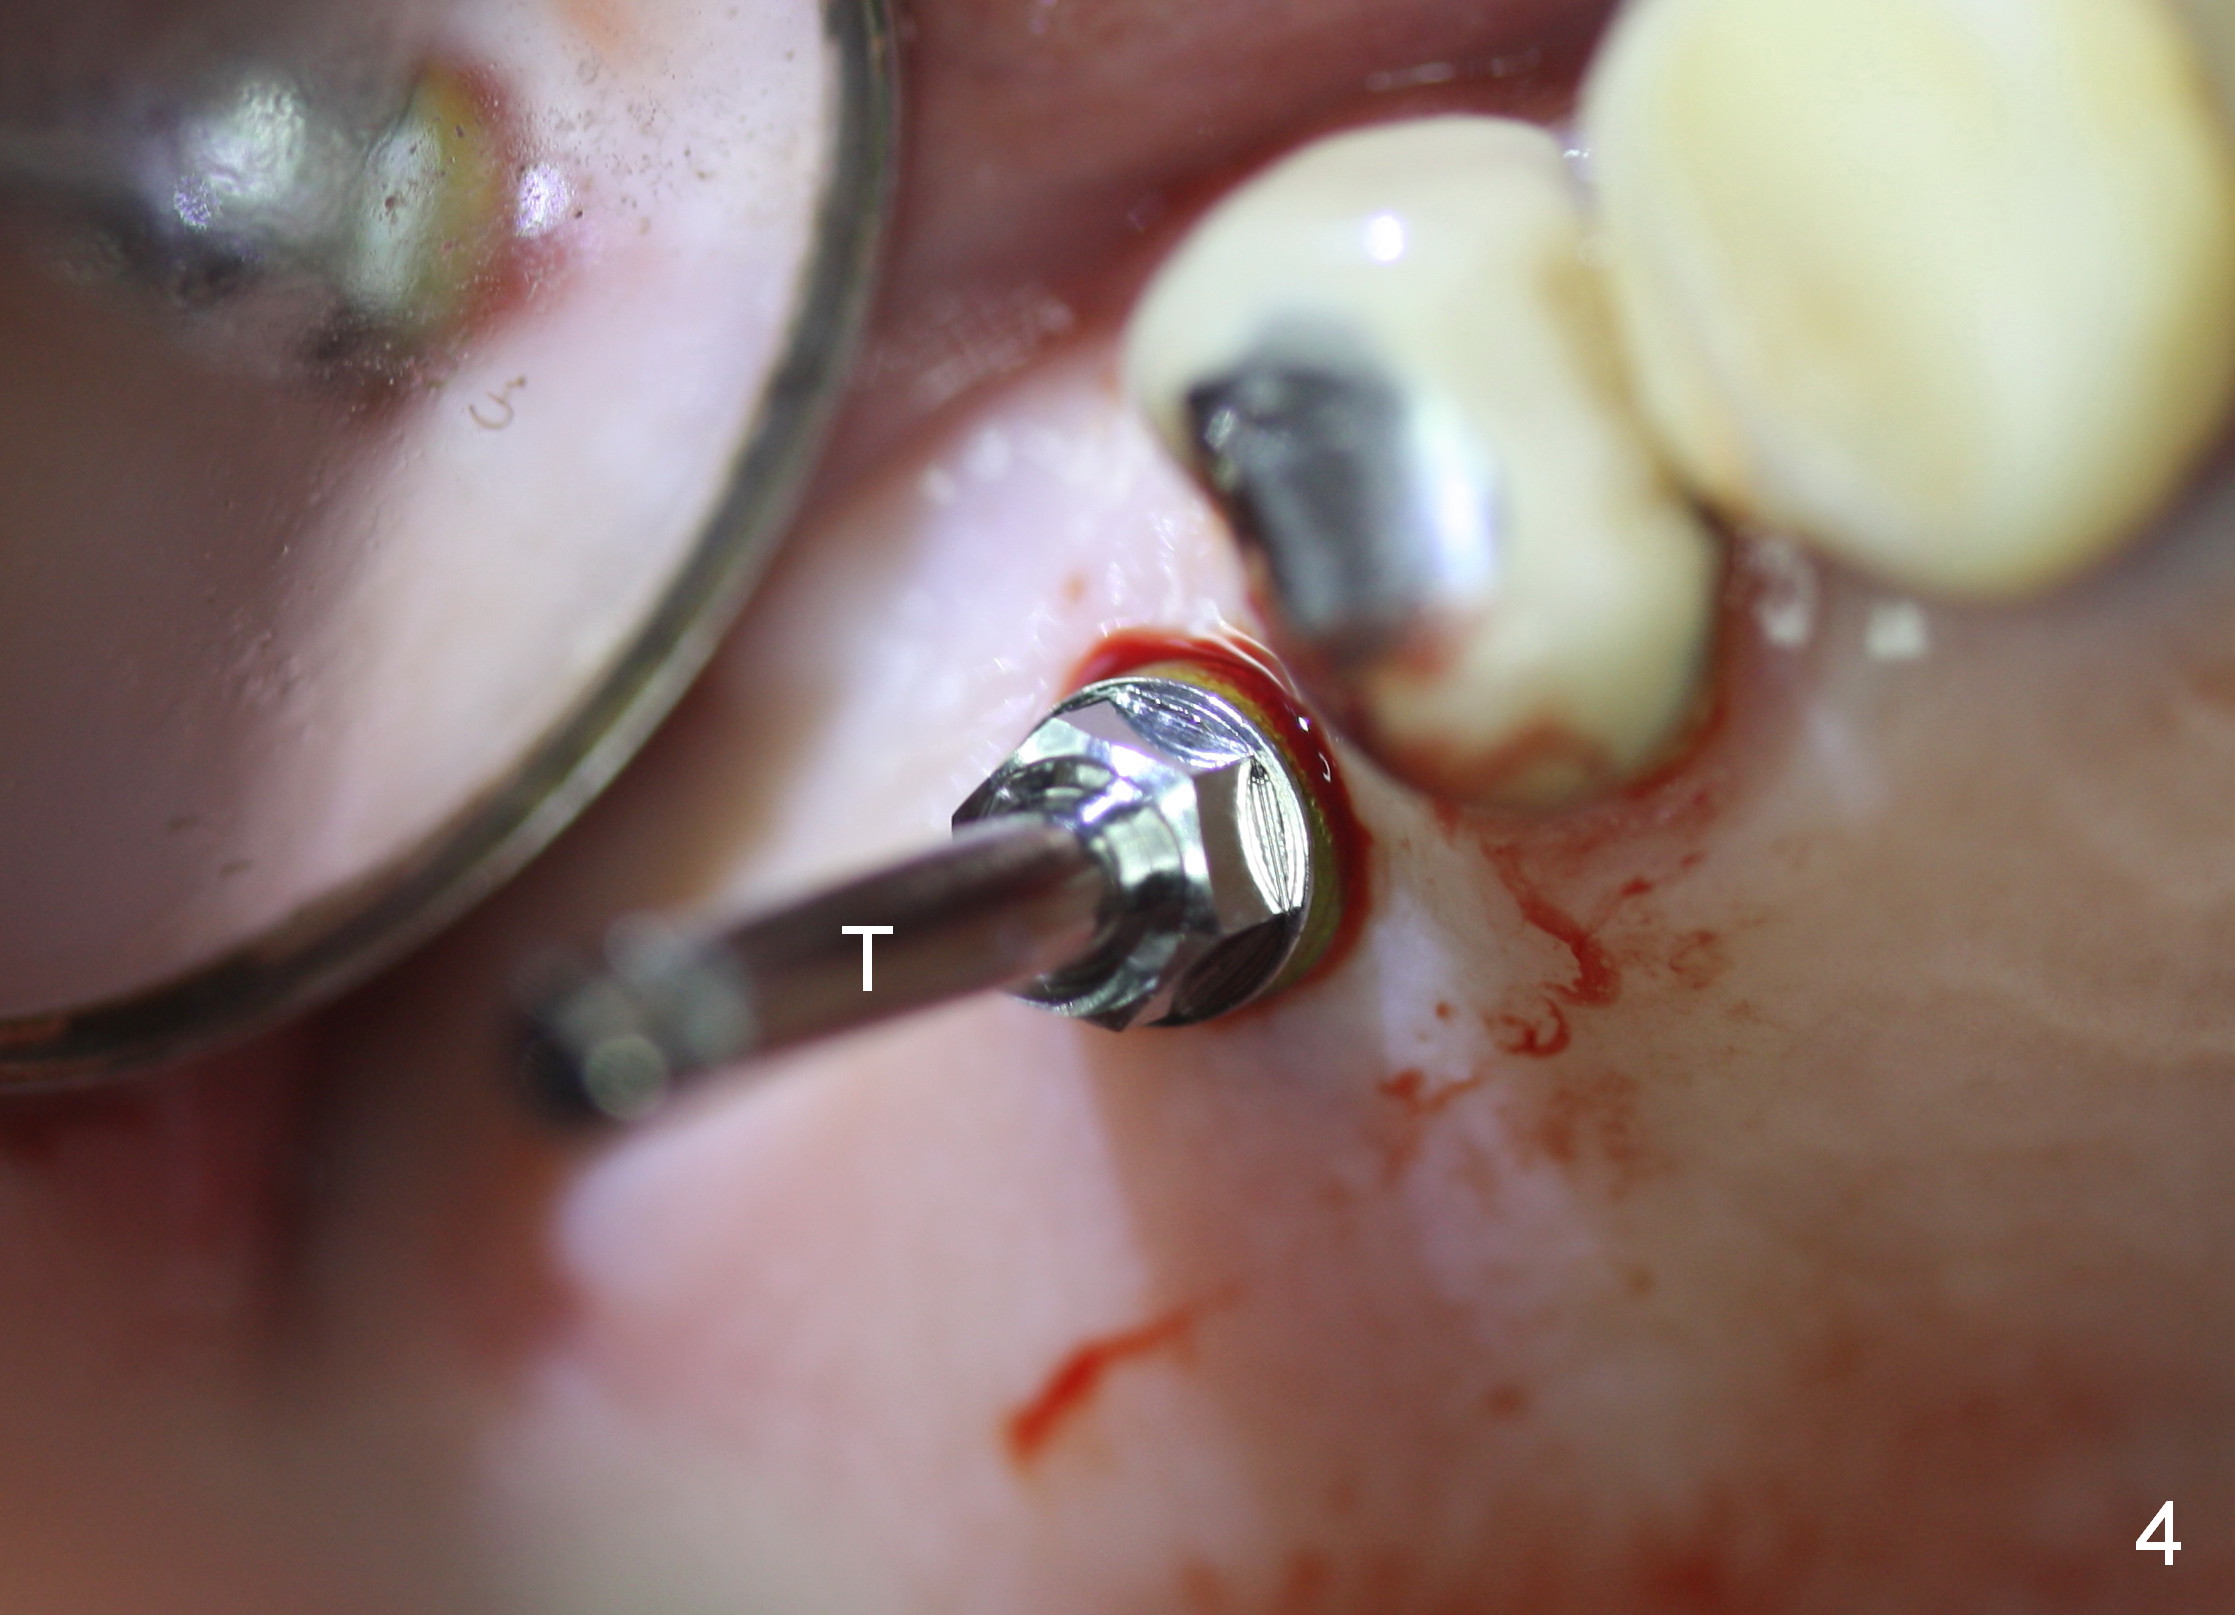
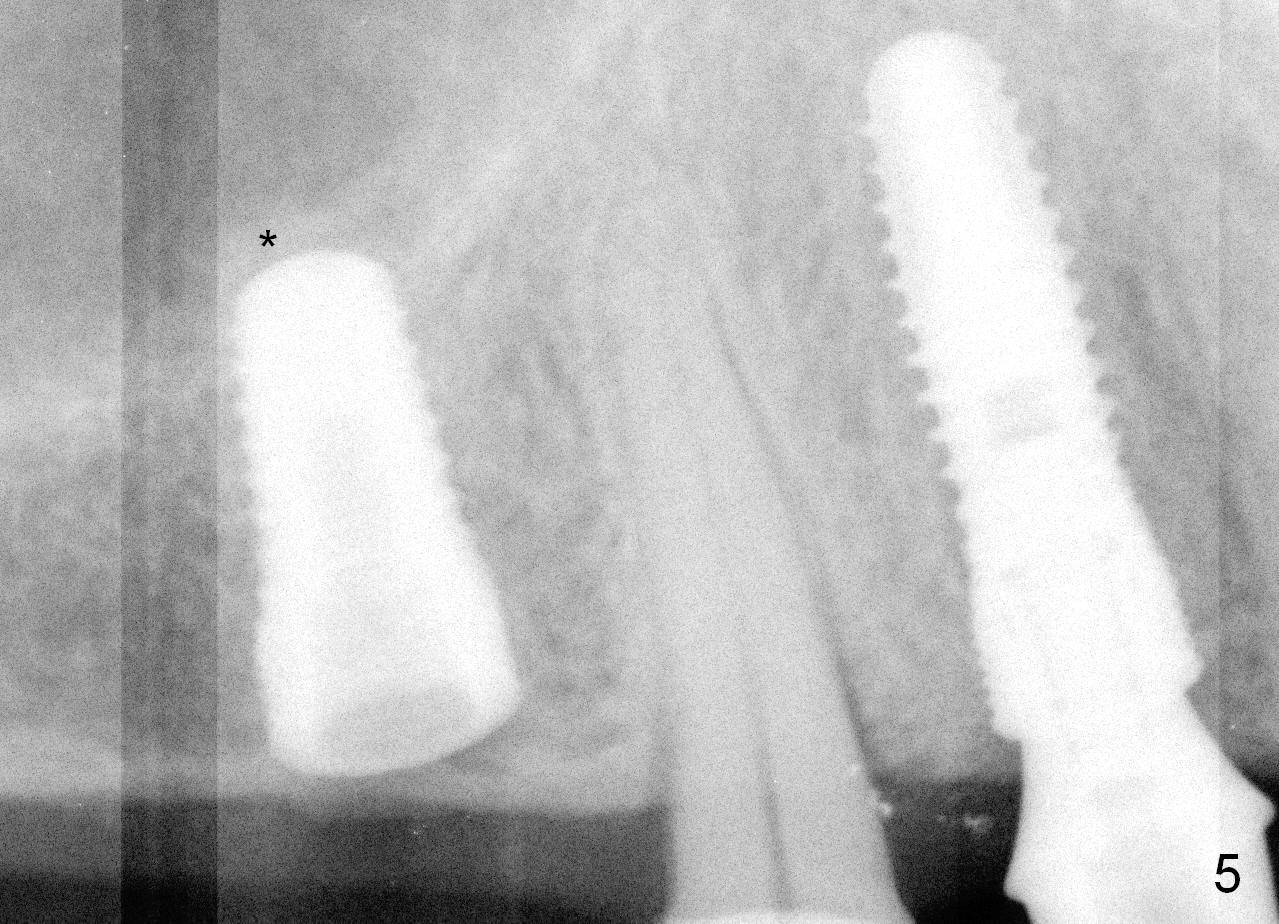
Both the teeth #30 and 31 are supraerupted. There is no restorative space for #2. So #3 implant will support the most distal crown. A 4 mm tissue punch is used, followed by a 2 mm pilot drill. Bone type is 3. A parallel pin shows that the trajectory needs to be adjusted (Fig.2). By the time a 4.5 mm tap is placed, the trajectory is within normal limit (Fig.3,4 T). A 5.3x10 mm implant is placed with insertion torque > 60 Ncm (Fig.5; *: sinus lift). After insertion of an abutment, an immediate provisional is fabricated with intention to prevent further supraeruption of the tooth #30 during #3 implant osteointegration.
Acrylic is added to the occlusal surface of the provisional to reduce the chance of occlusal trauma to the provisional at #3. Since no implant is placed at #2, mesialization of #4 is canceled.
Return to Professionals,
Implant & Ortho,
Posterior Immediate Provisional, Upper
Molar Immediate Implant
Xin Wei, DDS, PhD, MS 1st edition 05/19/2015, last revision 05/22/2015