|
|
|
|
||
|
|
|
|
|
|
|
|
|
|
|
|
|
|
|
|
||
|
|
|
|
||
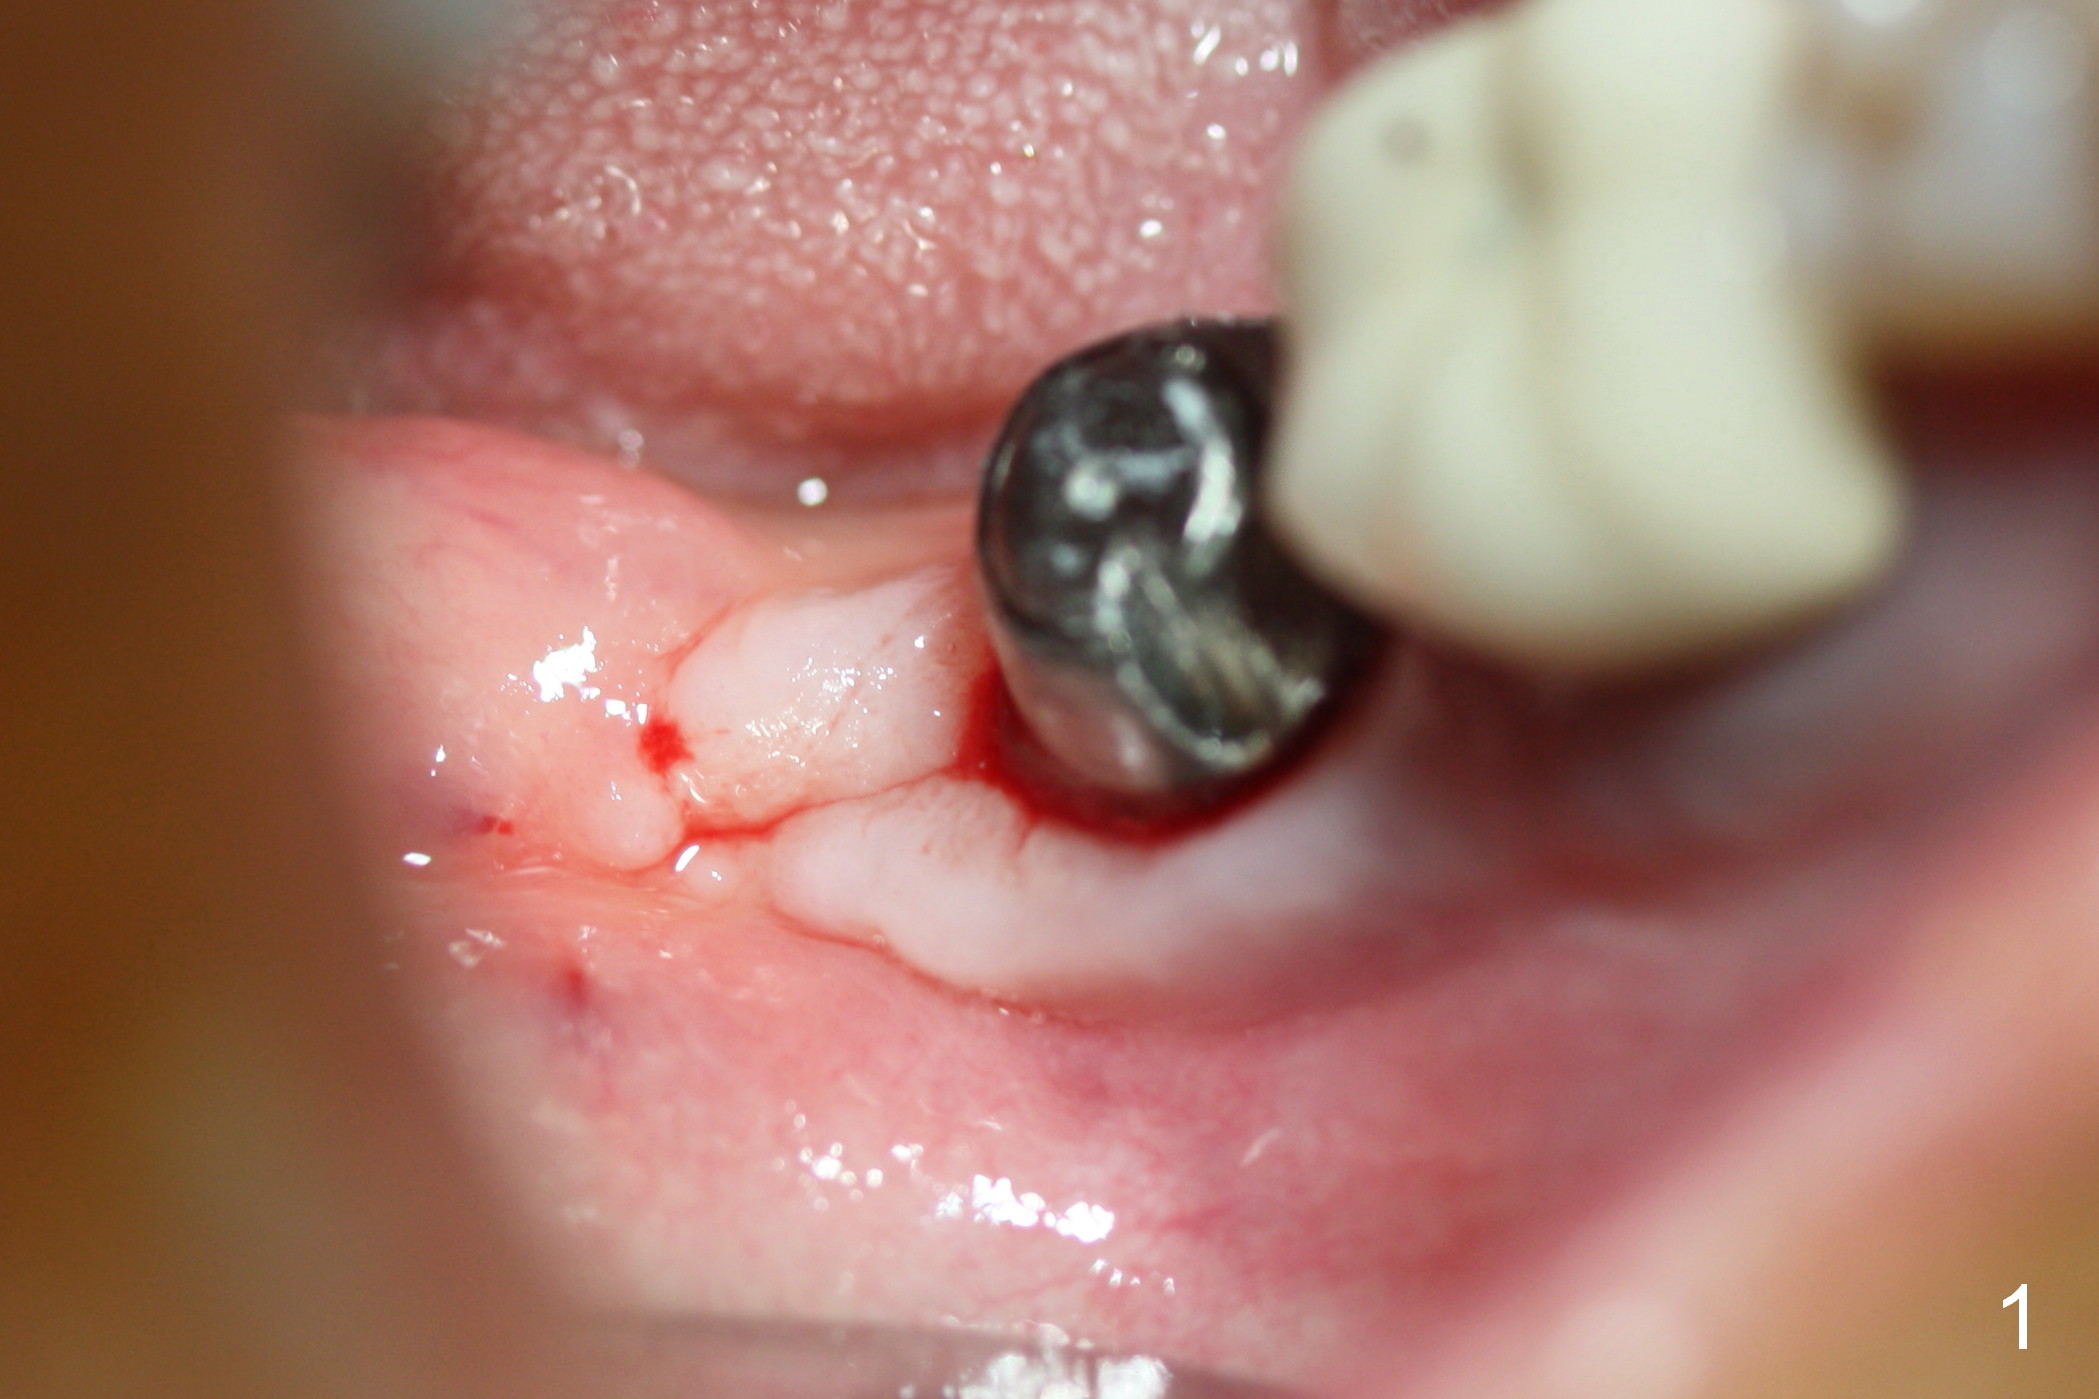
Thread Exposure after Immediate Implant: How to Prevent it?
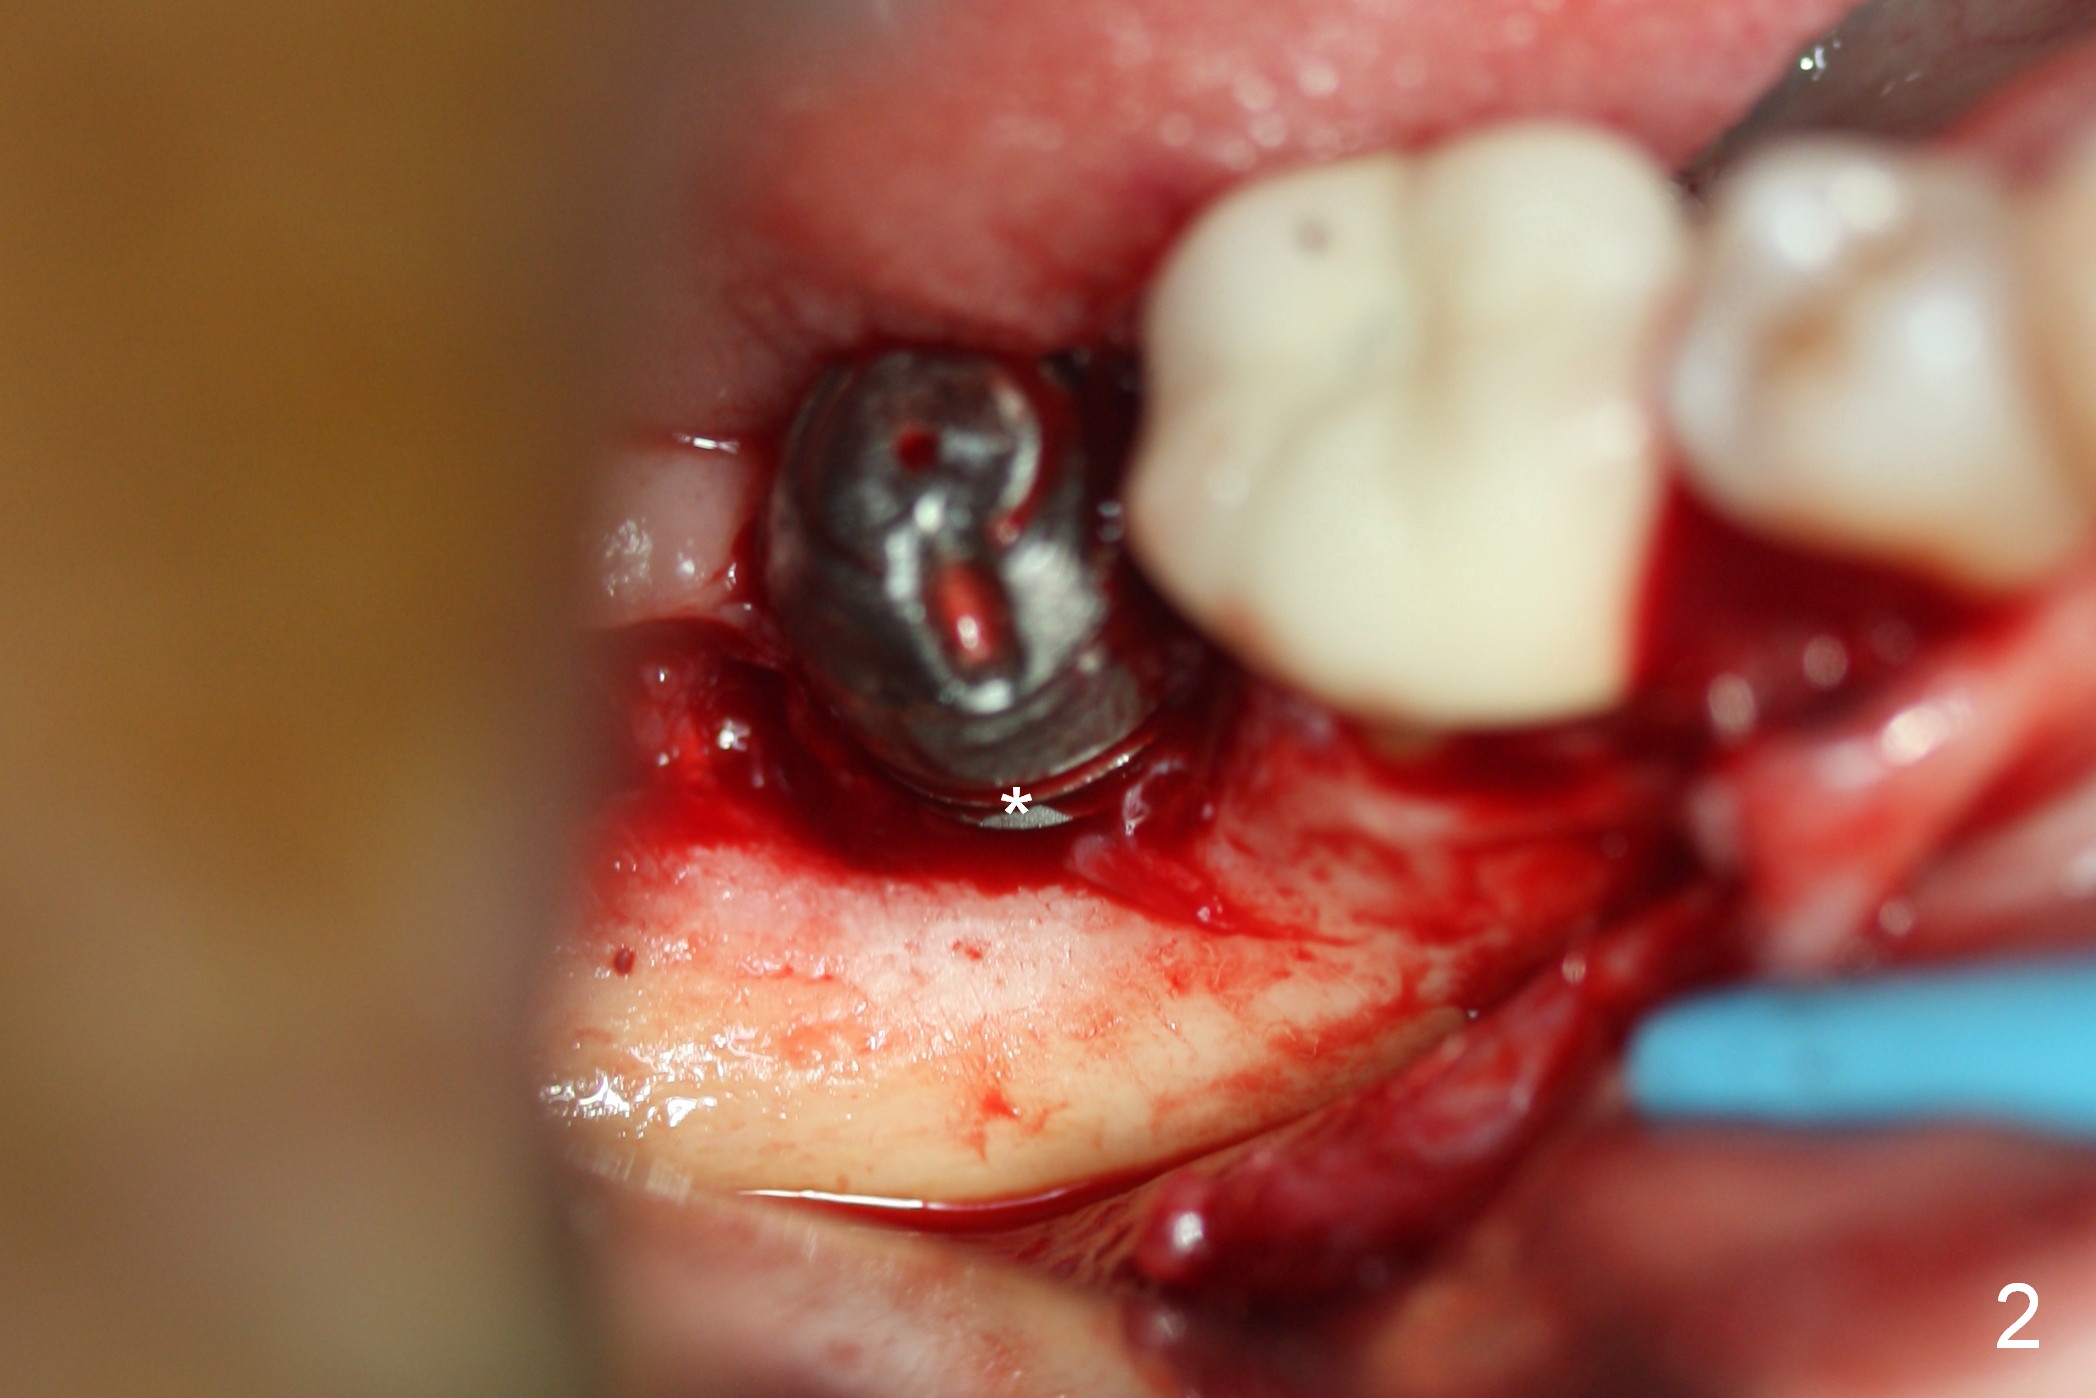
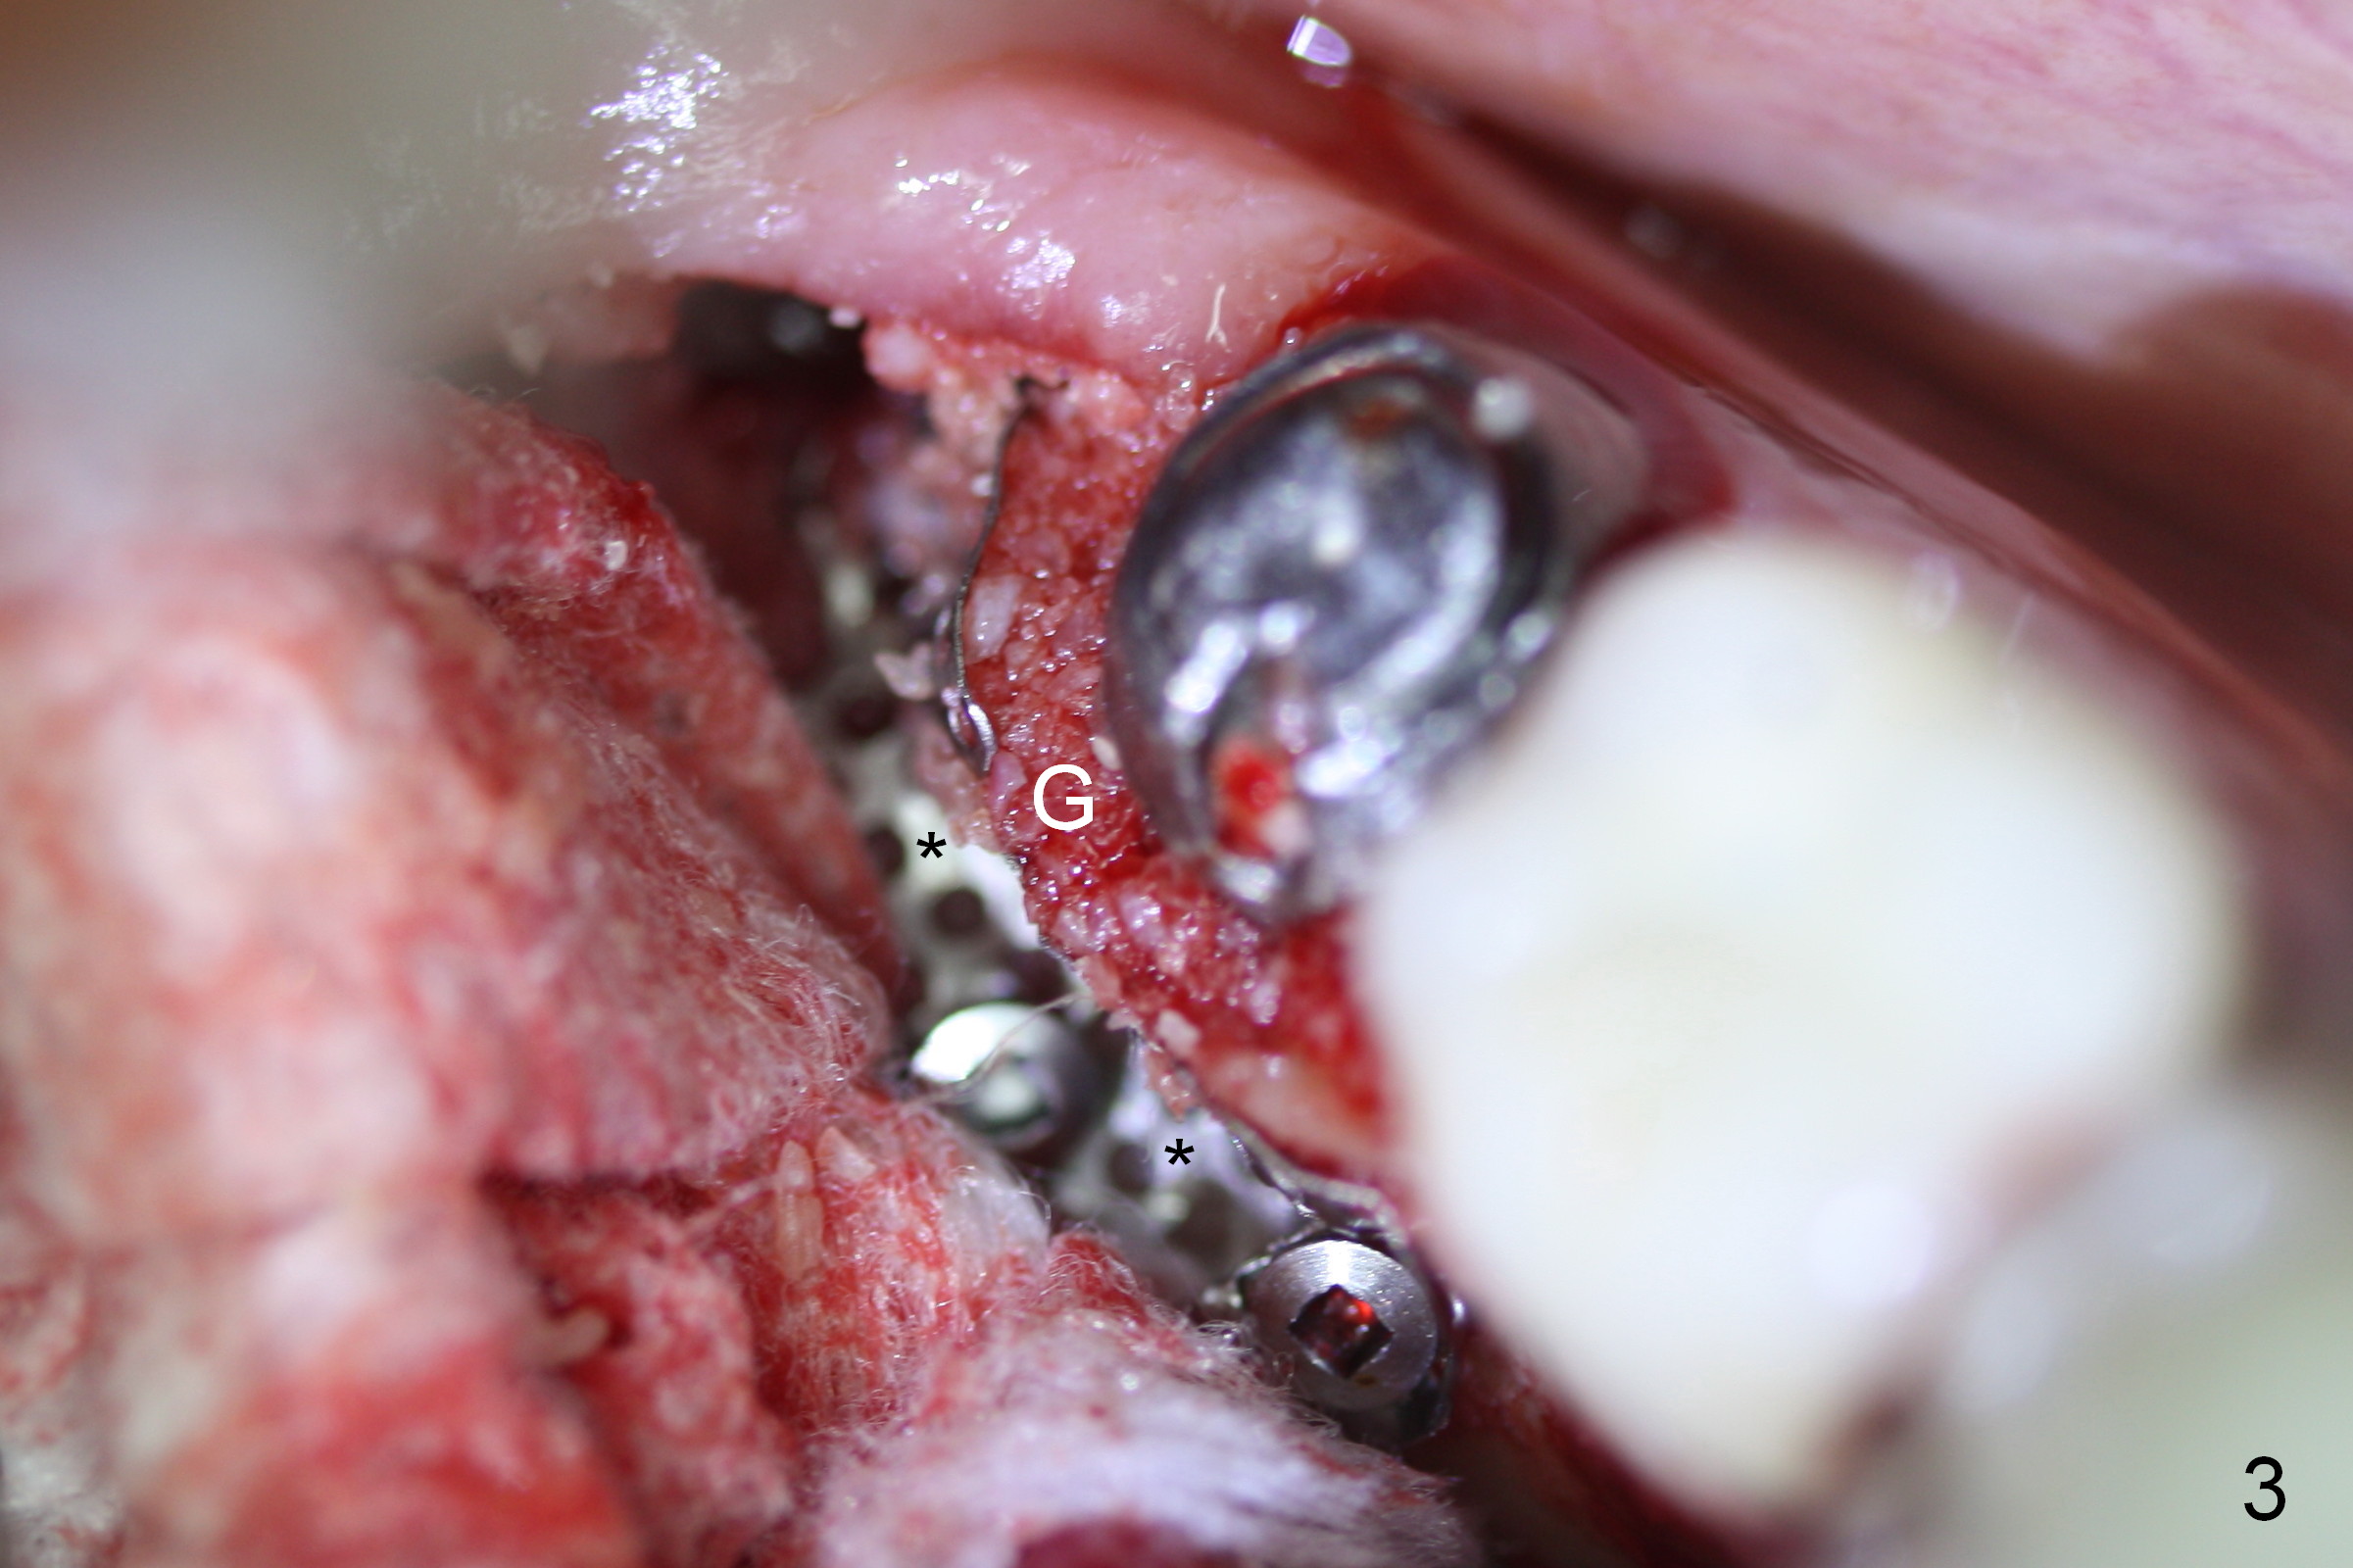
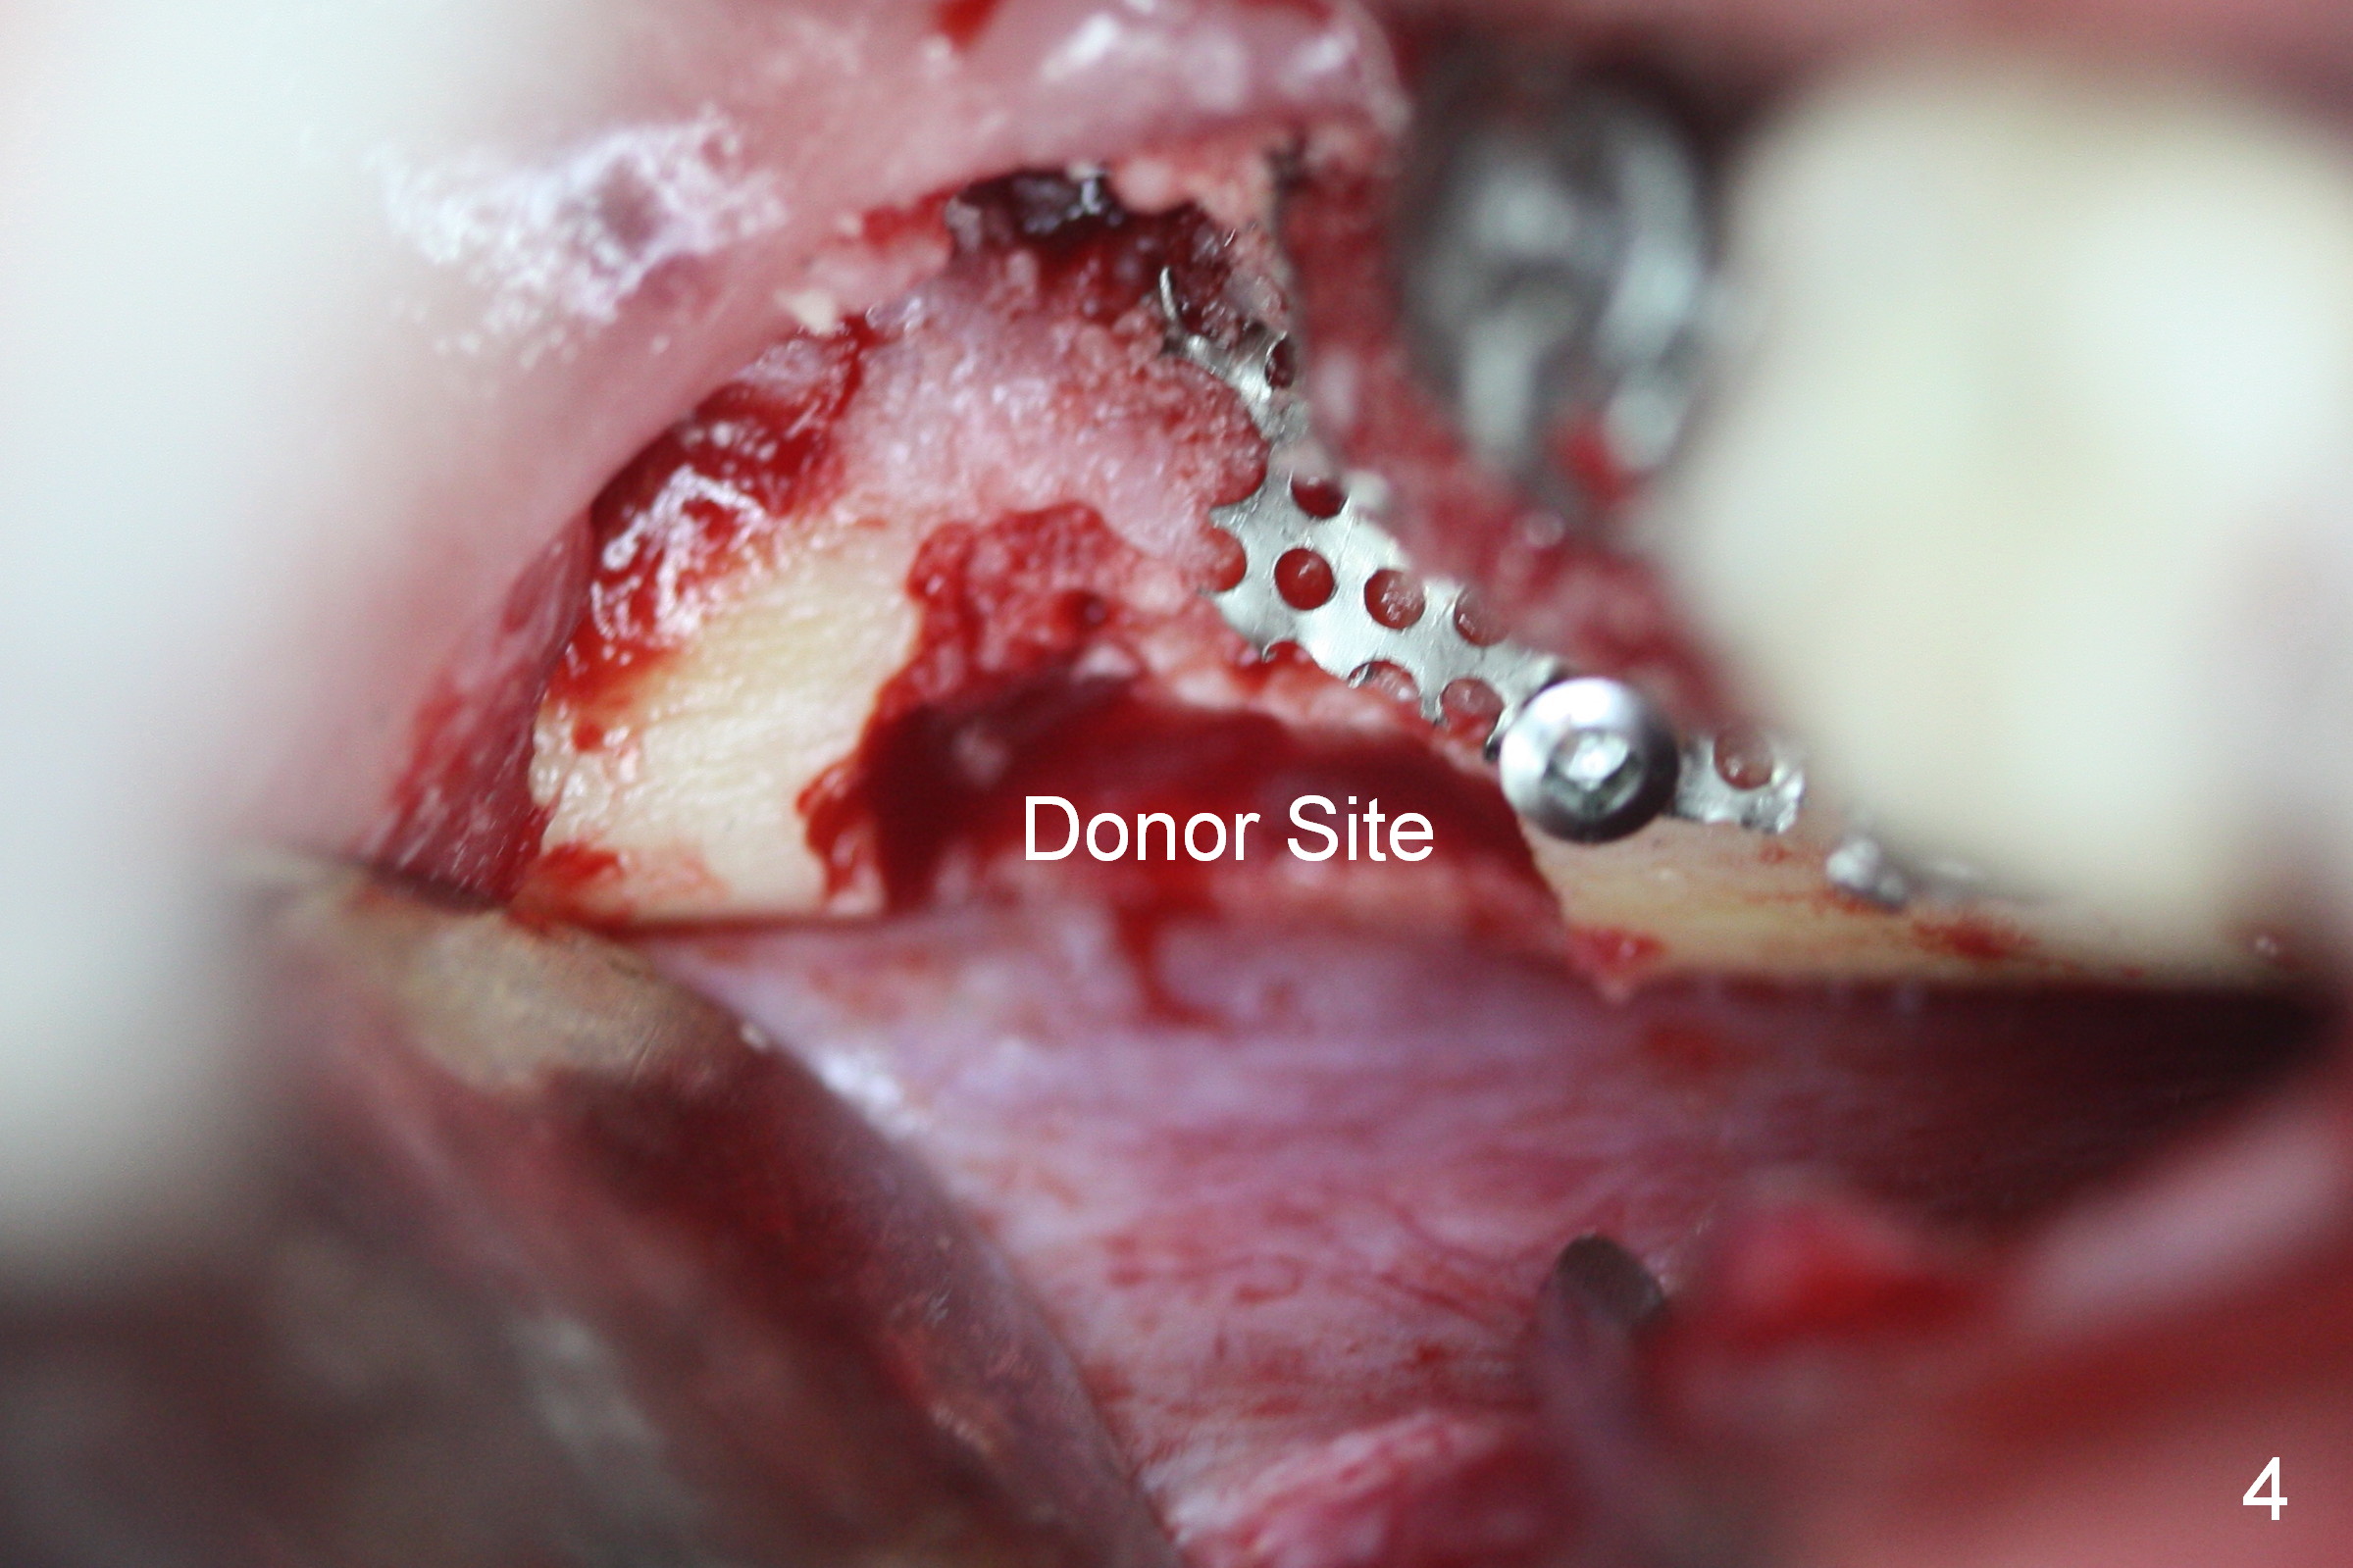
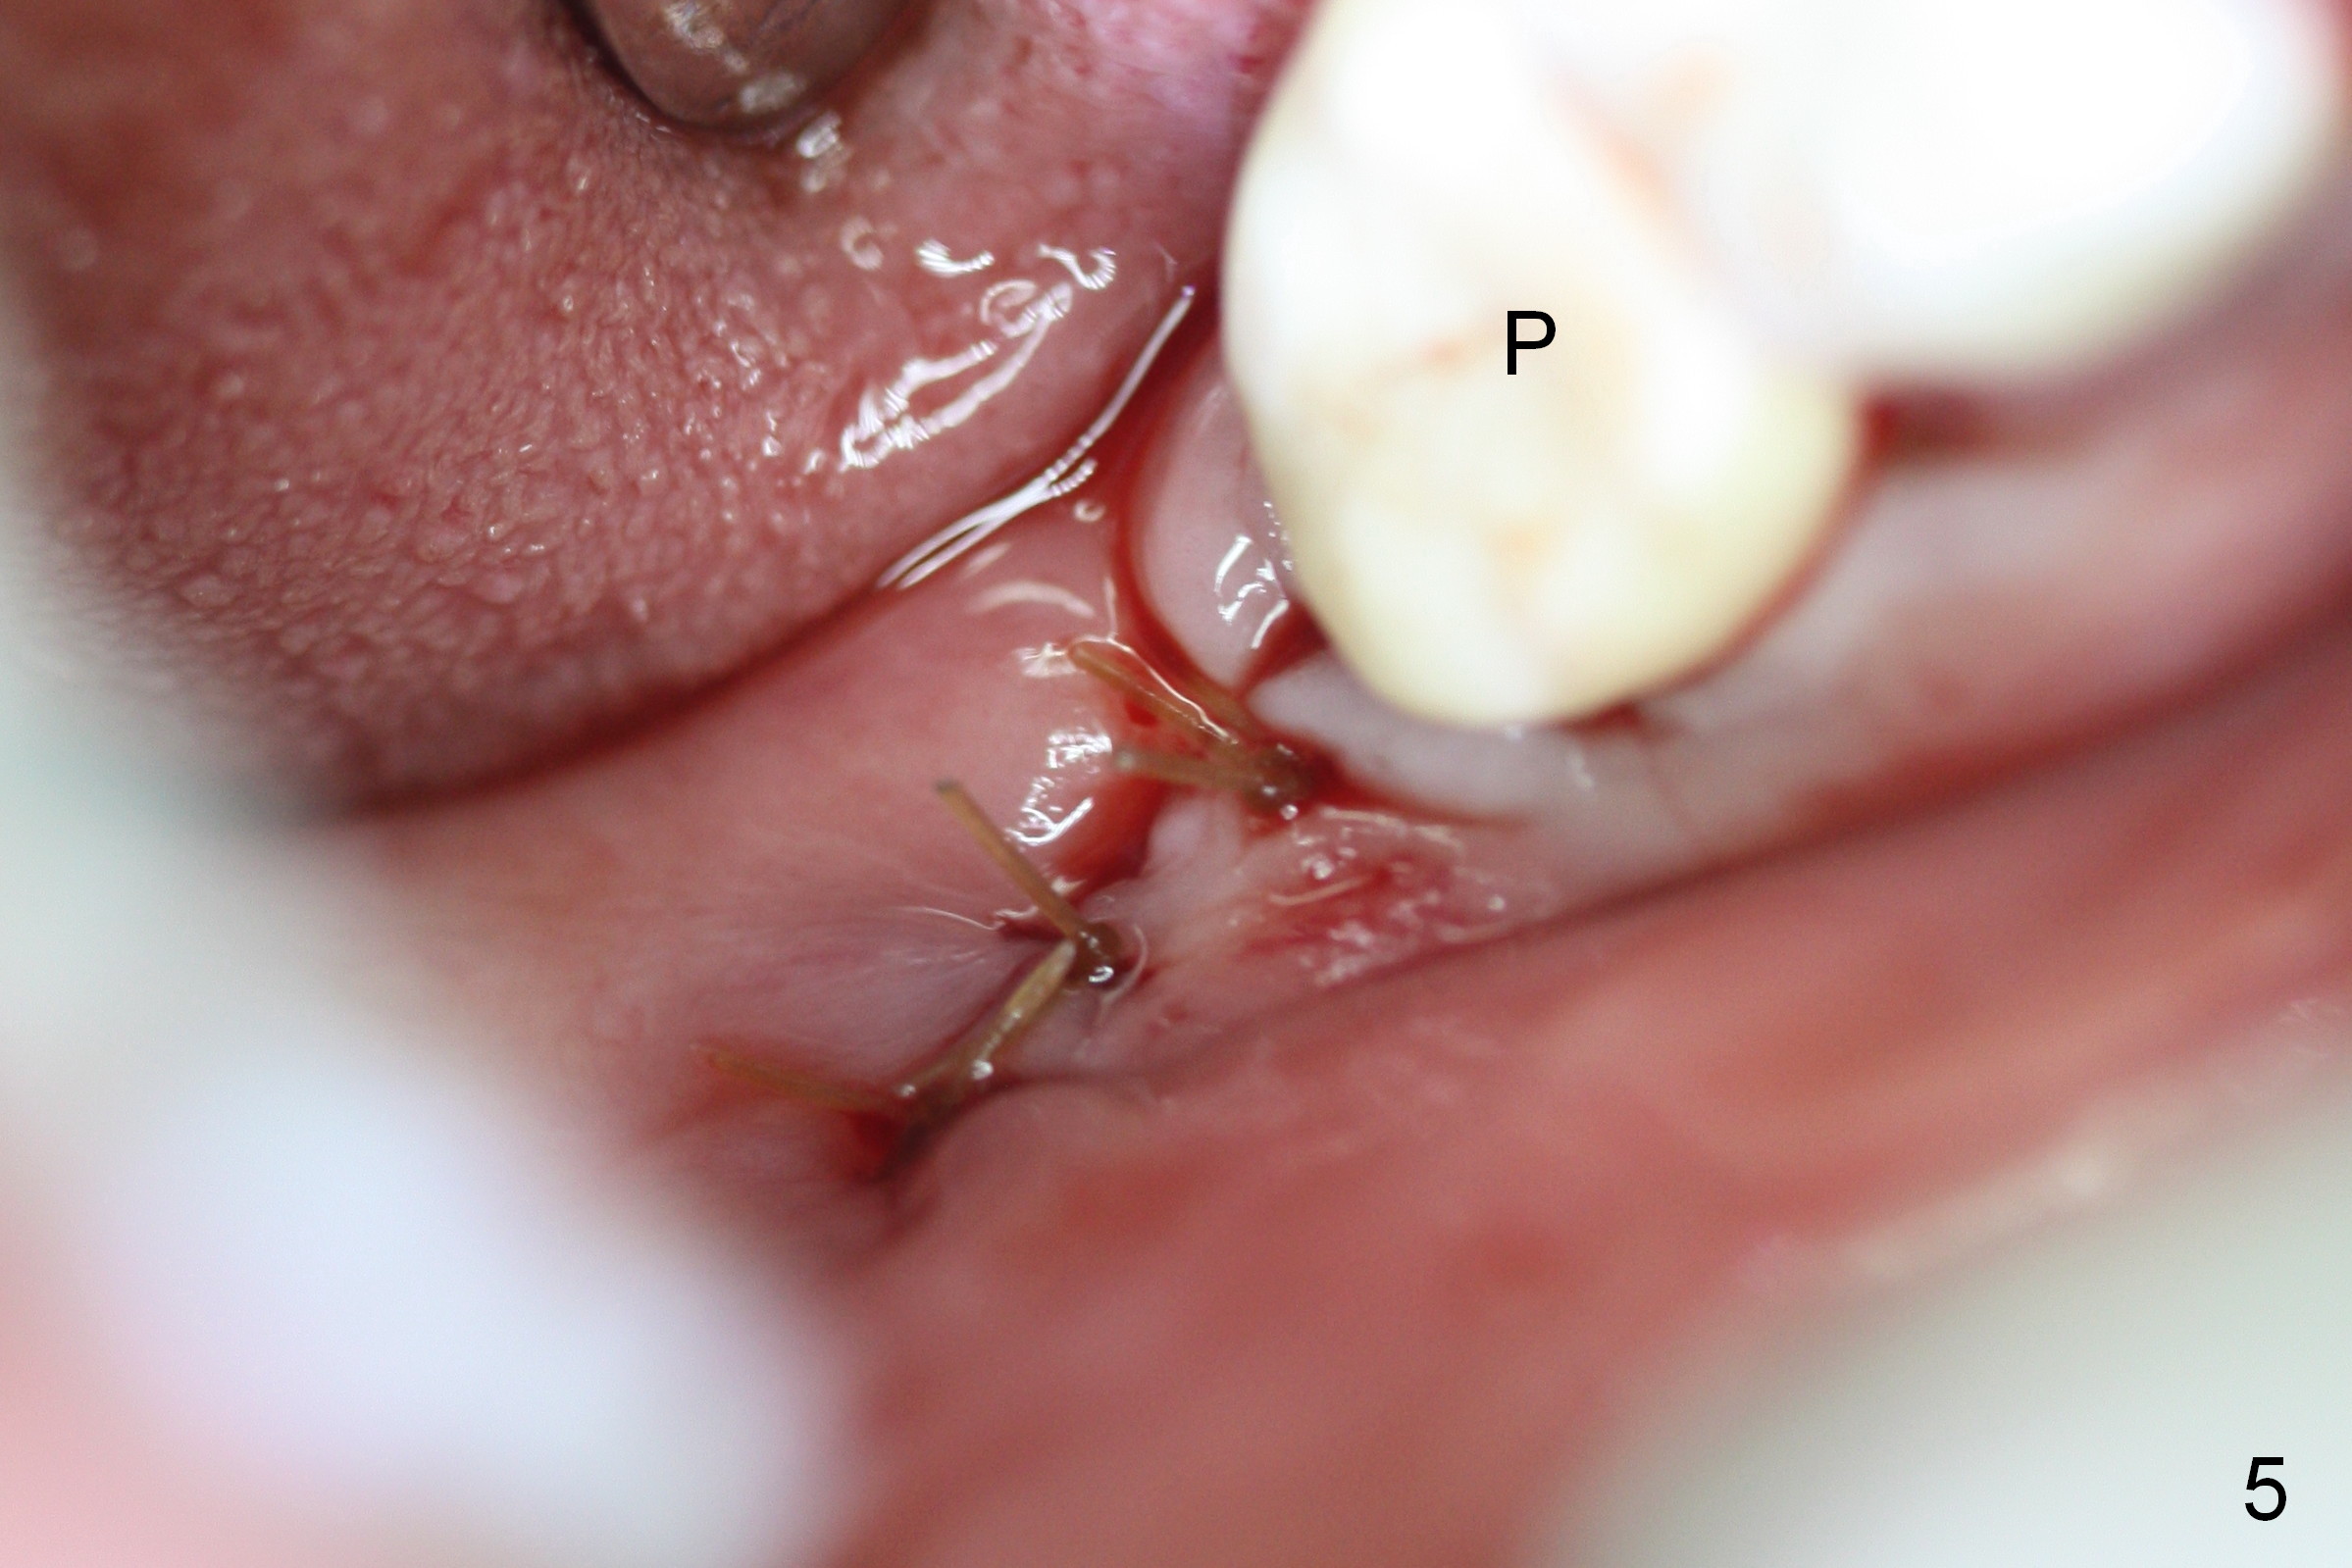
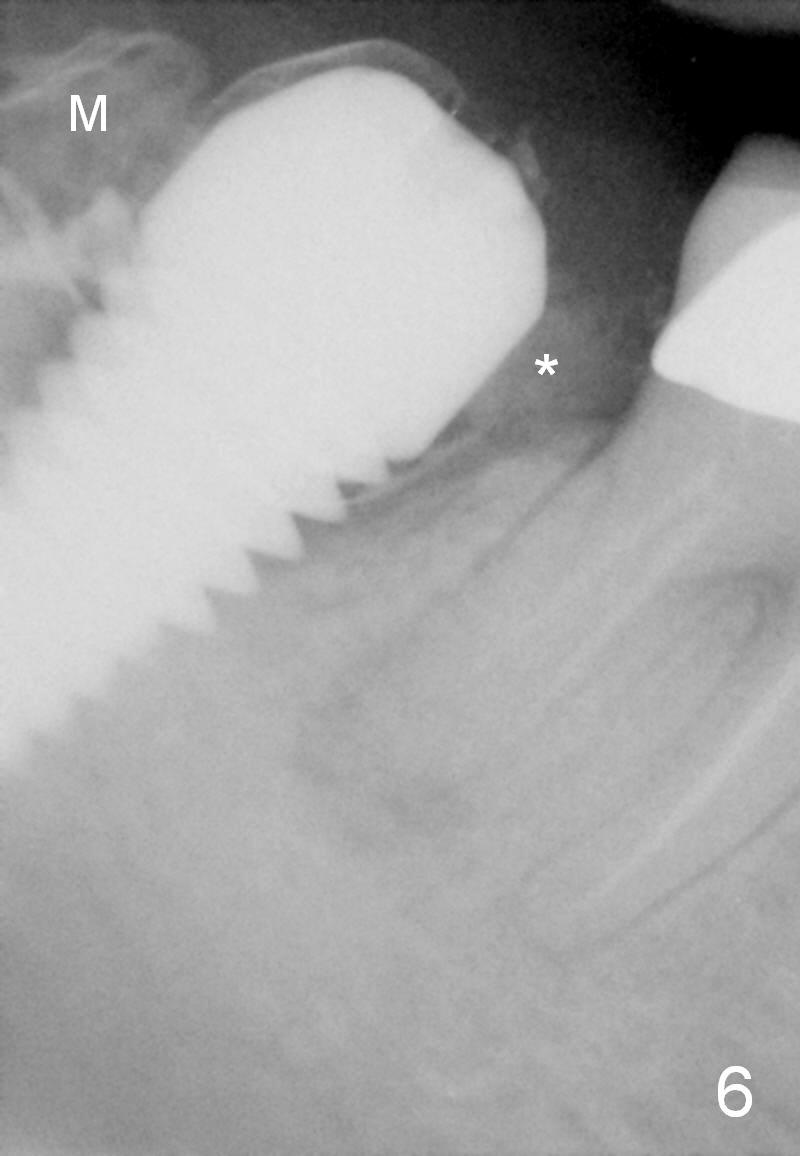
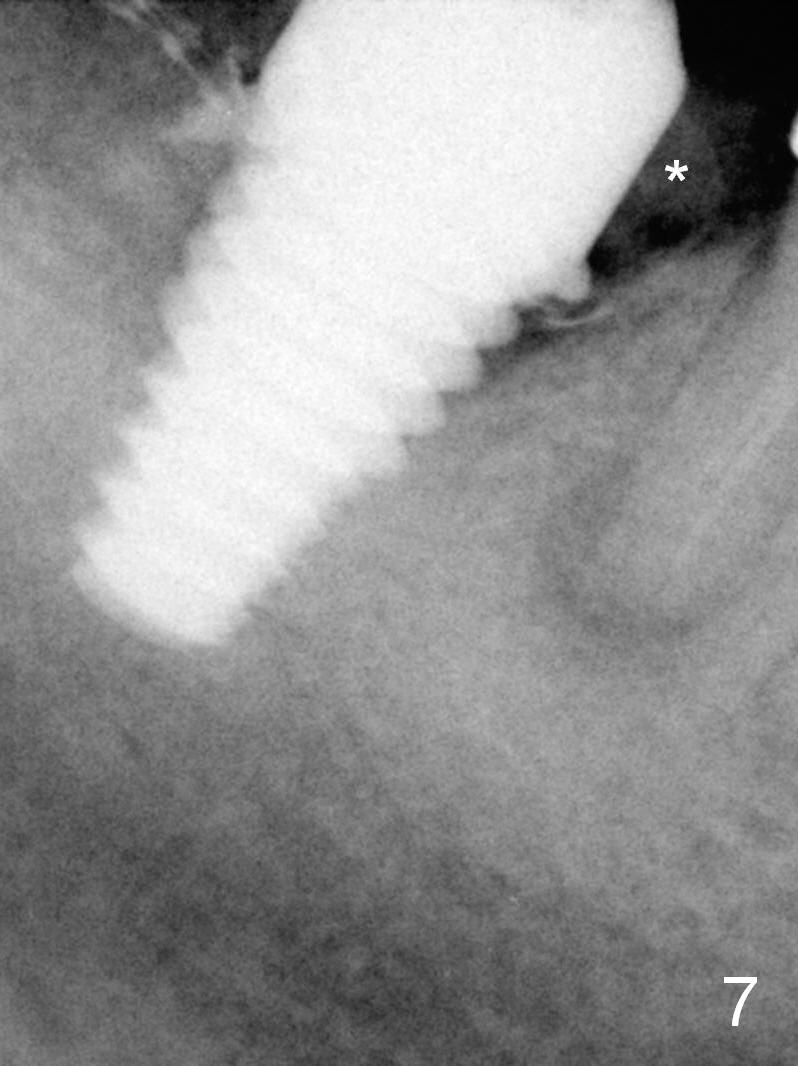
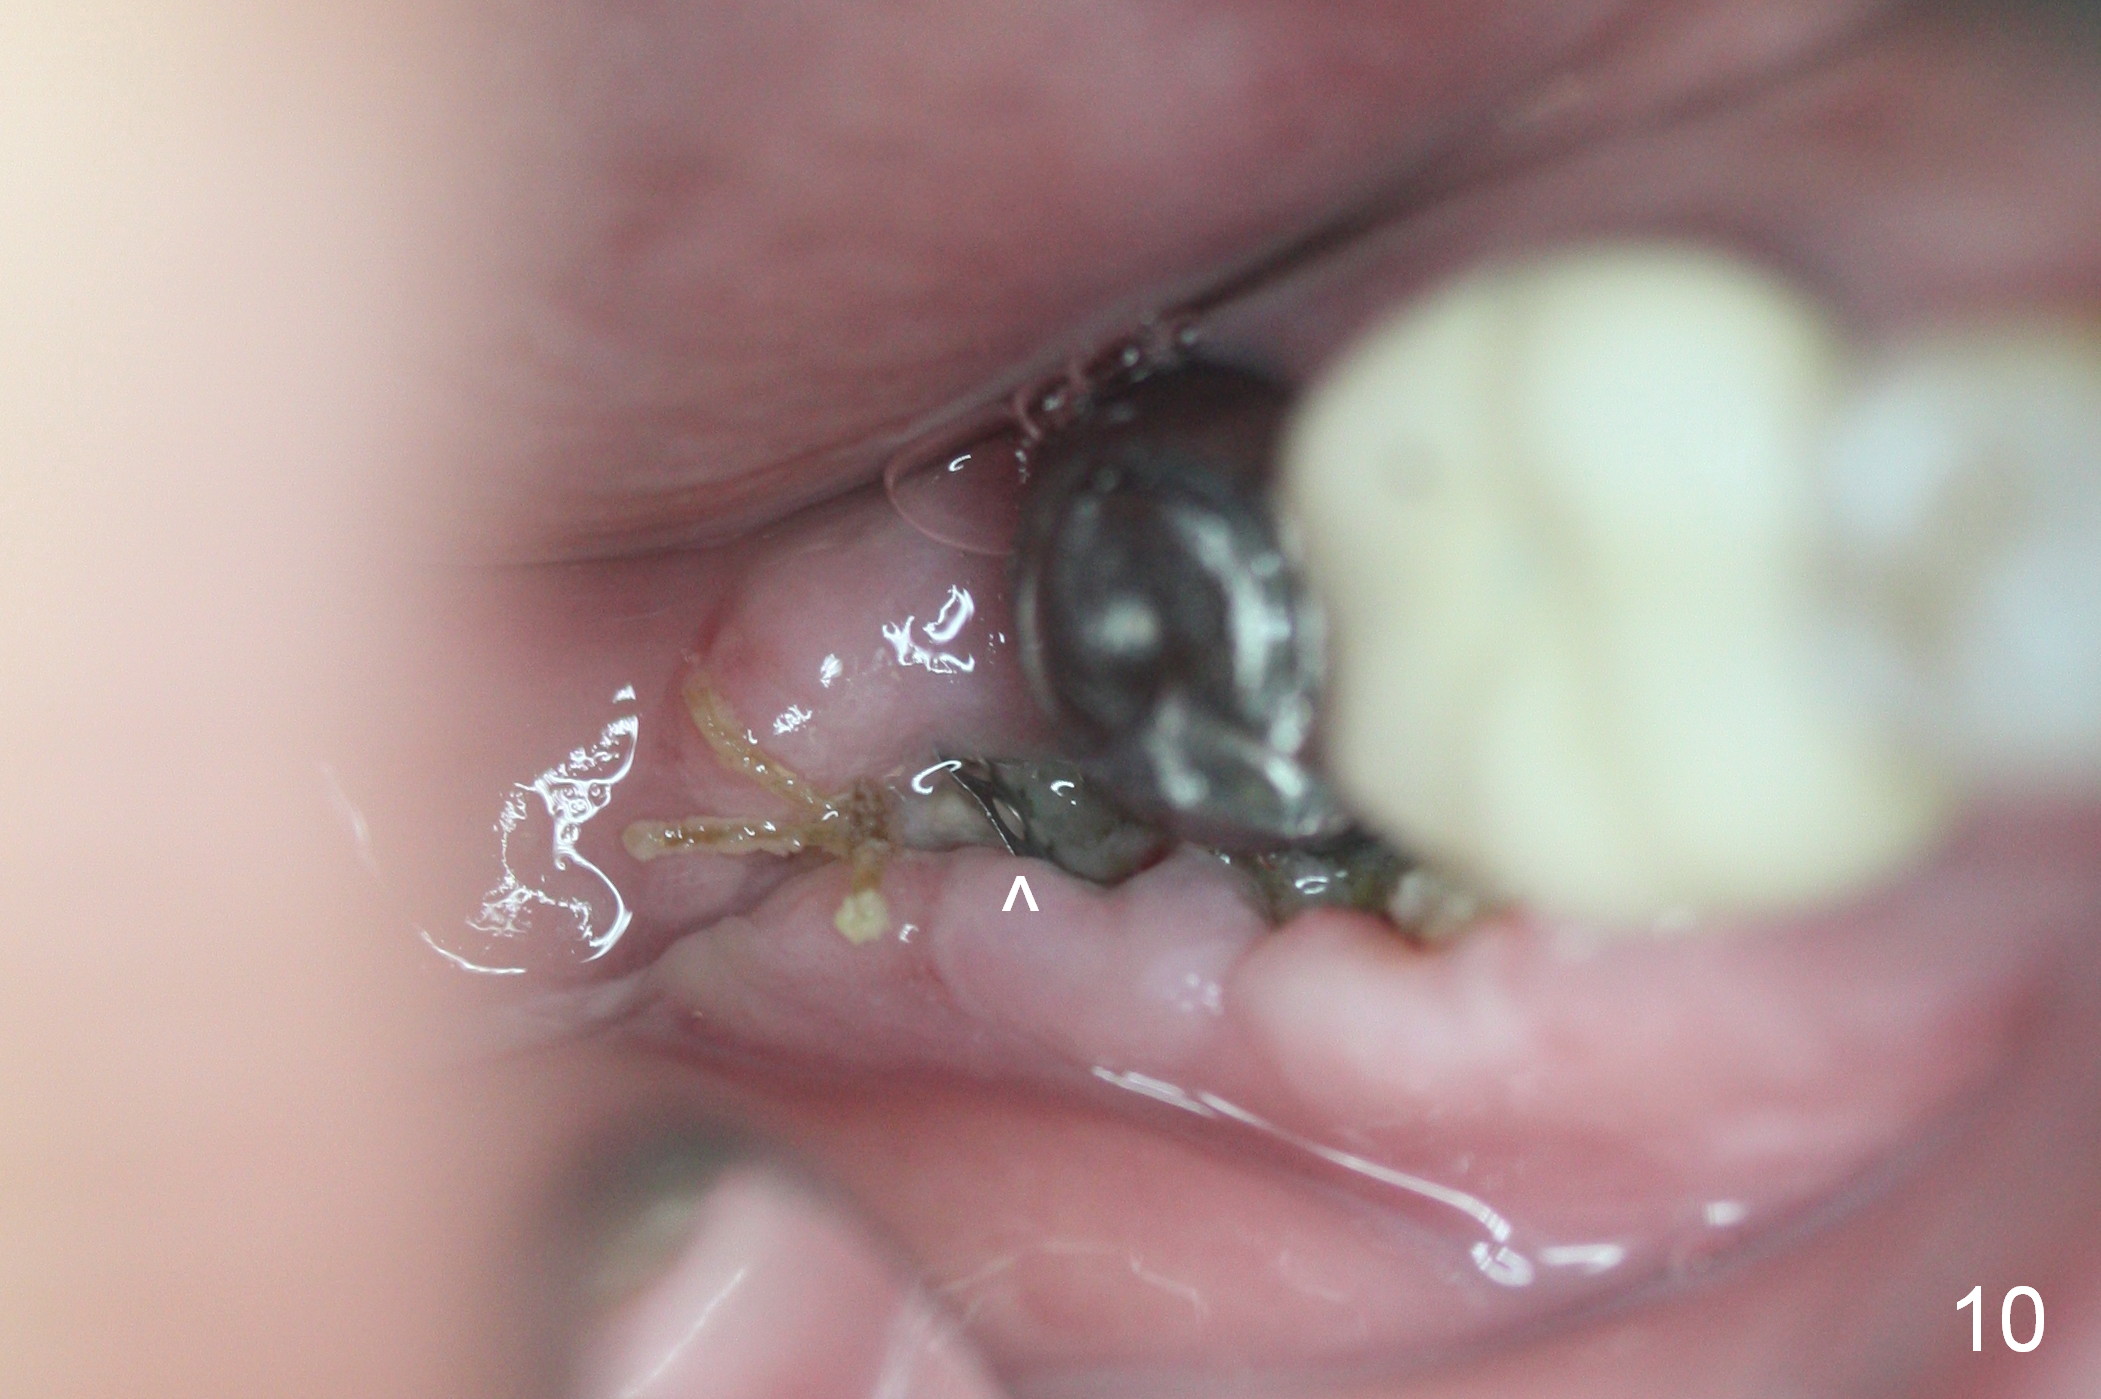
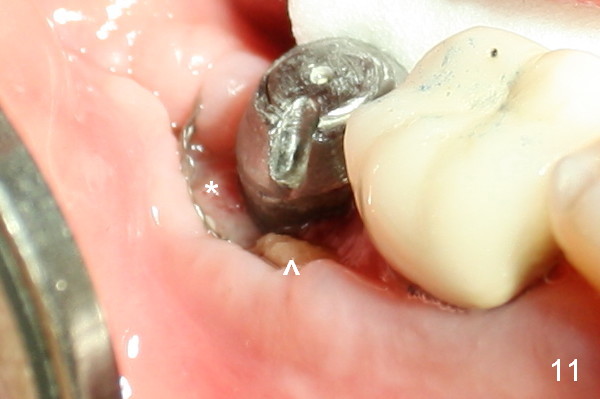
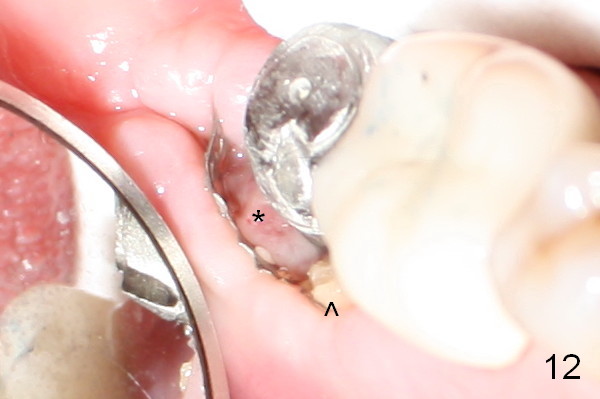
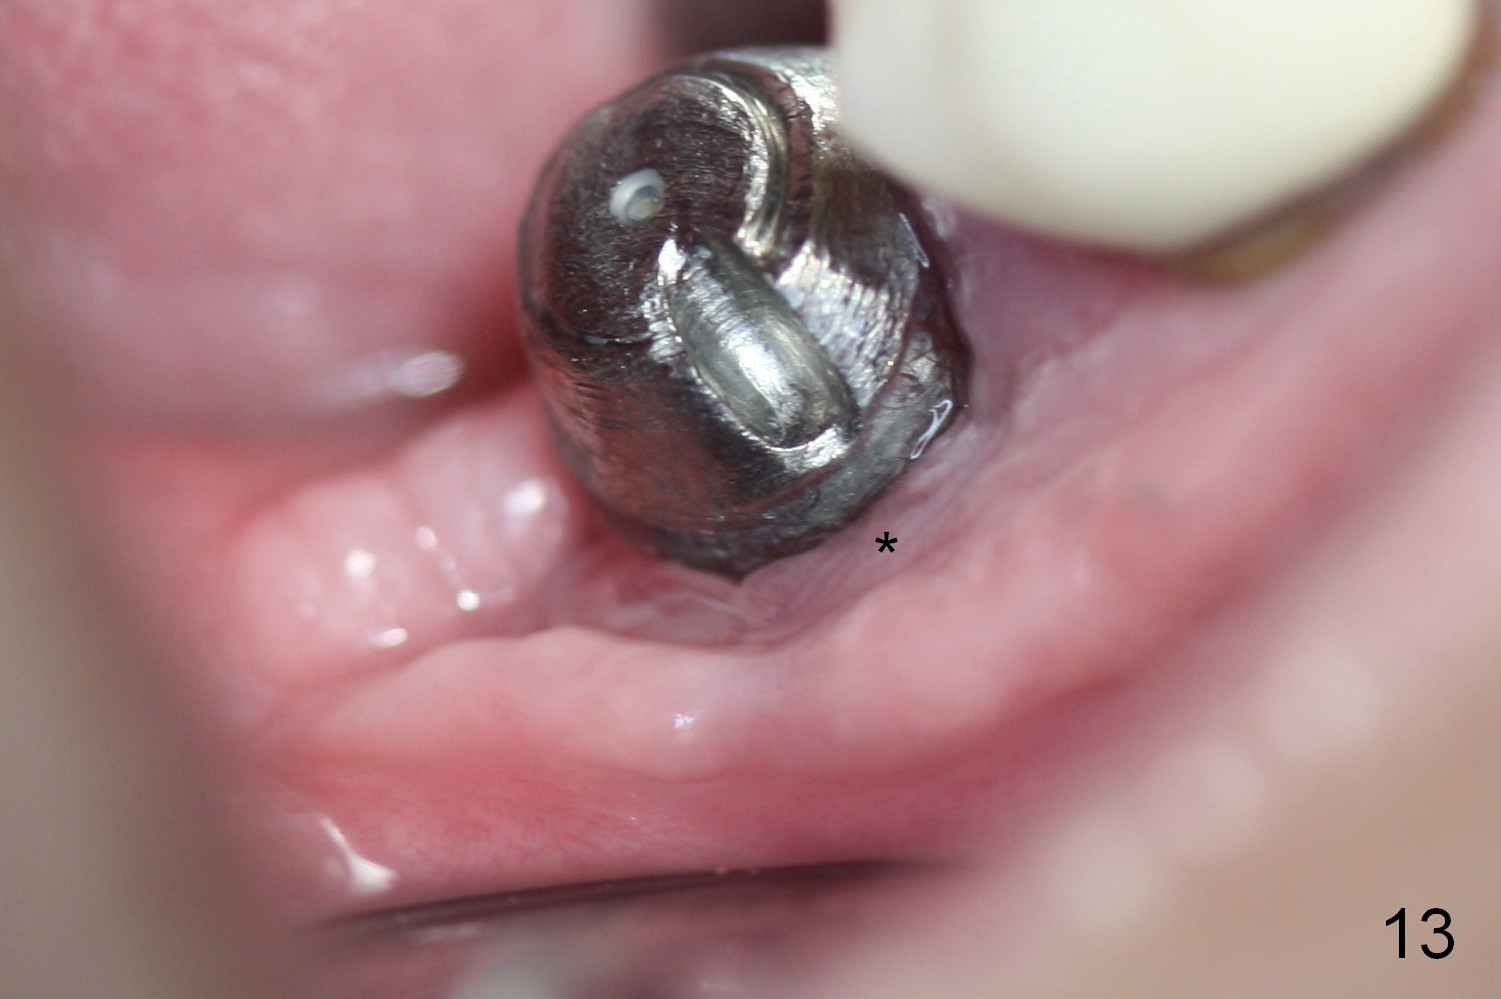
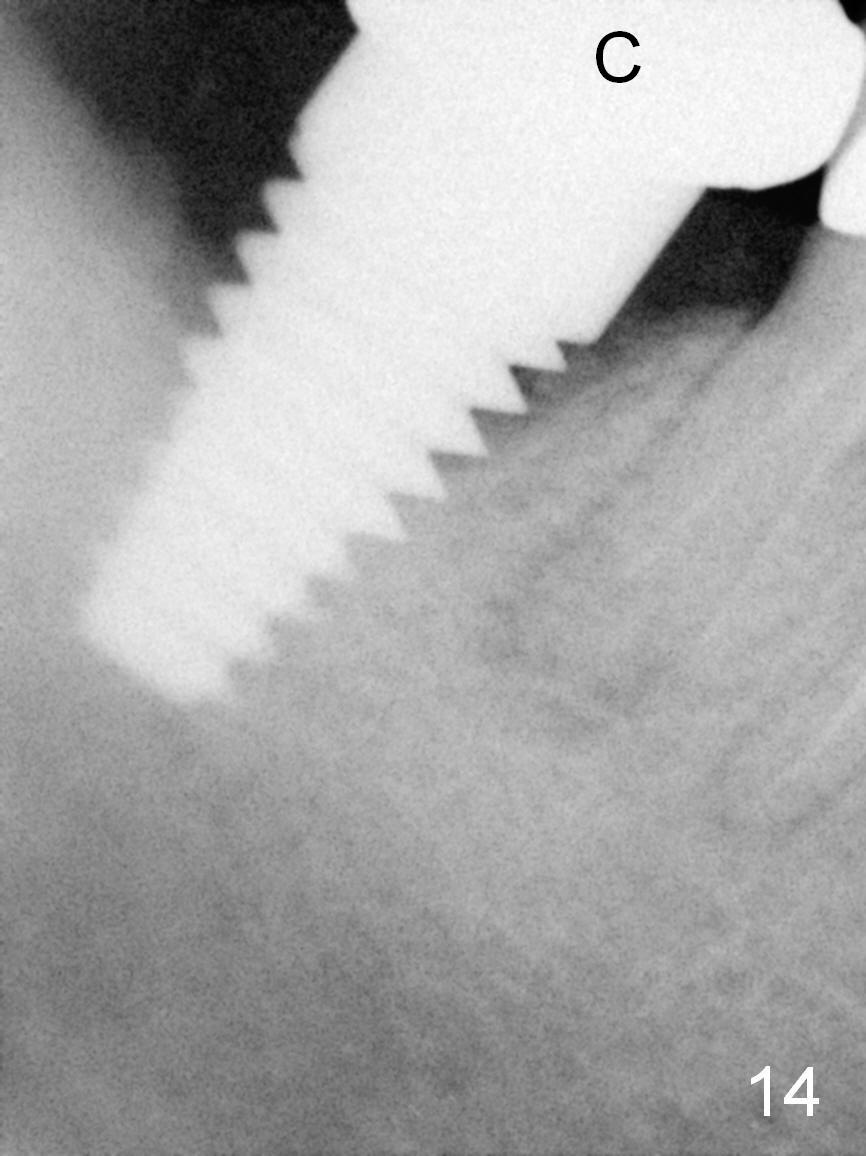
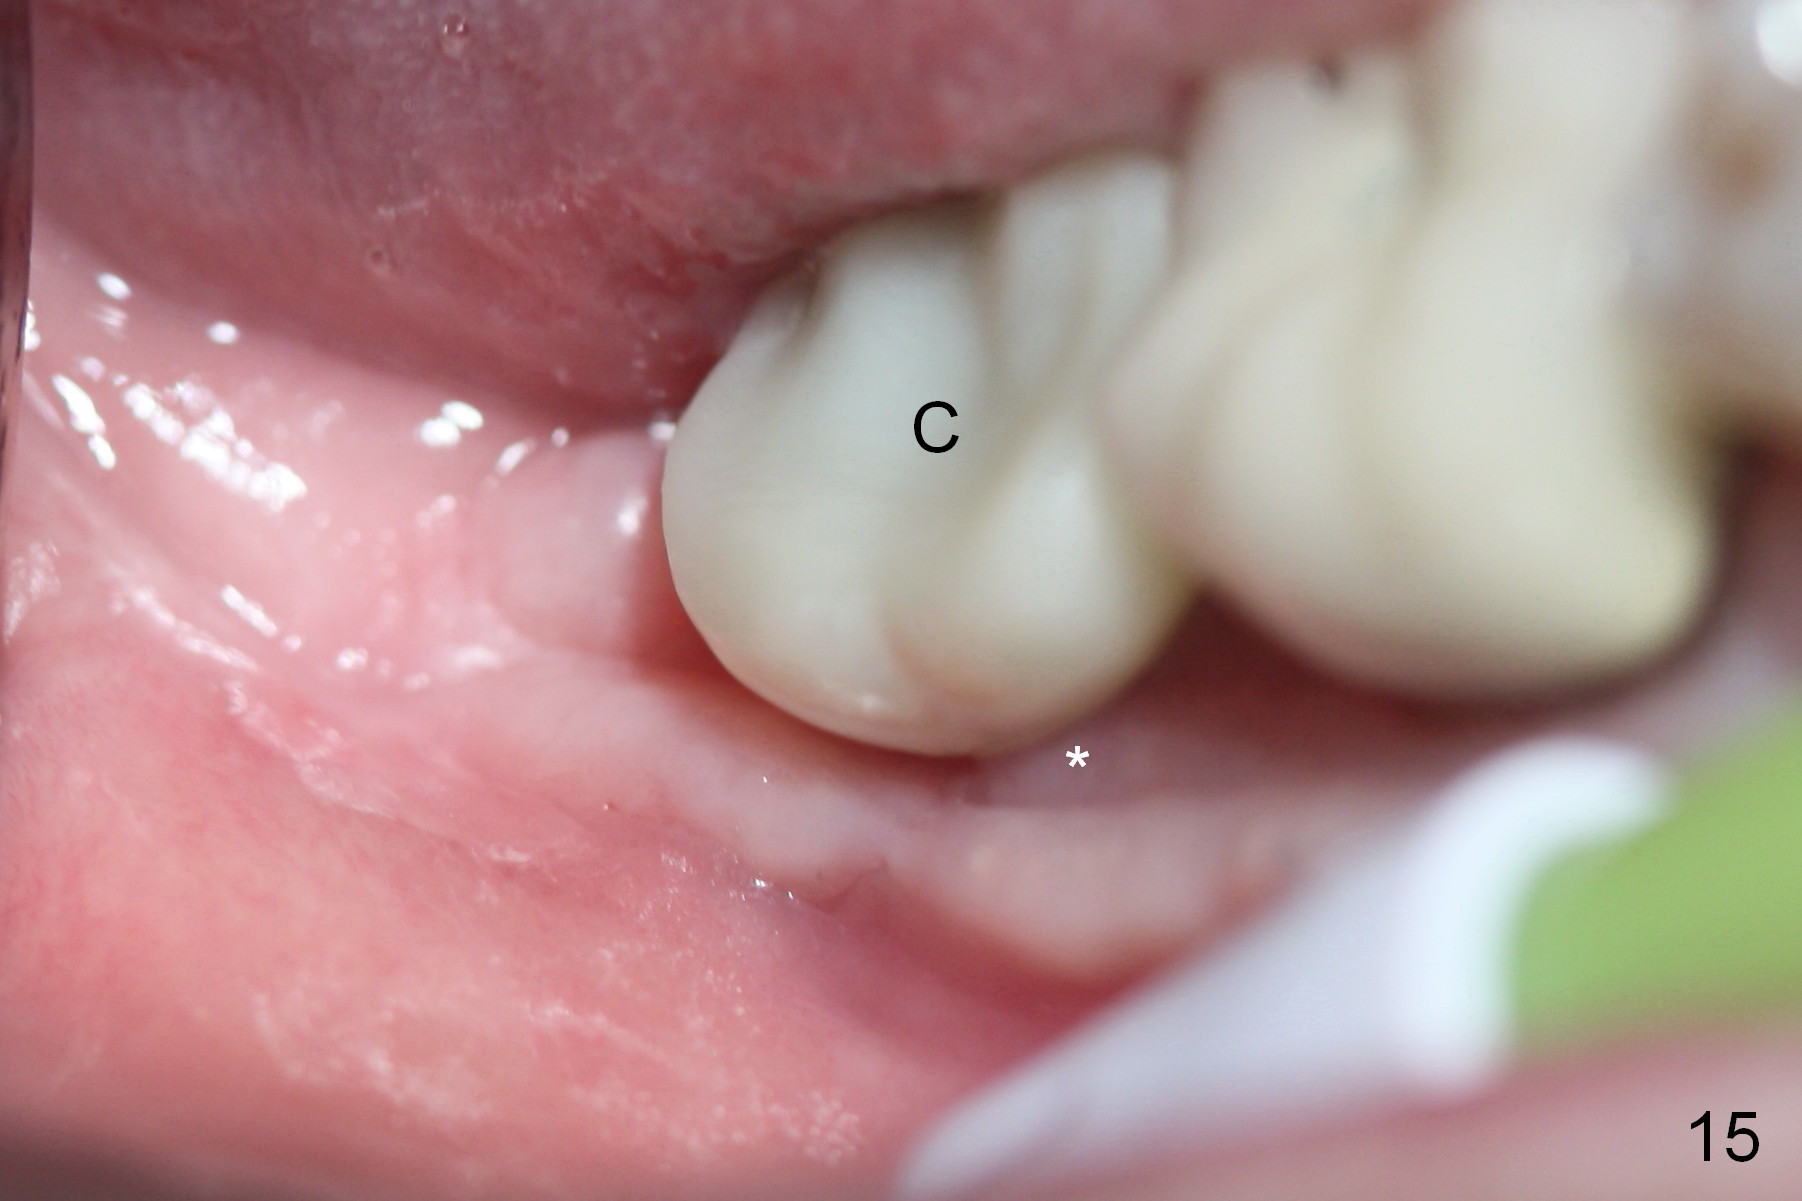
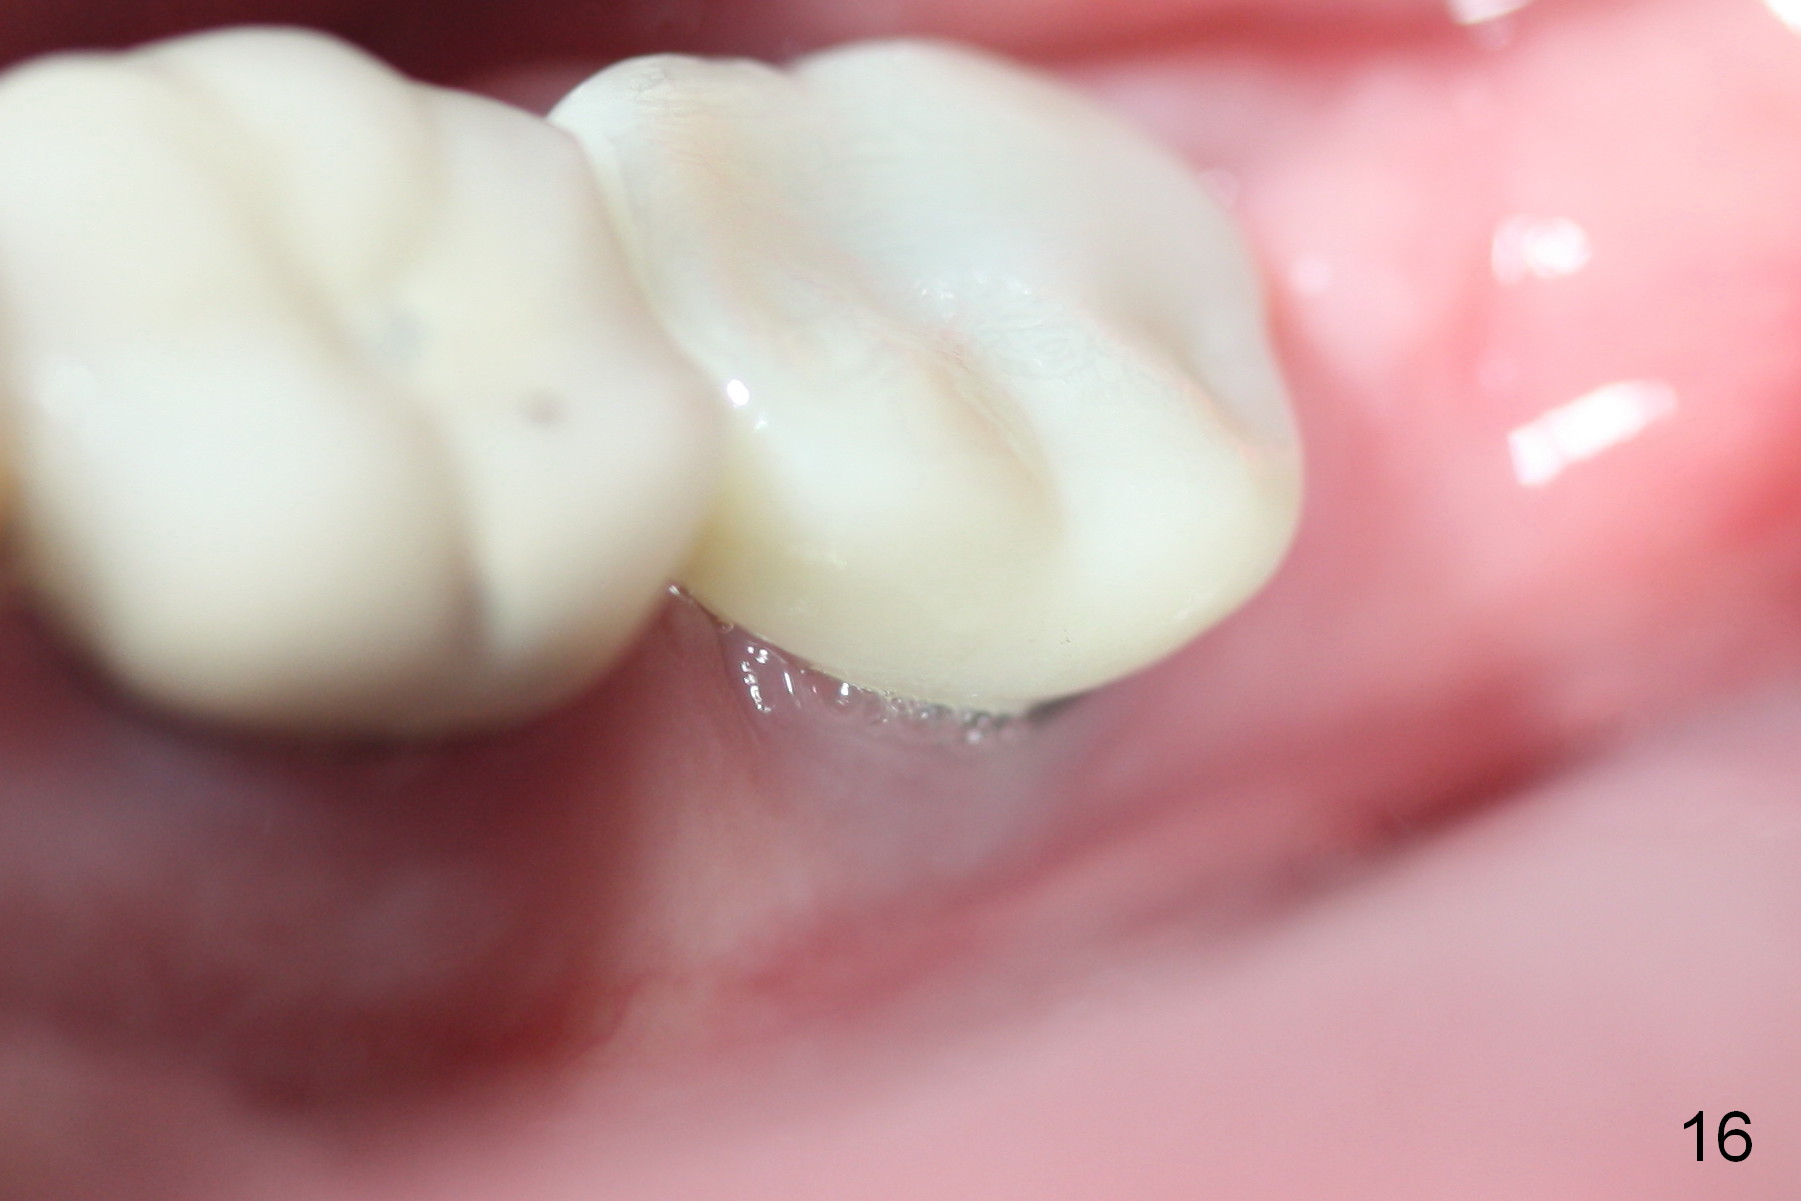
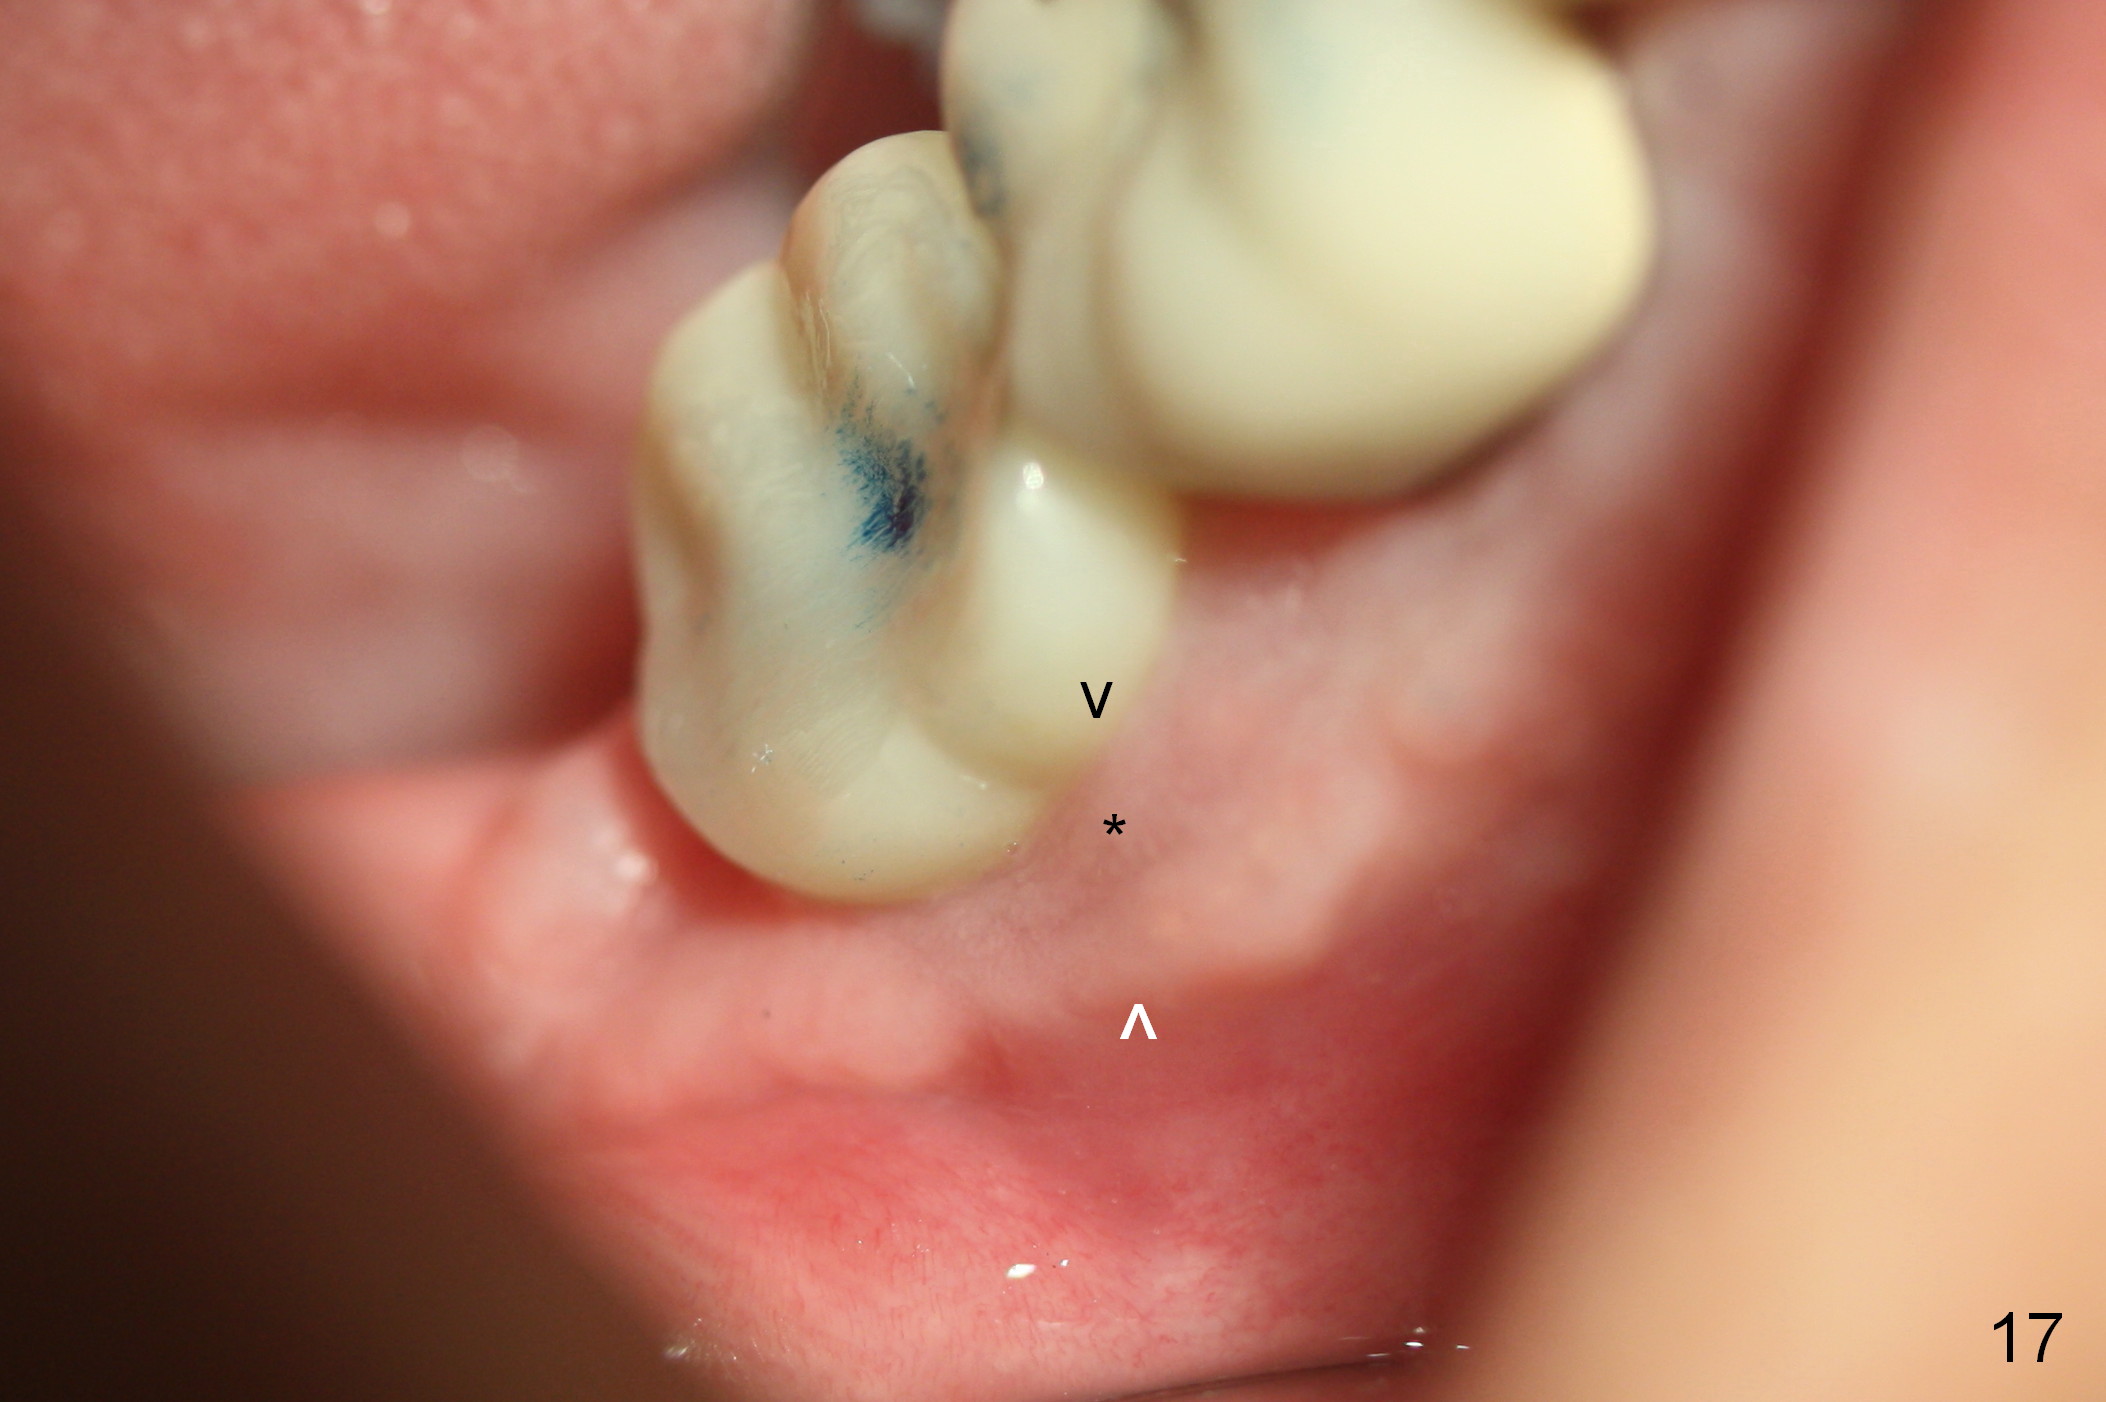
The patient feels that the infection between #31 and 32 does not resolve after extraction and immediate implant at #31. It smells bad. Around 5 months postop, purulent discharge is found from the distal sulcus of the implant with bleeding on probing buccally (Fig.1). When a flap is raised, buccal thread exposure is confirmed (Fig.2 *). After curettage, copious irrigation with Hydrogen Peroxide, Chlohexidine and application of Clindamycin and EDTA, a Titanium mesh (Fig.3 *) is placed buccal to the defect to keep mixture of autogenous bone and allograft in place (G). The autogenous bone is harvested from the ramus (Fig.4). After placement of collagen membrane, the wound is closed with re-insertion of a provisional (Fig.5 P). Immediately postop PAs show bone graft (Fig.6,7 *) and mesh (M). Then perio dressing is applied. The latter dislodges between 1st and 2nd weeks postop. When the patient returns 2 weeks postop, the wound is gapping with Titanium mesh exposure (Fig.10 ^). The patient is encouraged to rinse frequently. Two weeks later, the wound is healing with granulation tissue covering the implant surface (Fig.11,12 *). Syringe irrigation is done and will continue at home. One week later, the mesh is removed. Defect area is further allografted, covered by Nonresorbable membrane (Cytoplast). Granulation tissue is more mature 2.5 months post mesh removal (Fig.13); the coronal implant threads are to be covered by bone (Fig.14); the final crown is cemented (C). The patient returns for follow up 4.5 months post mesh removal: the granulation tissue continues its maturation (Fig.15 *); there is no abnormality lingually (Fig.16). The patient is pleased because of no more bad odor in her mouth. When the granulation tissue appears to be completely mature 9.5 months post mesh removal (Fig.17 *), the keratinized gingiva is wide and thick (between arrowheads). The patient remains asymptomatic.
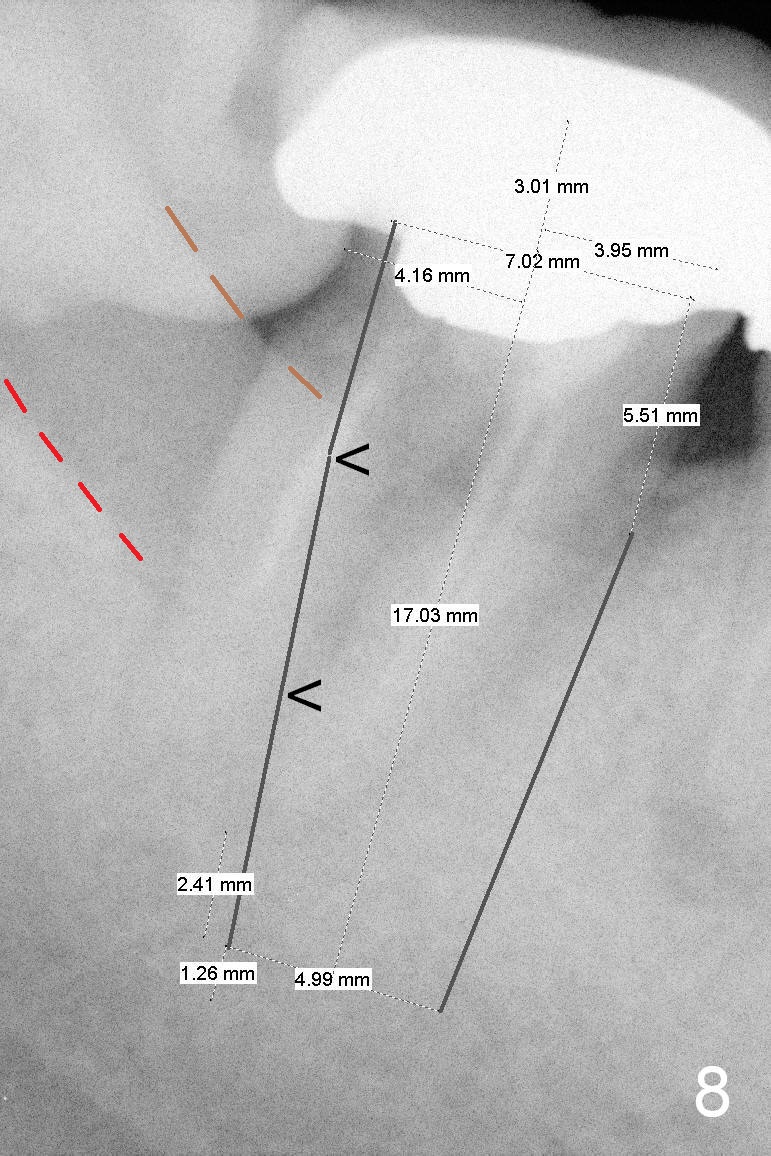
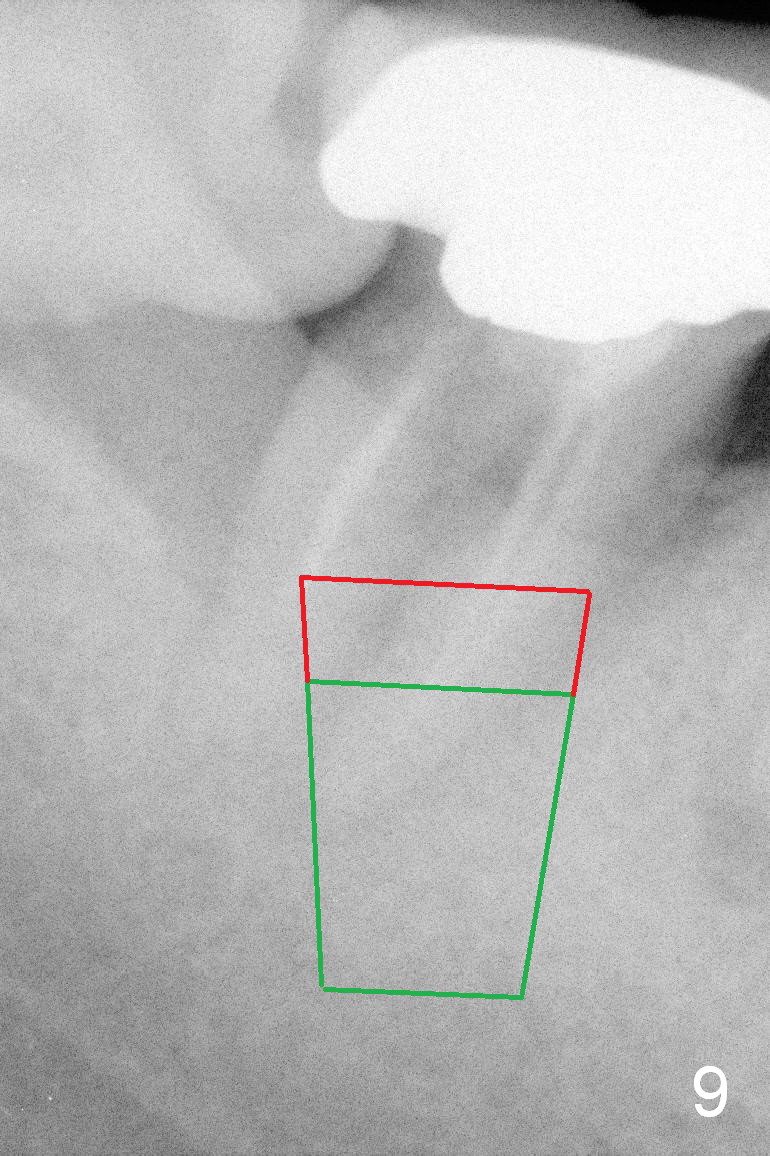
How to prevent thread exposure associated with immediate implant? Buccal (Fig.8 red dashed line) and lingual (brown dashed line) crests are uneven in this case. When the tissue-level implant is placed according to the higher crest, there is thread exposure (between arrowheads) on the lower side. It is safe to place an implant (e.g., bone-level) according to the lower crestal level (Fig.9 green area). When the implant is placed between the uneven crests, the exposed coronal threads should be covered by bone graft (red area). Therefore an incision is to be made for visibility. It does not compromise cosmetics in the posterior region.
Return to Lower Molar Immediate Implant,
Dr. Wu,
Periimplantitis
Xin Wei, DDS, PhD, MS 1st edition 03/19/2015, last revision 02/13/2016