

|
|
|
|
|
|
|
|
|
|
|
|
|
|
|
|
|
|
|
|
|
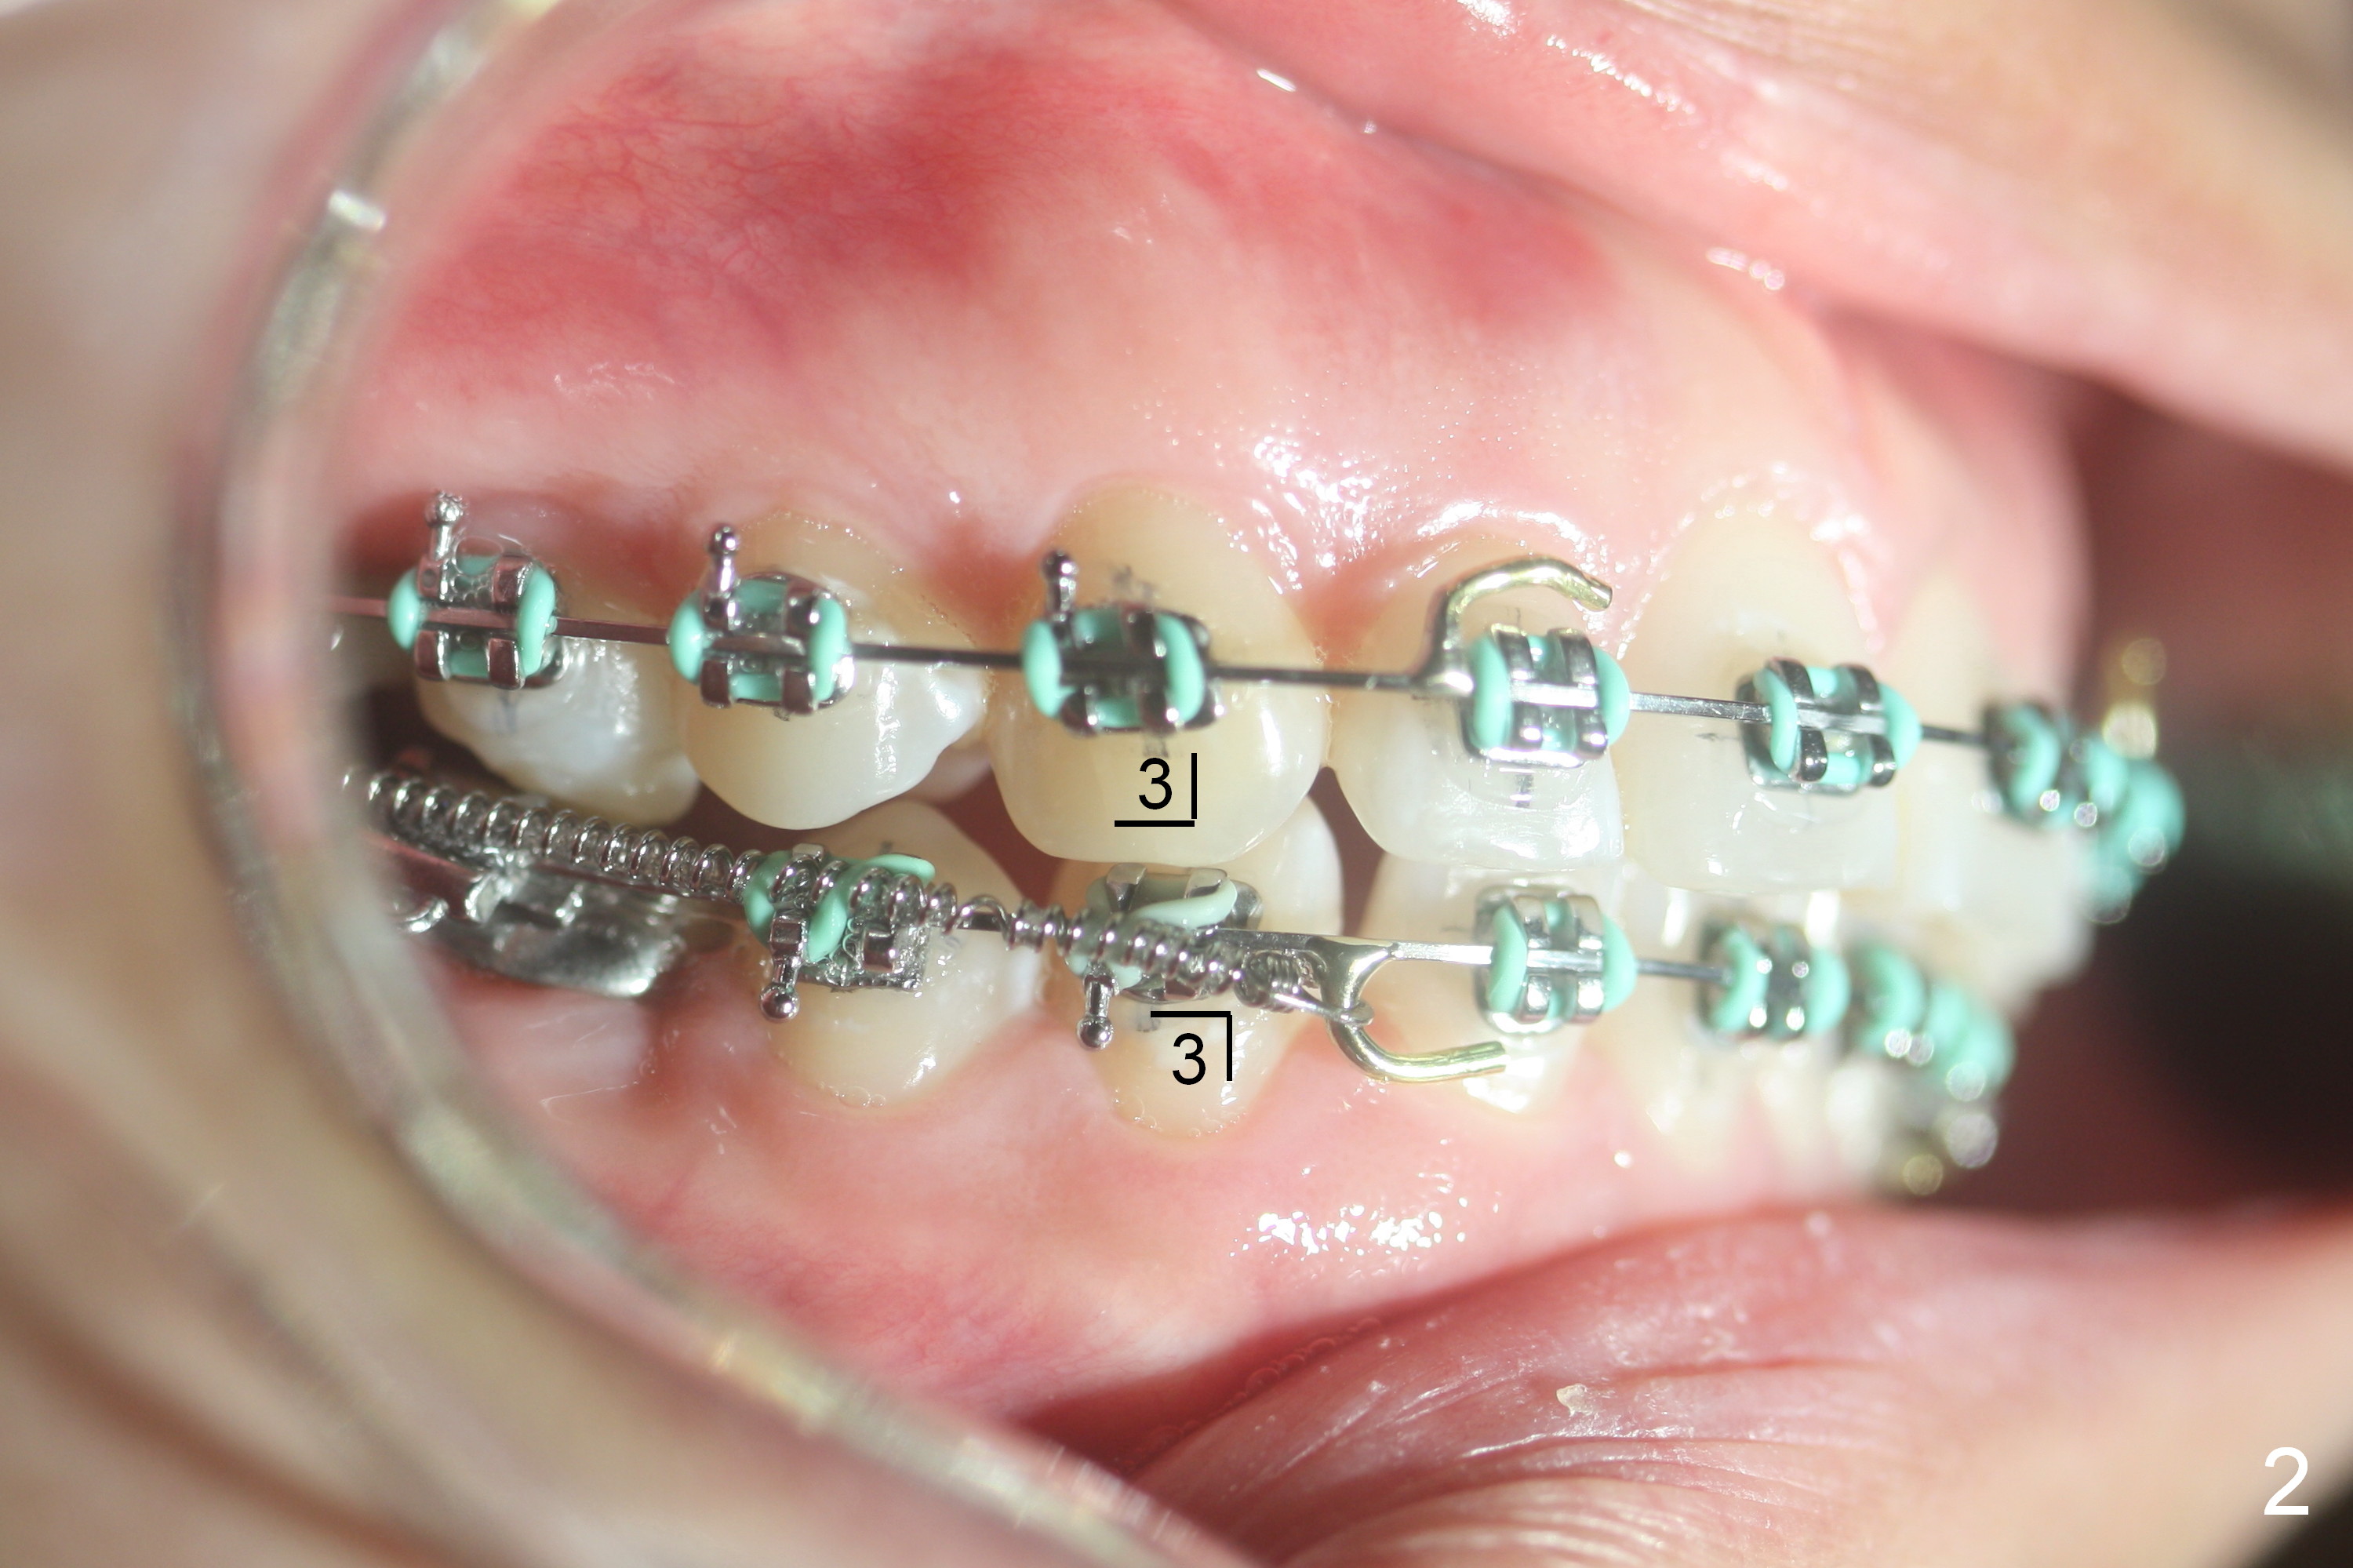
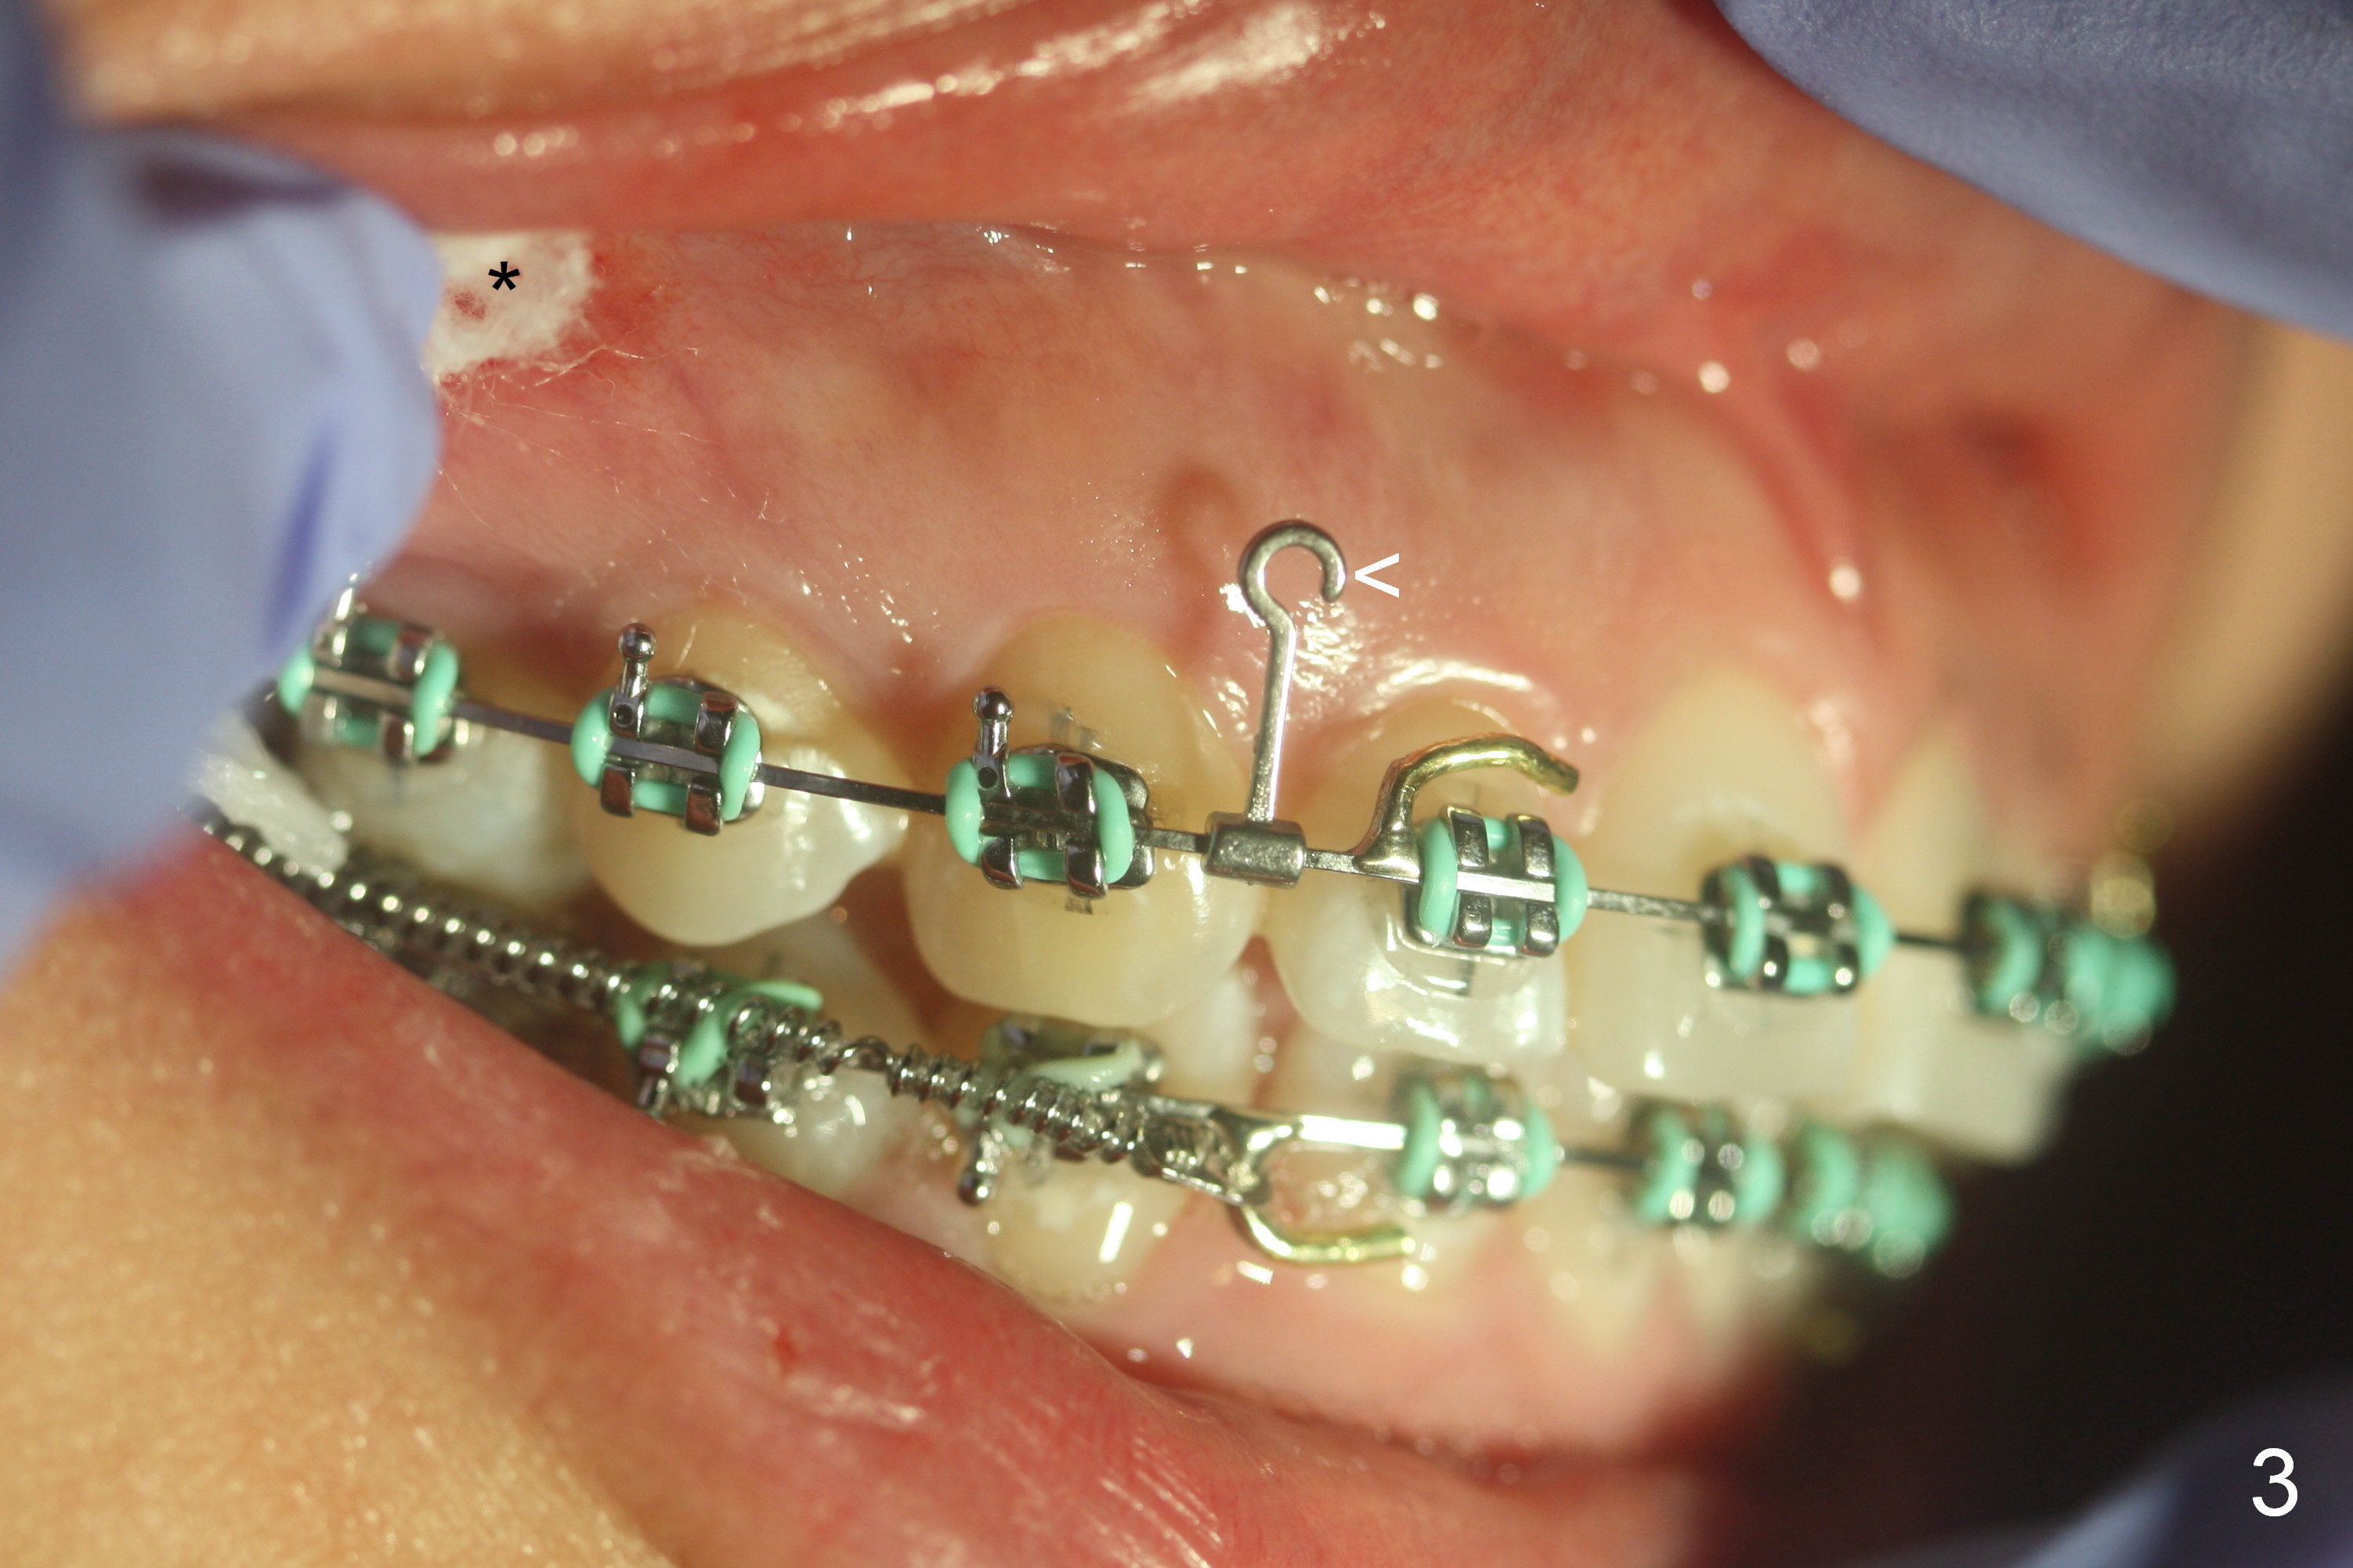
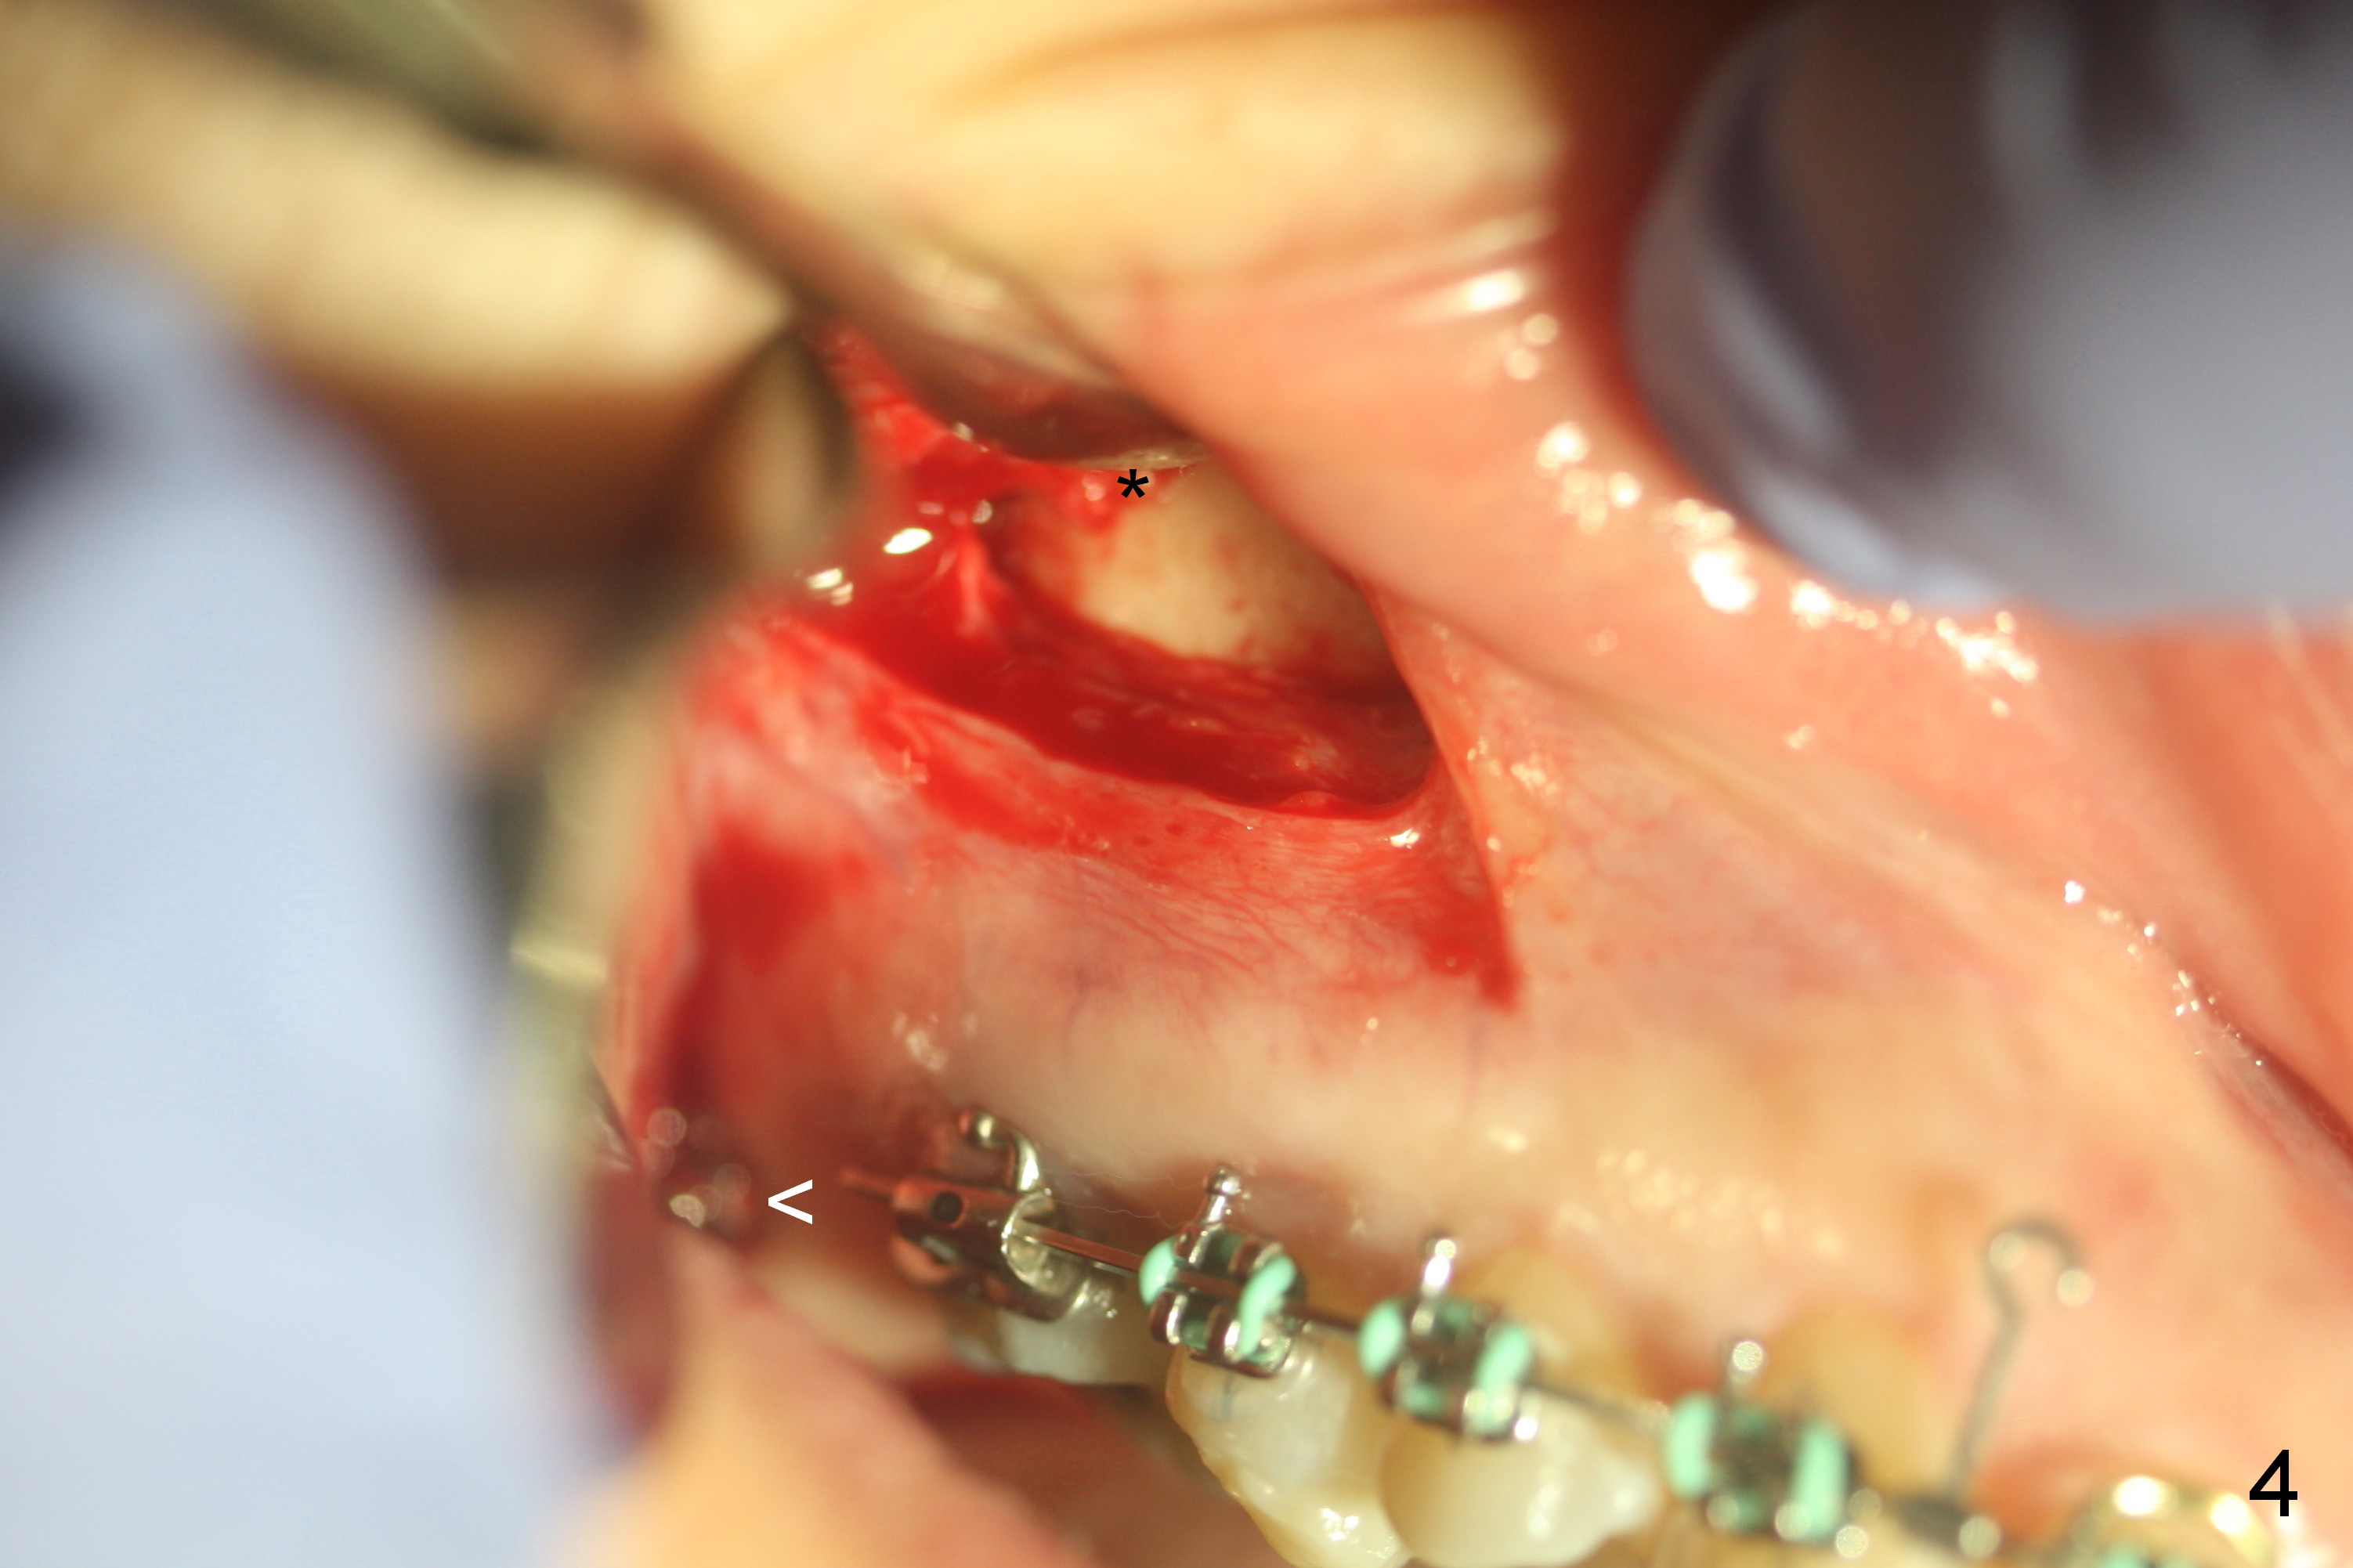
Preparation for Zygomatic Mini-implant Placement to Correct Class II Malocclusion (Fig.1,2)
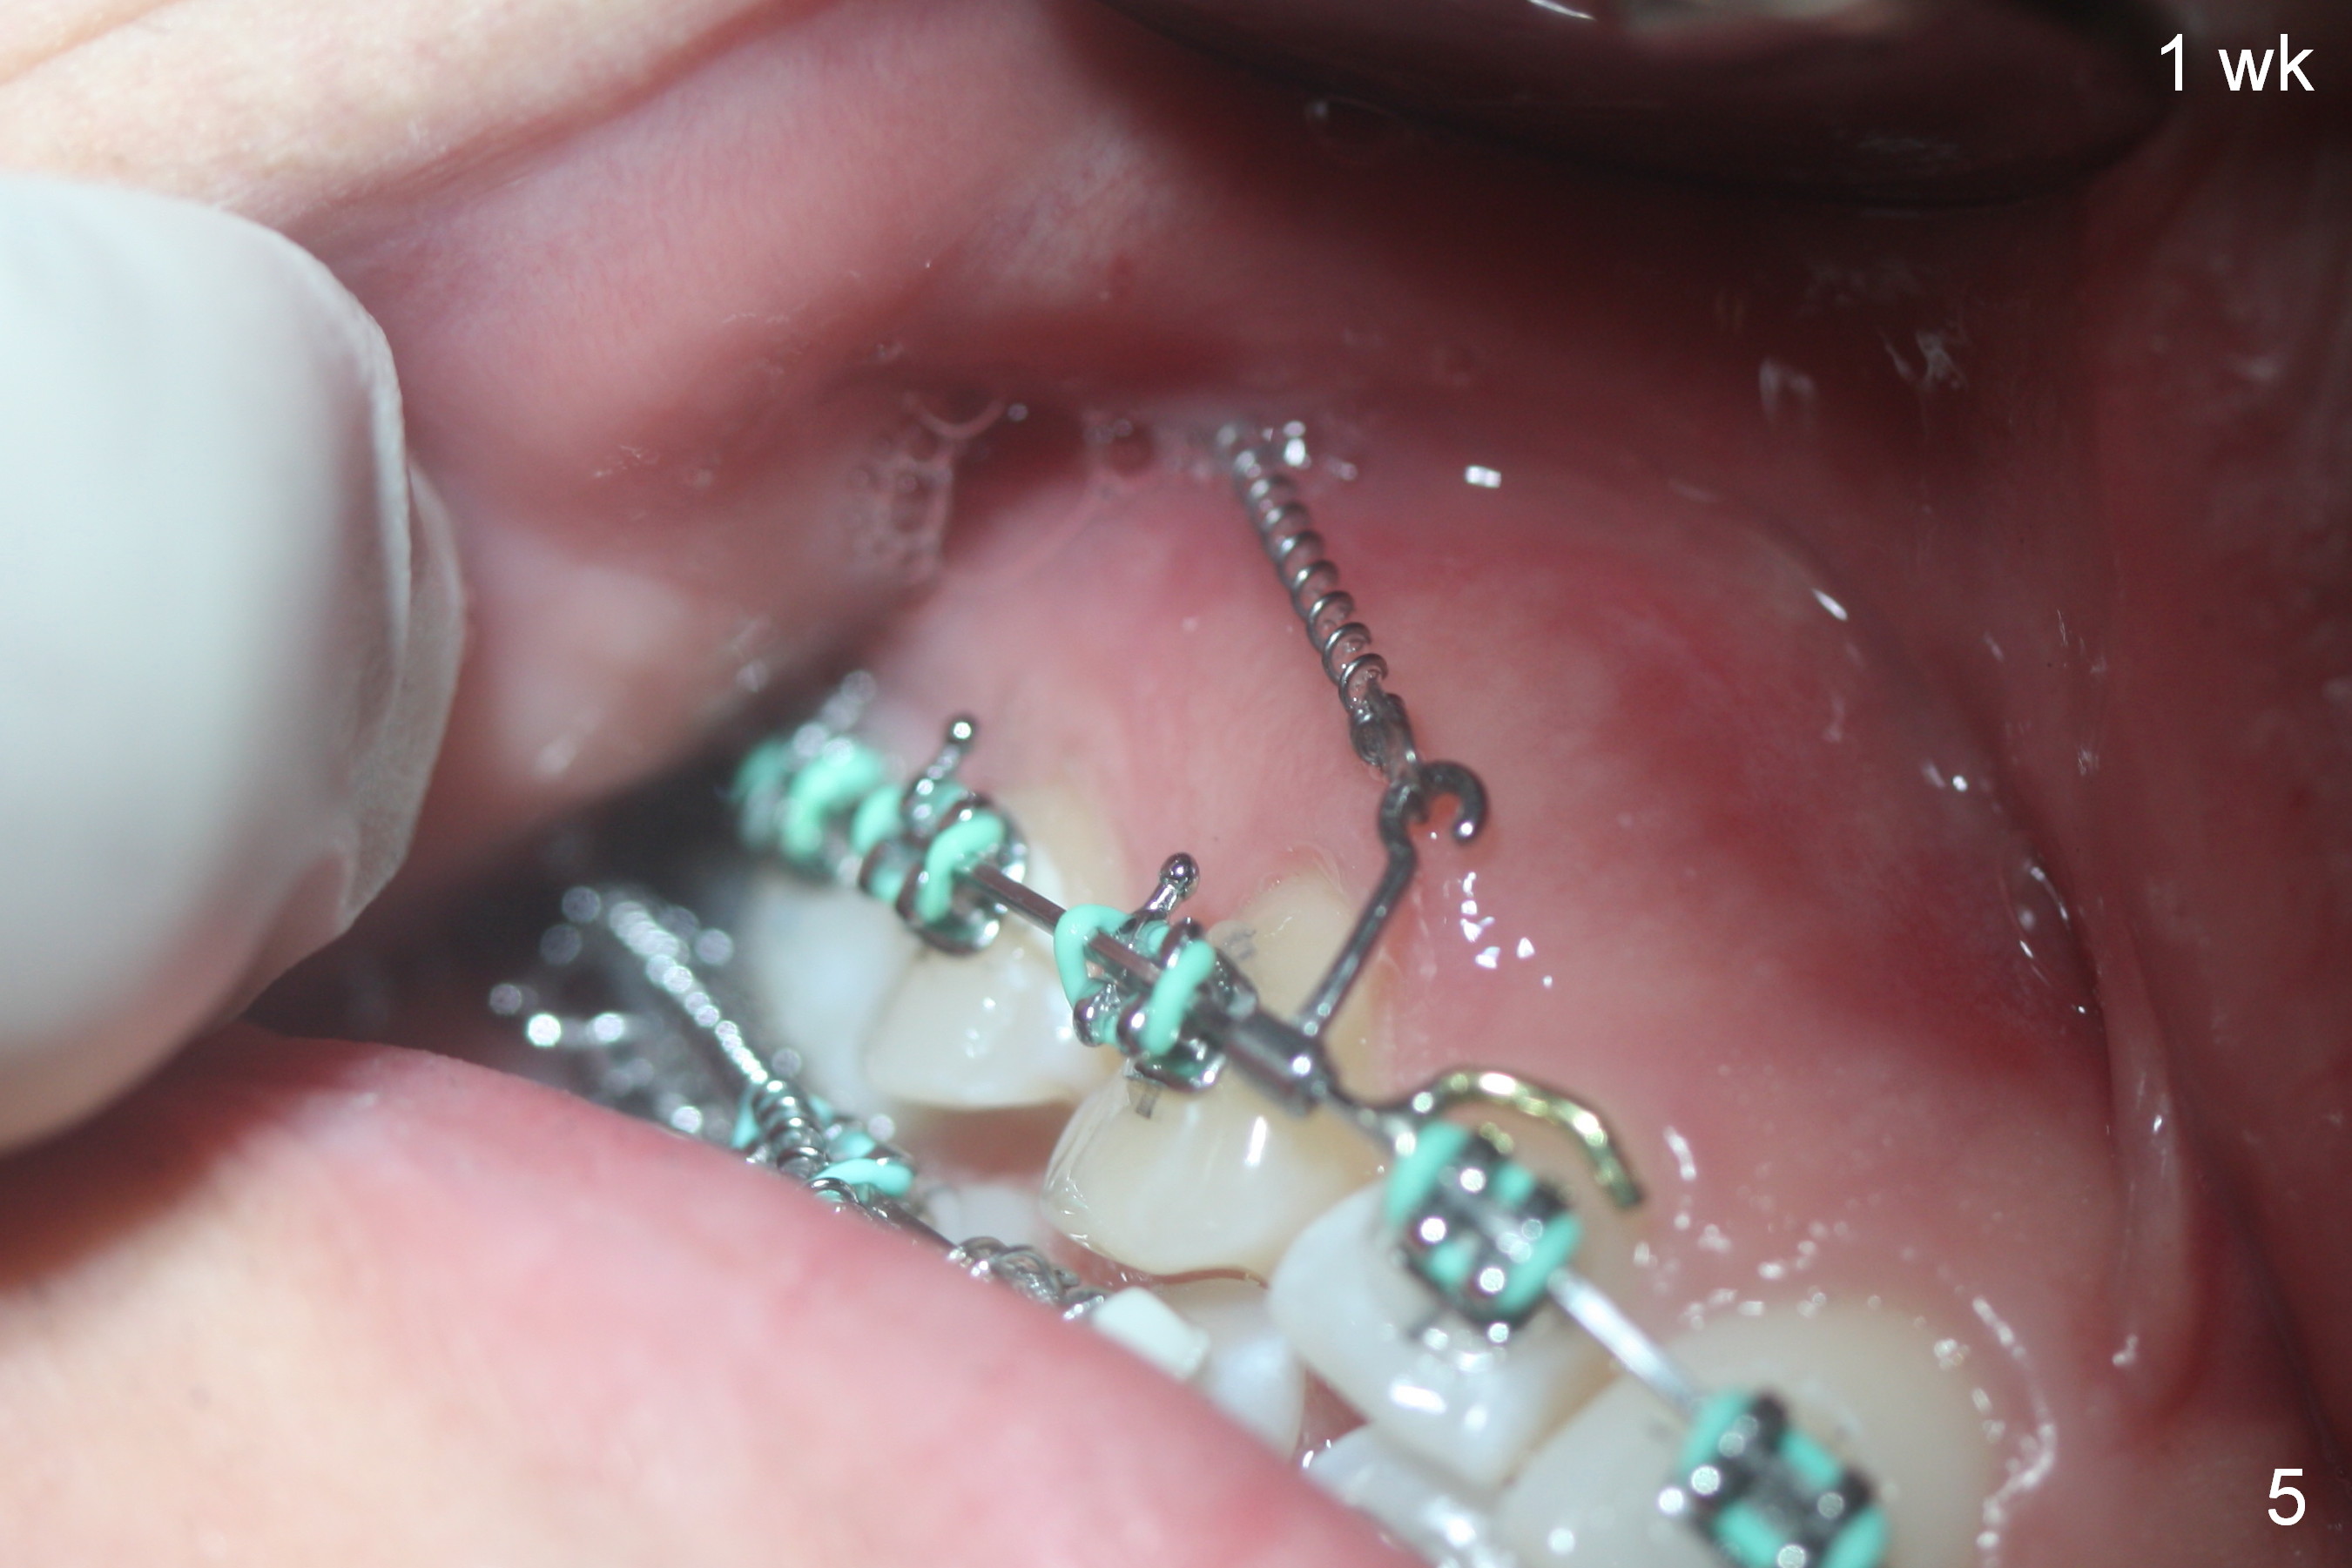
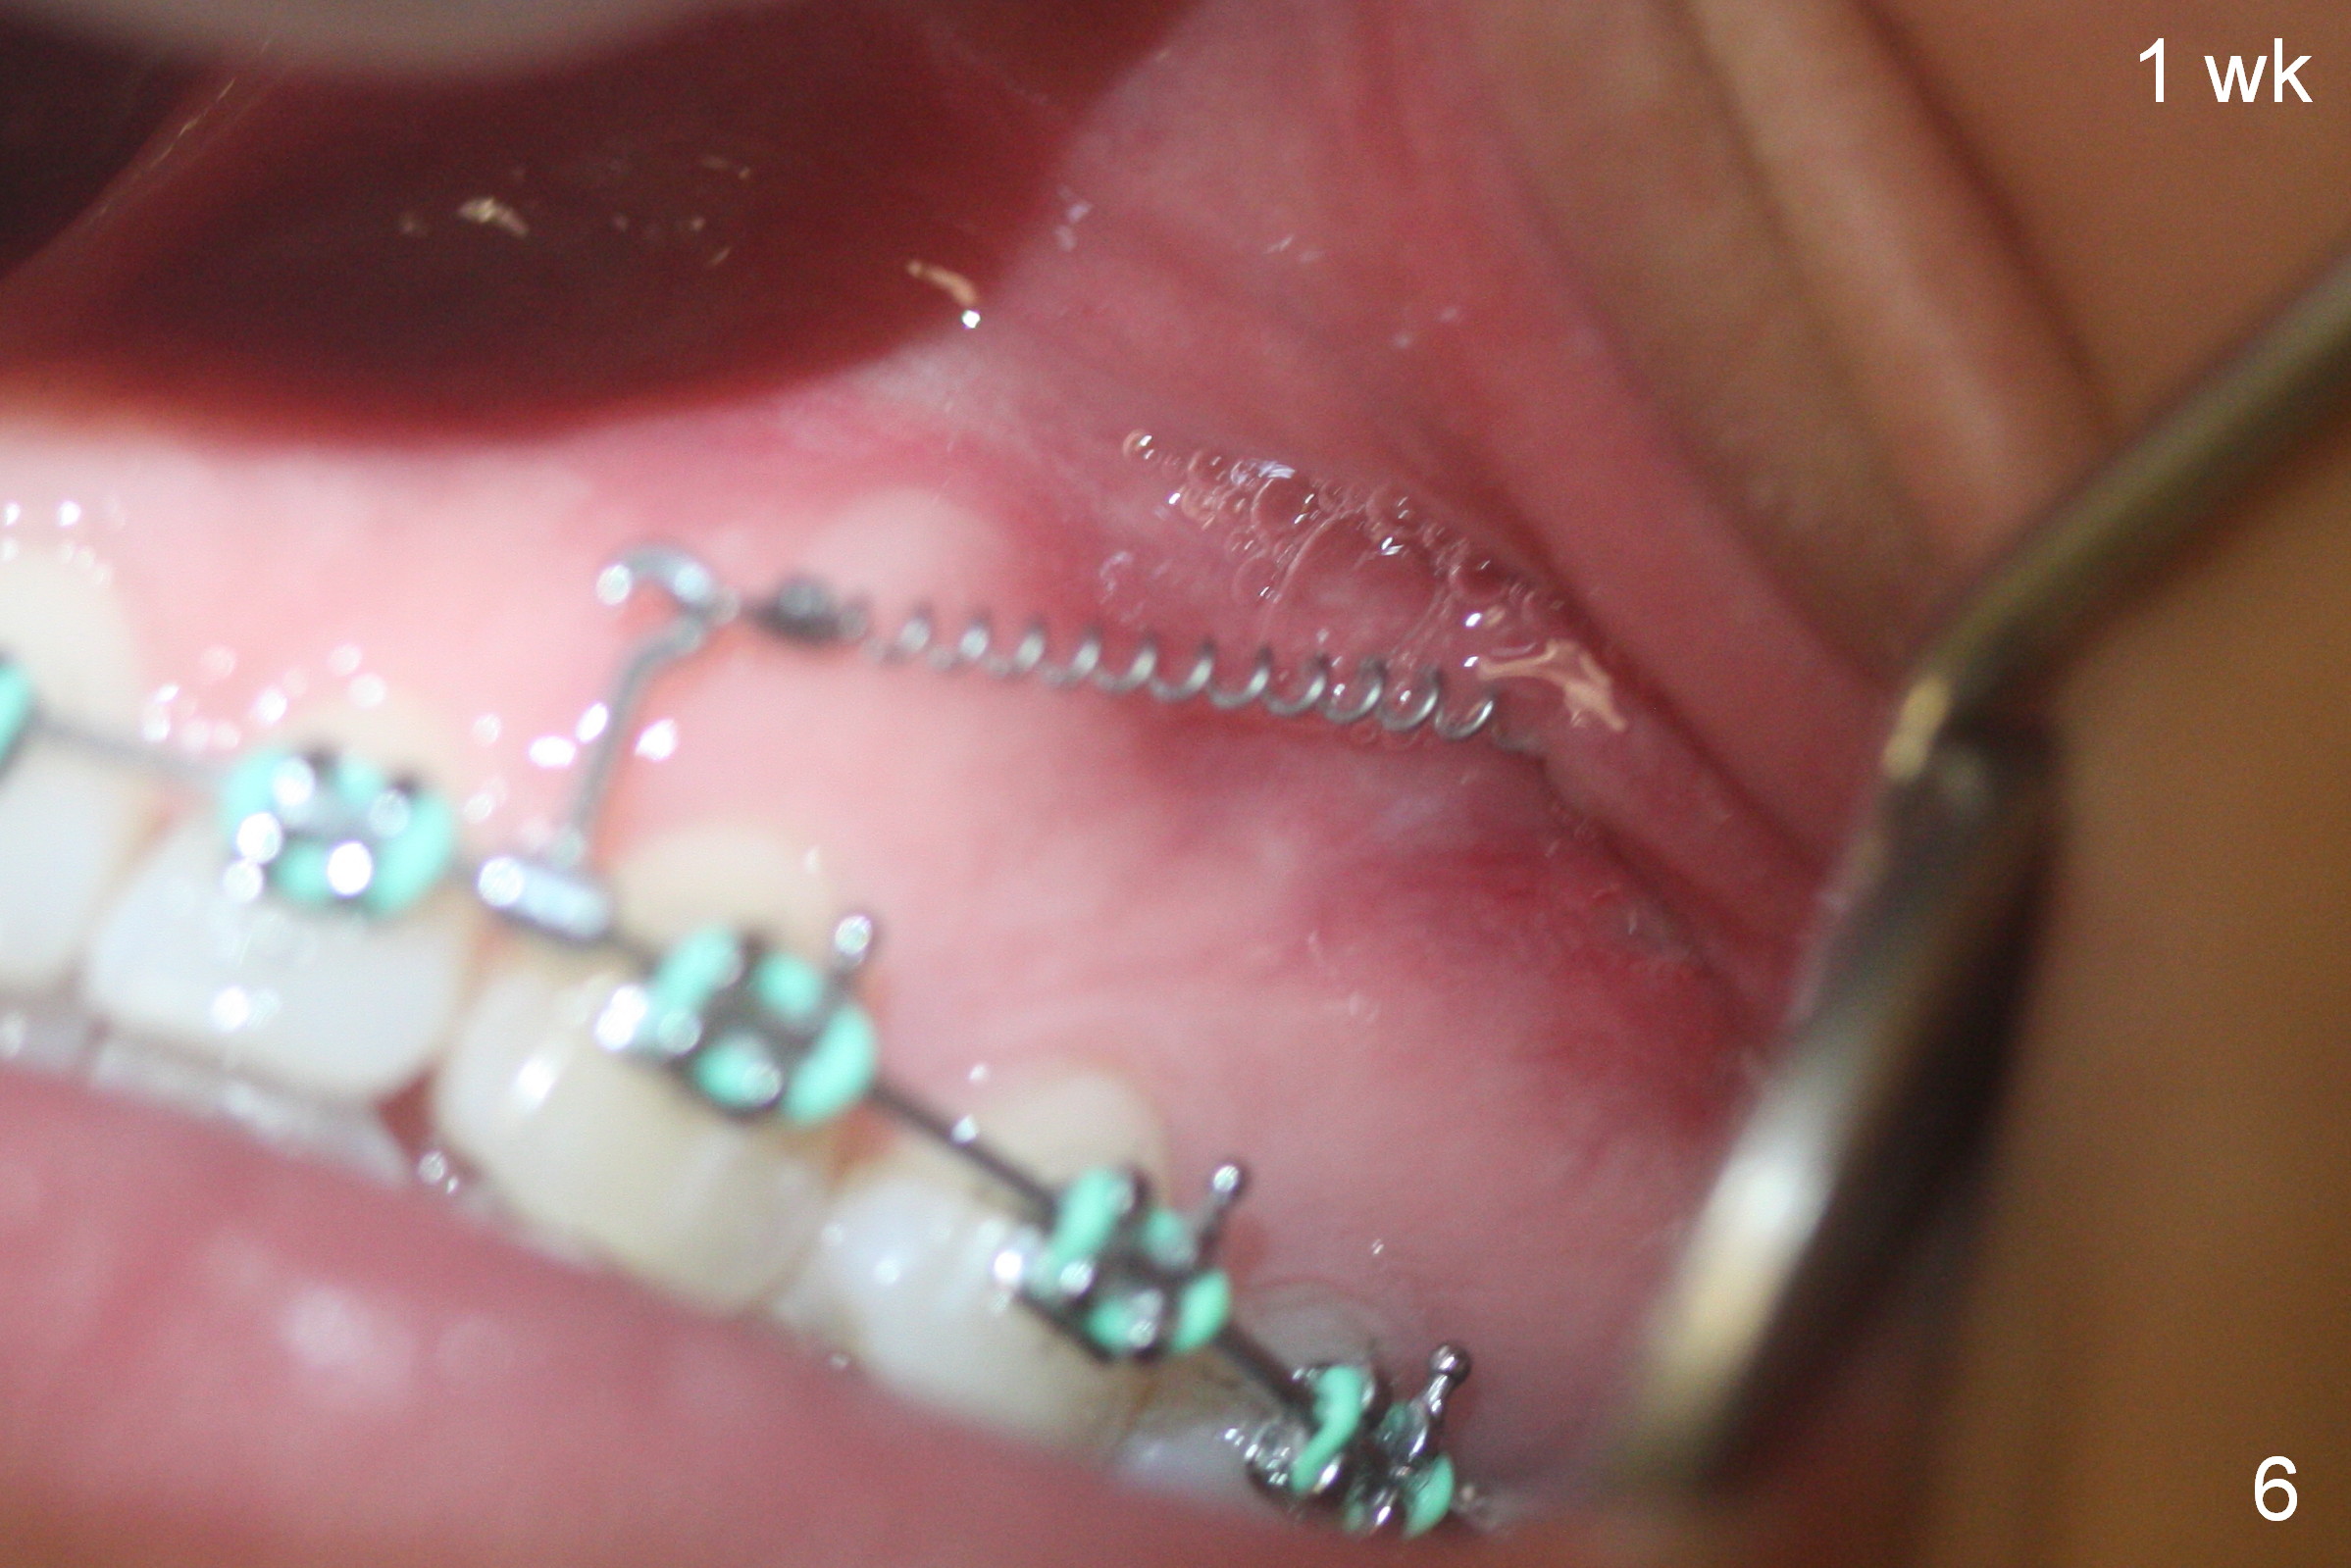
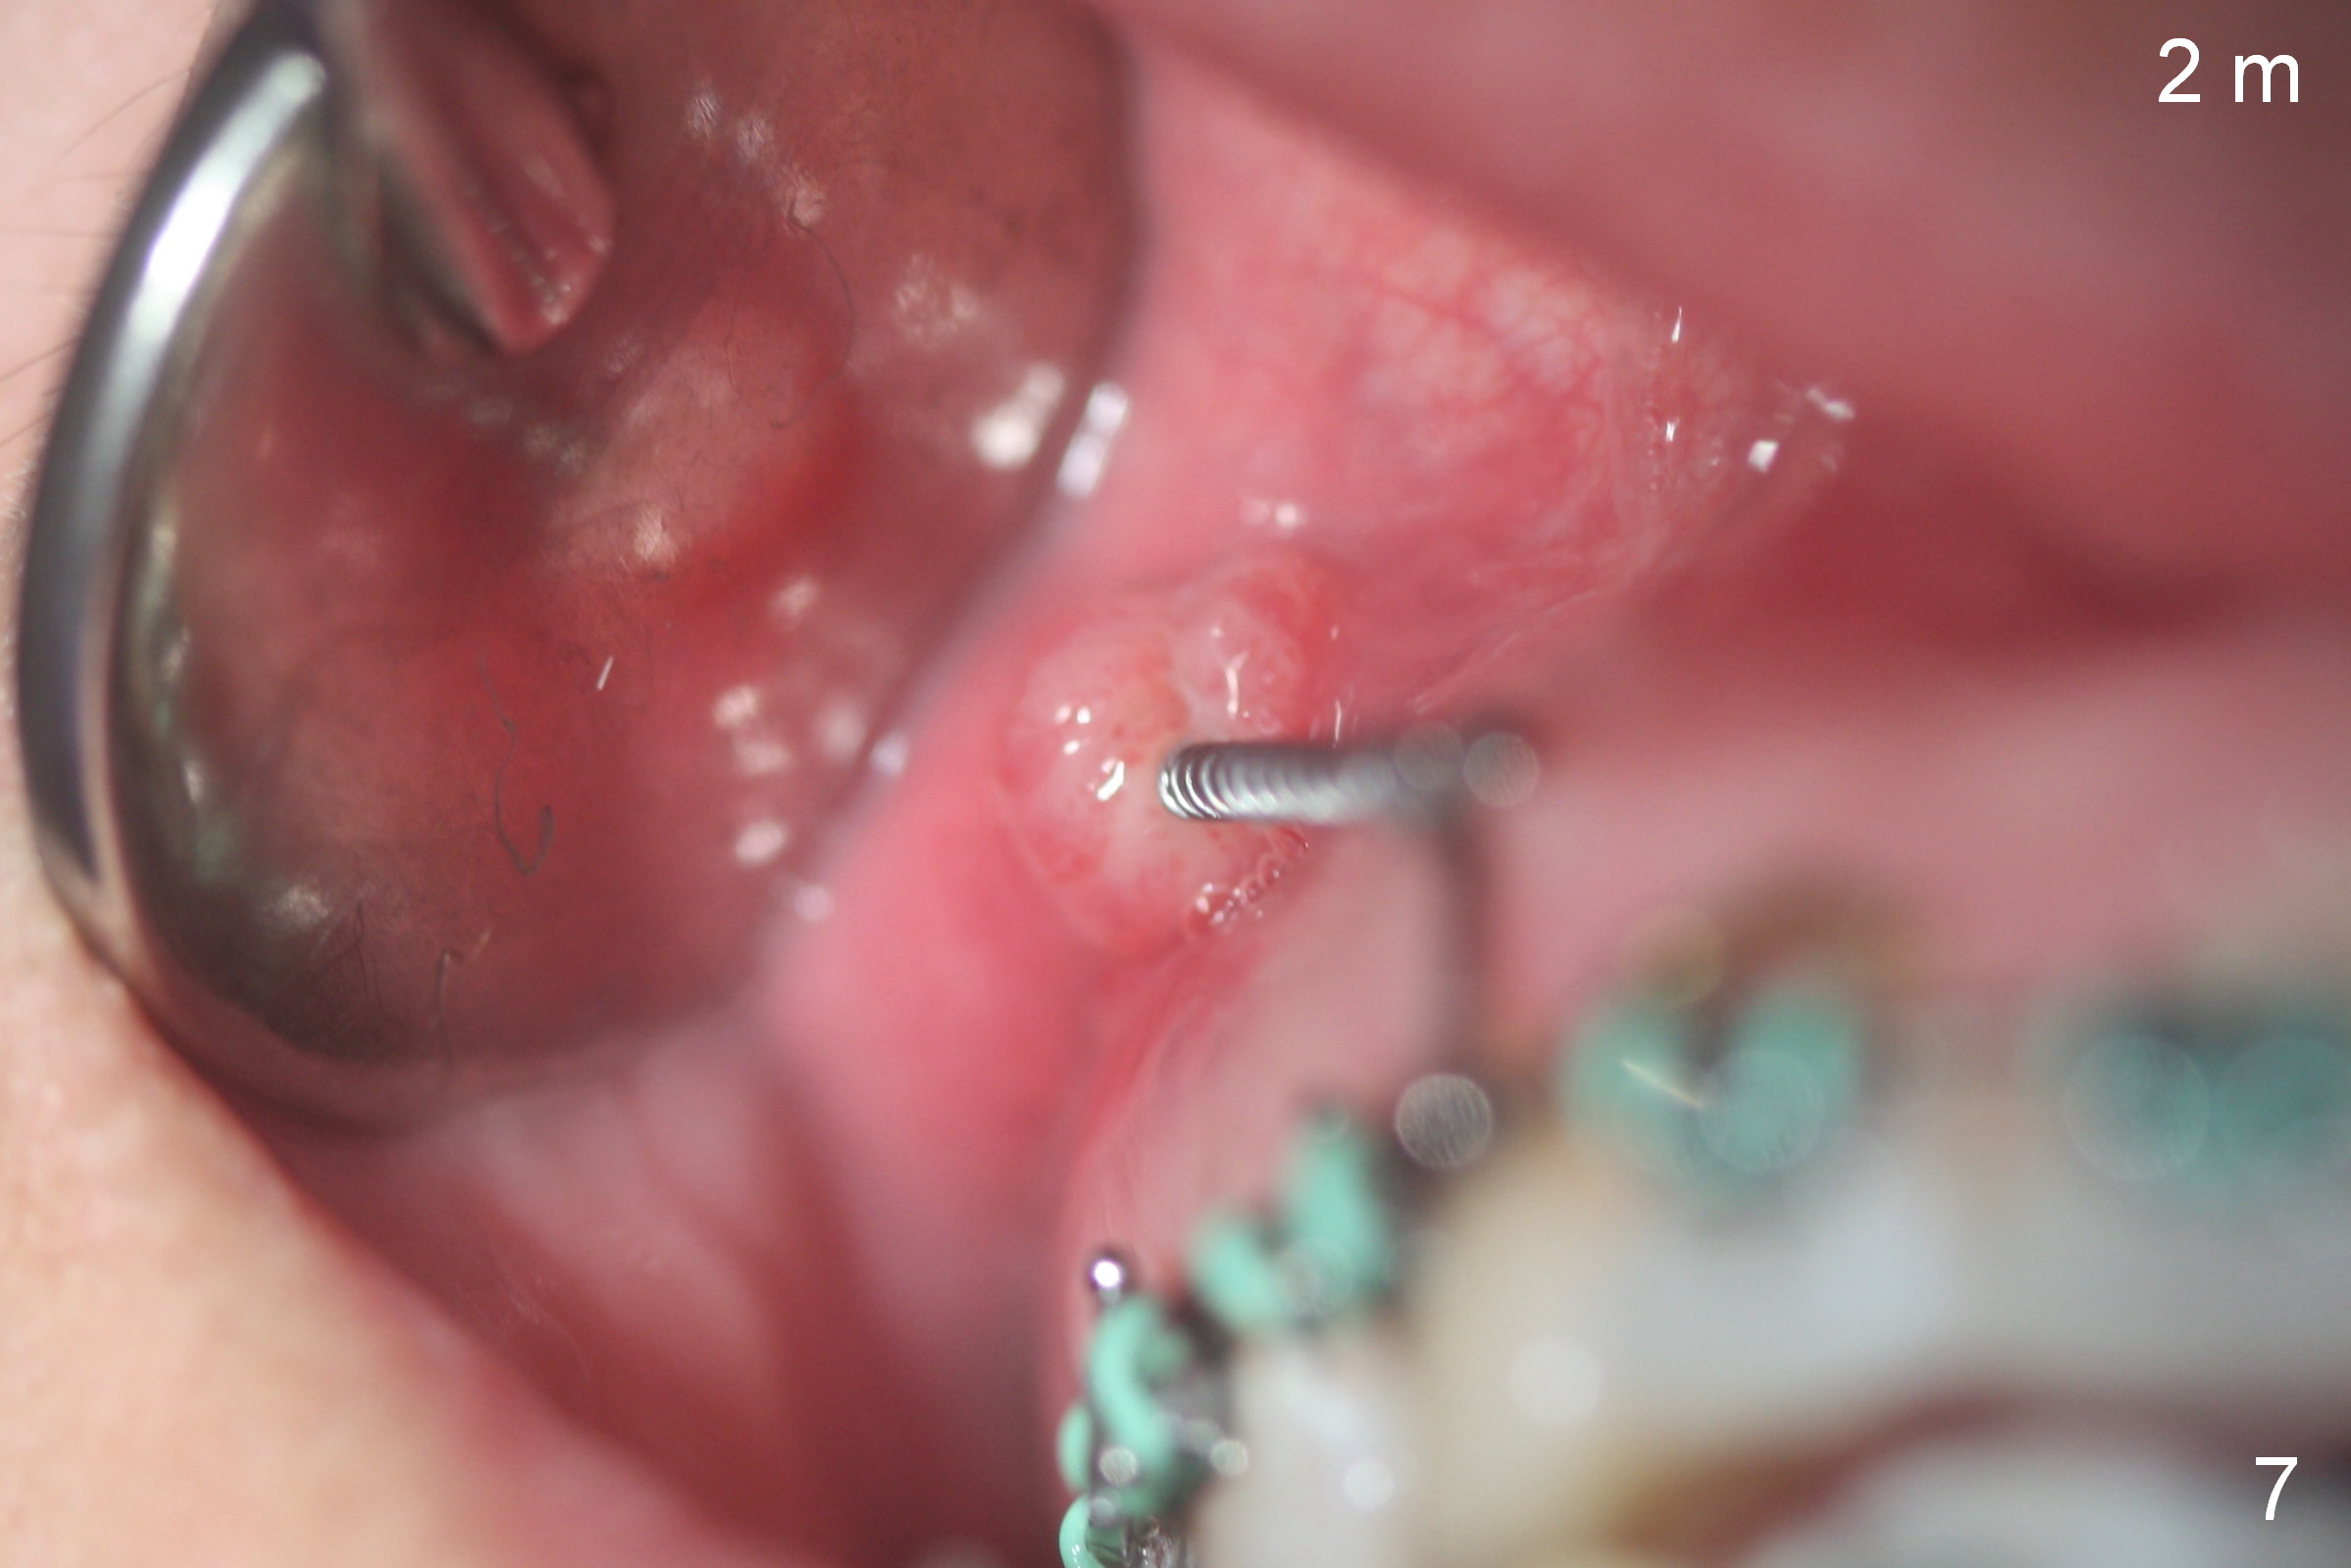
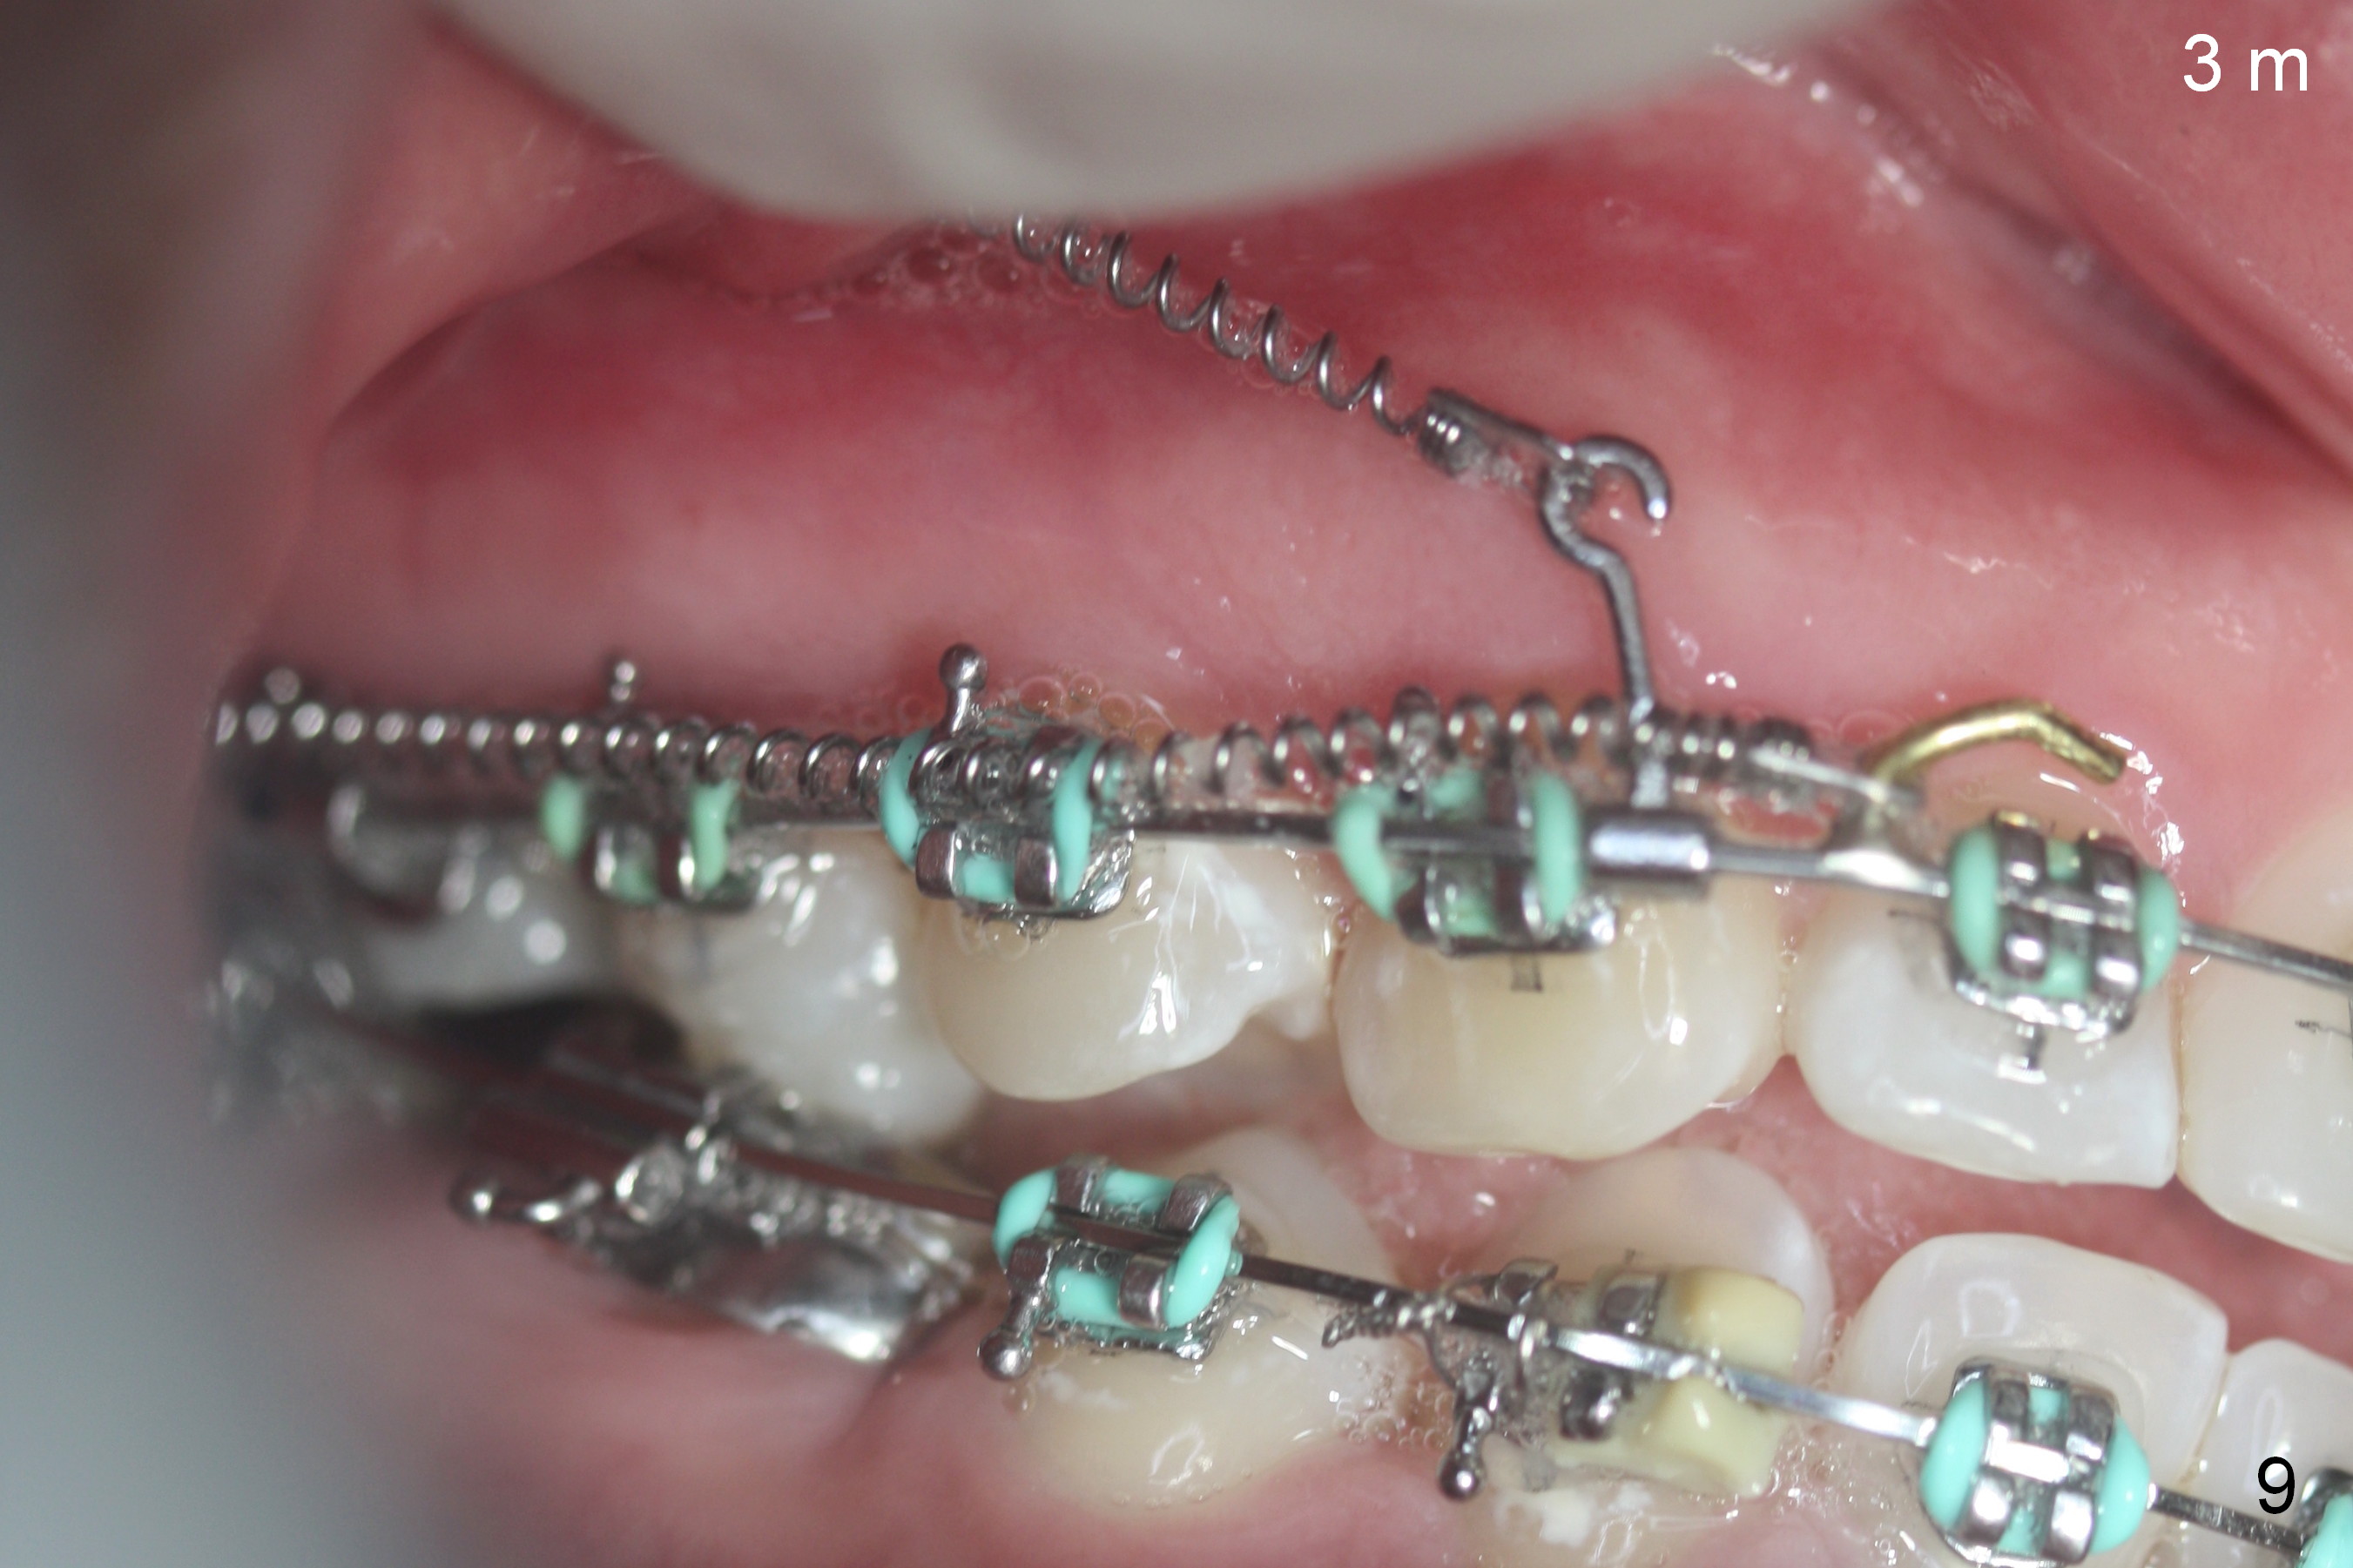
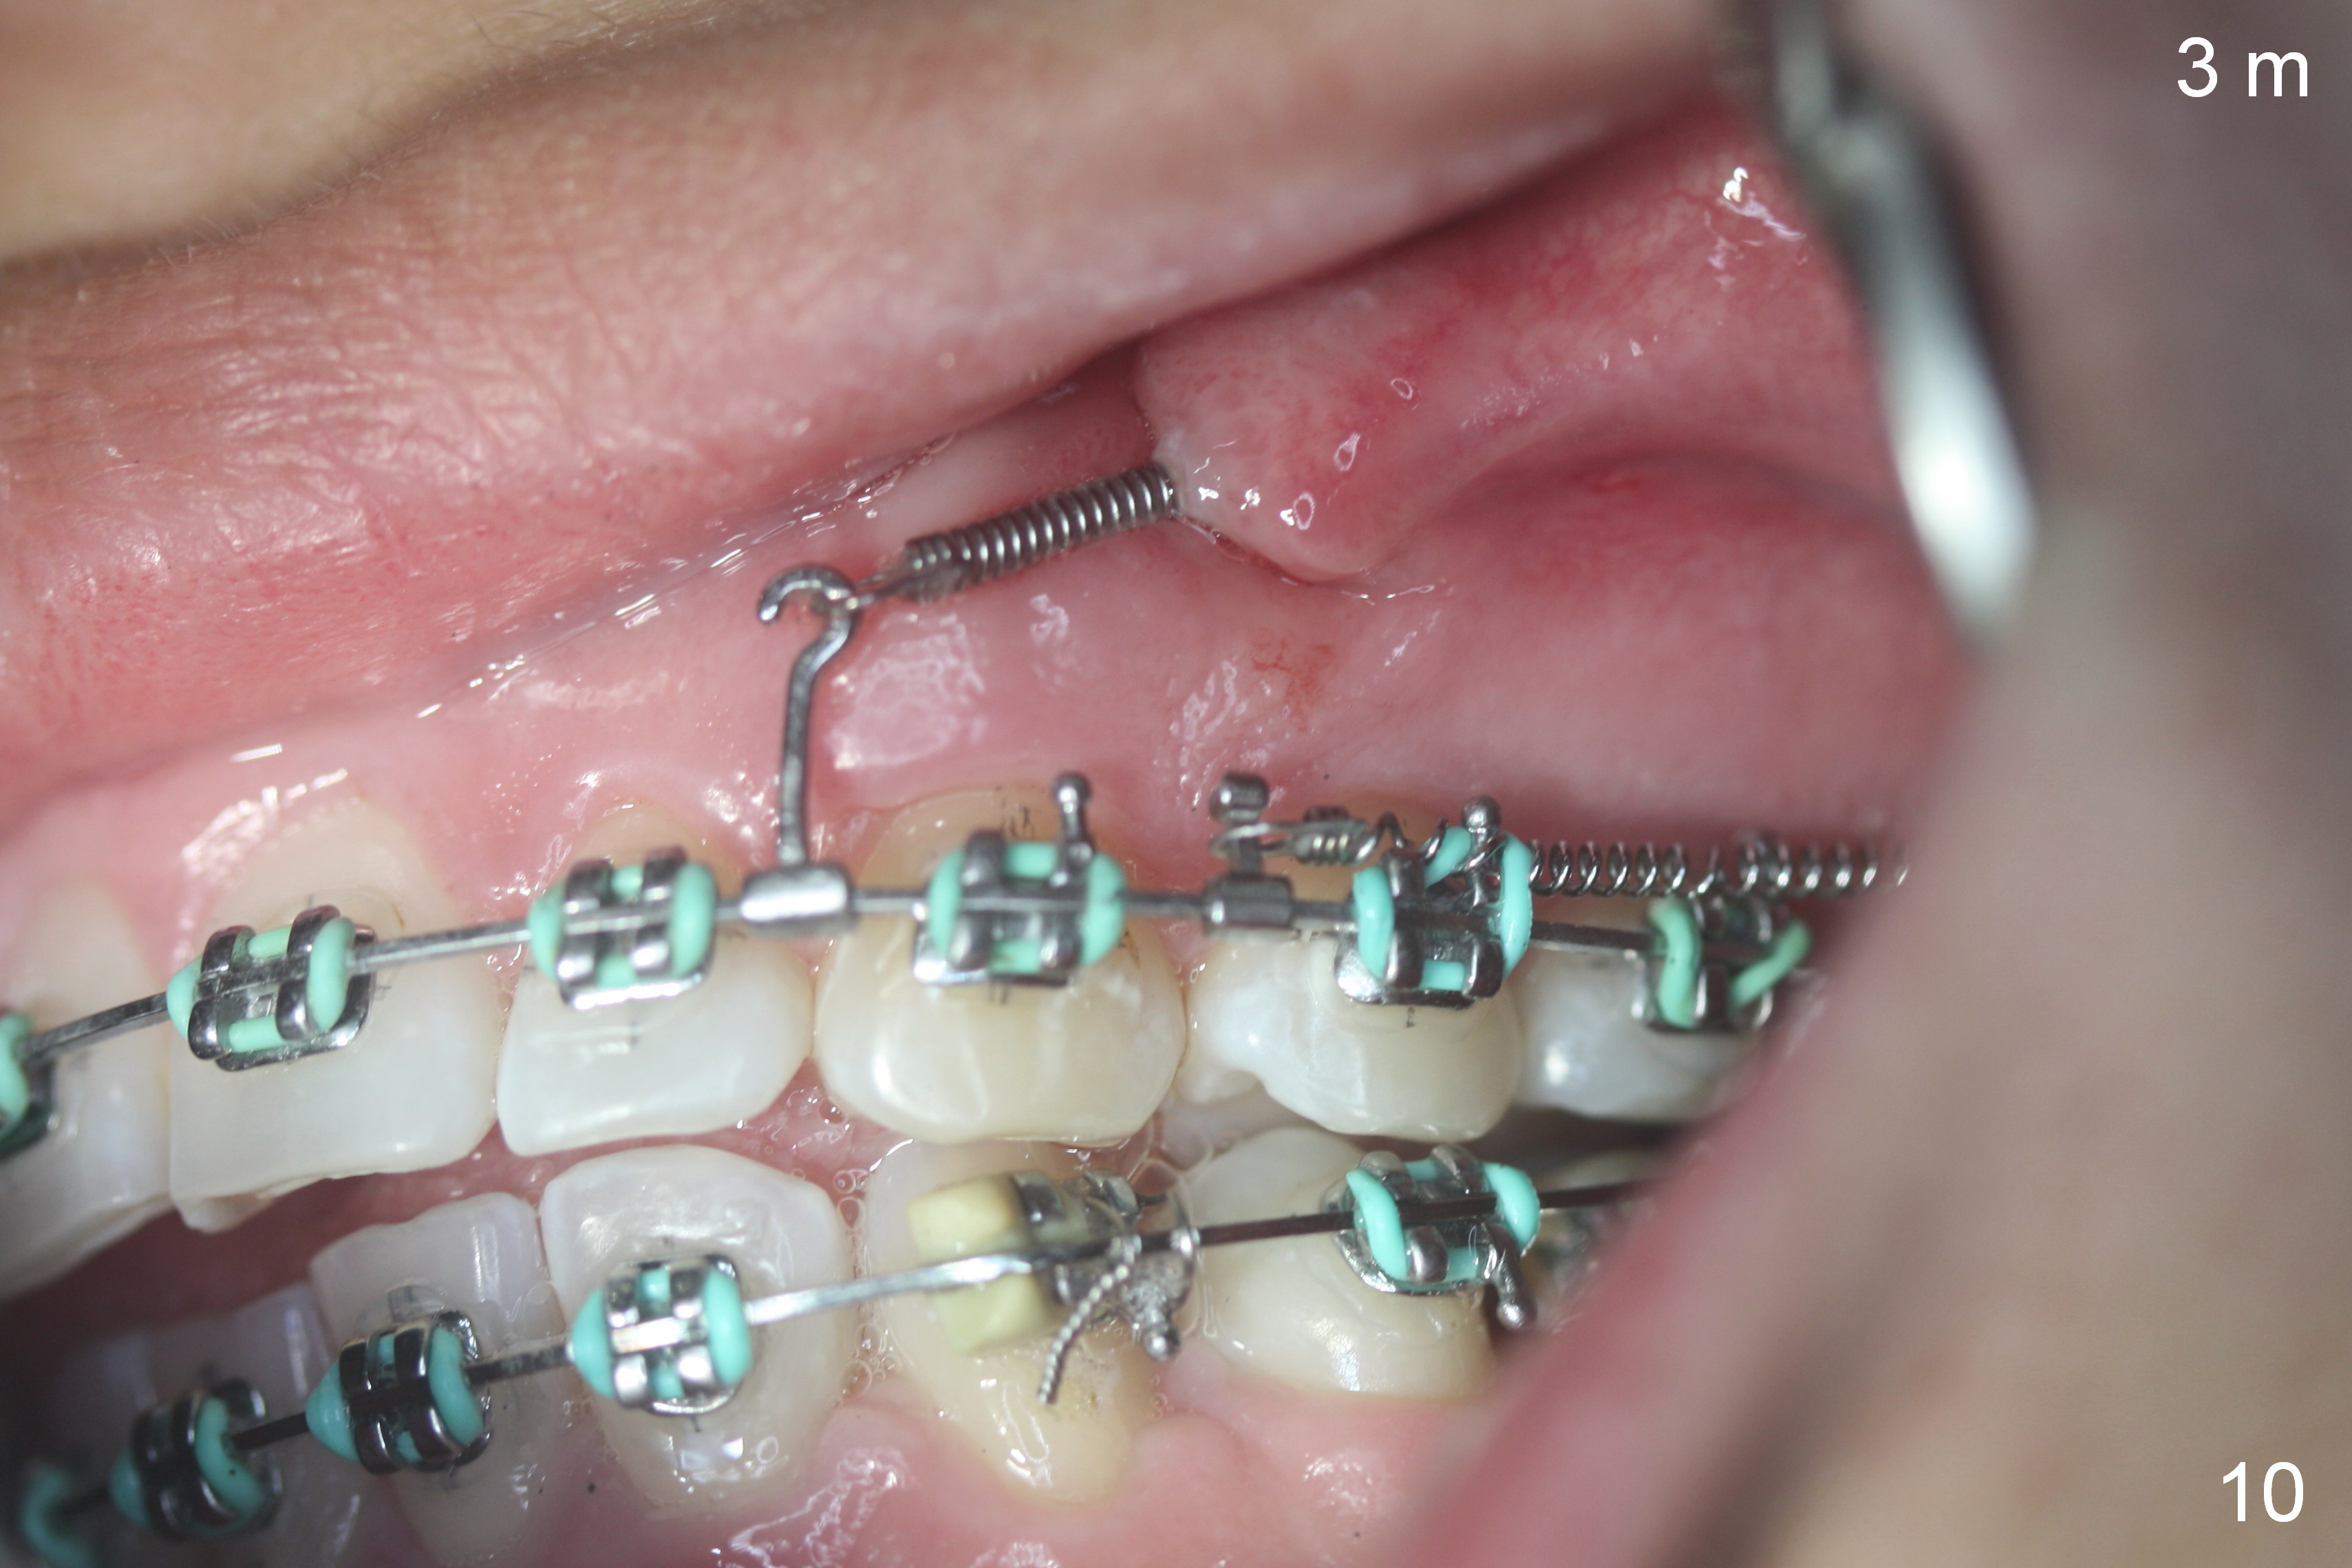
Postop follow up at 1 week (Fig.5,6), 2 months (Fig.7,8) and 3 months (Fig.9,10). Granulation tissue forms around the entrance of closed coil spring with tenderness 2 months postop (Fig.7,8). Pain persists especially on the left. Tension of coiled spring associated with zygomatic implants is low; new coiled springs are added for the posterior implants (Fig.9,10). Later the left spring associated with the left zygomatic implant fractures.
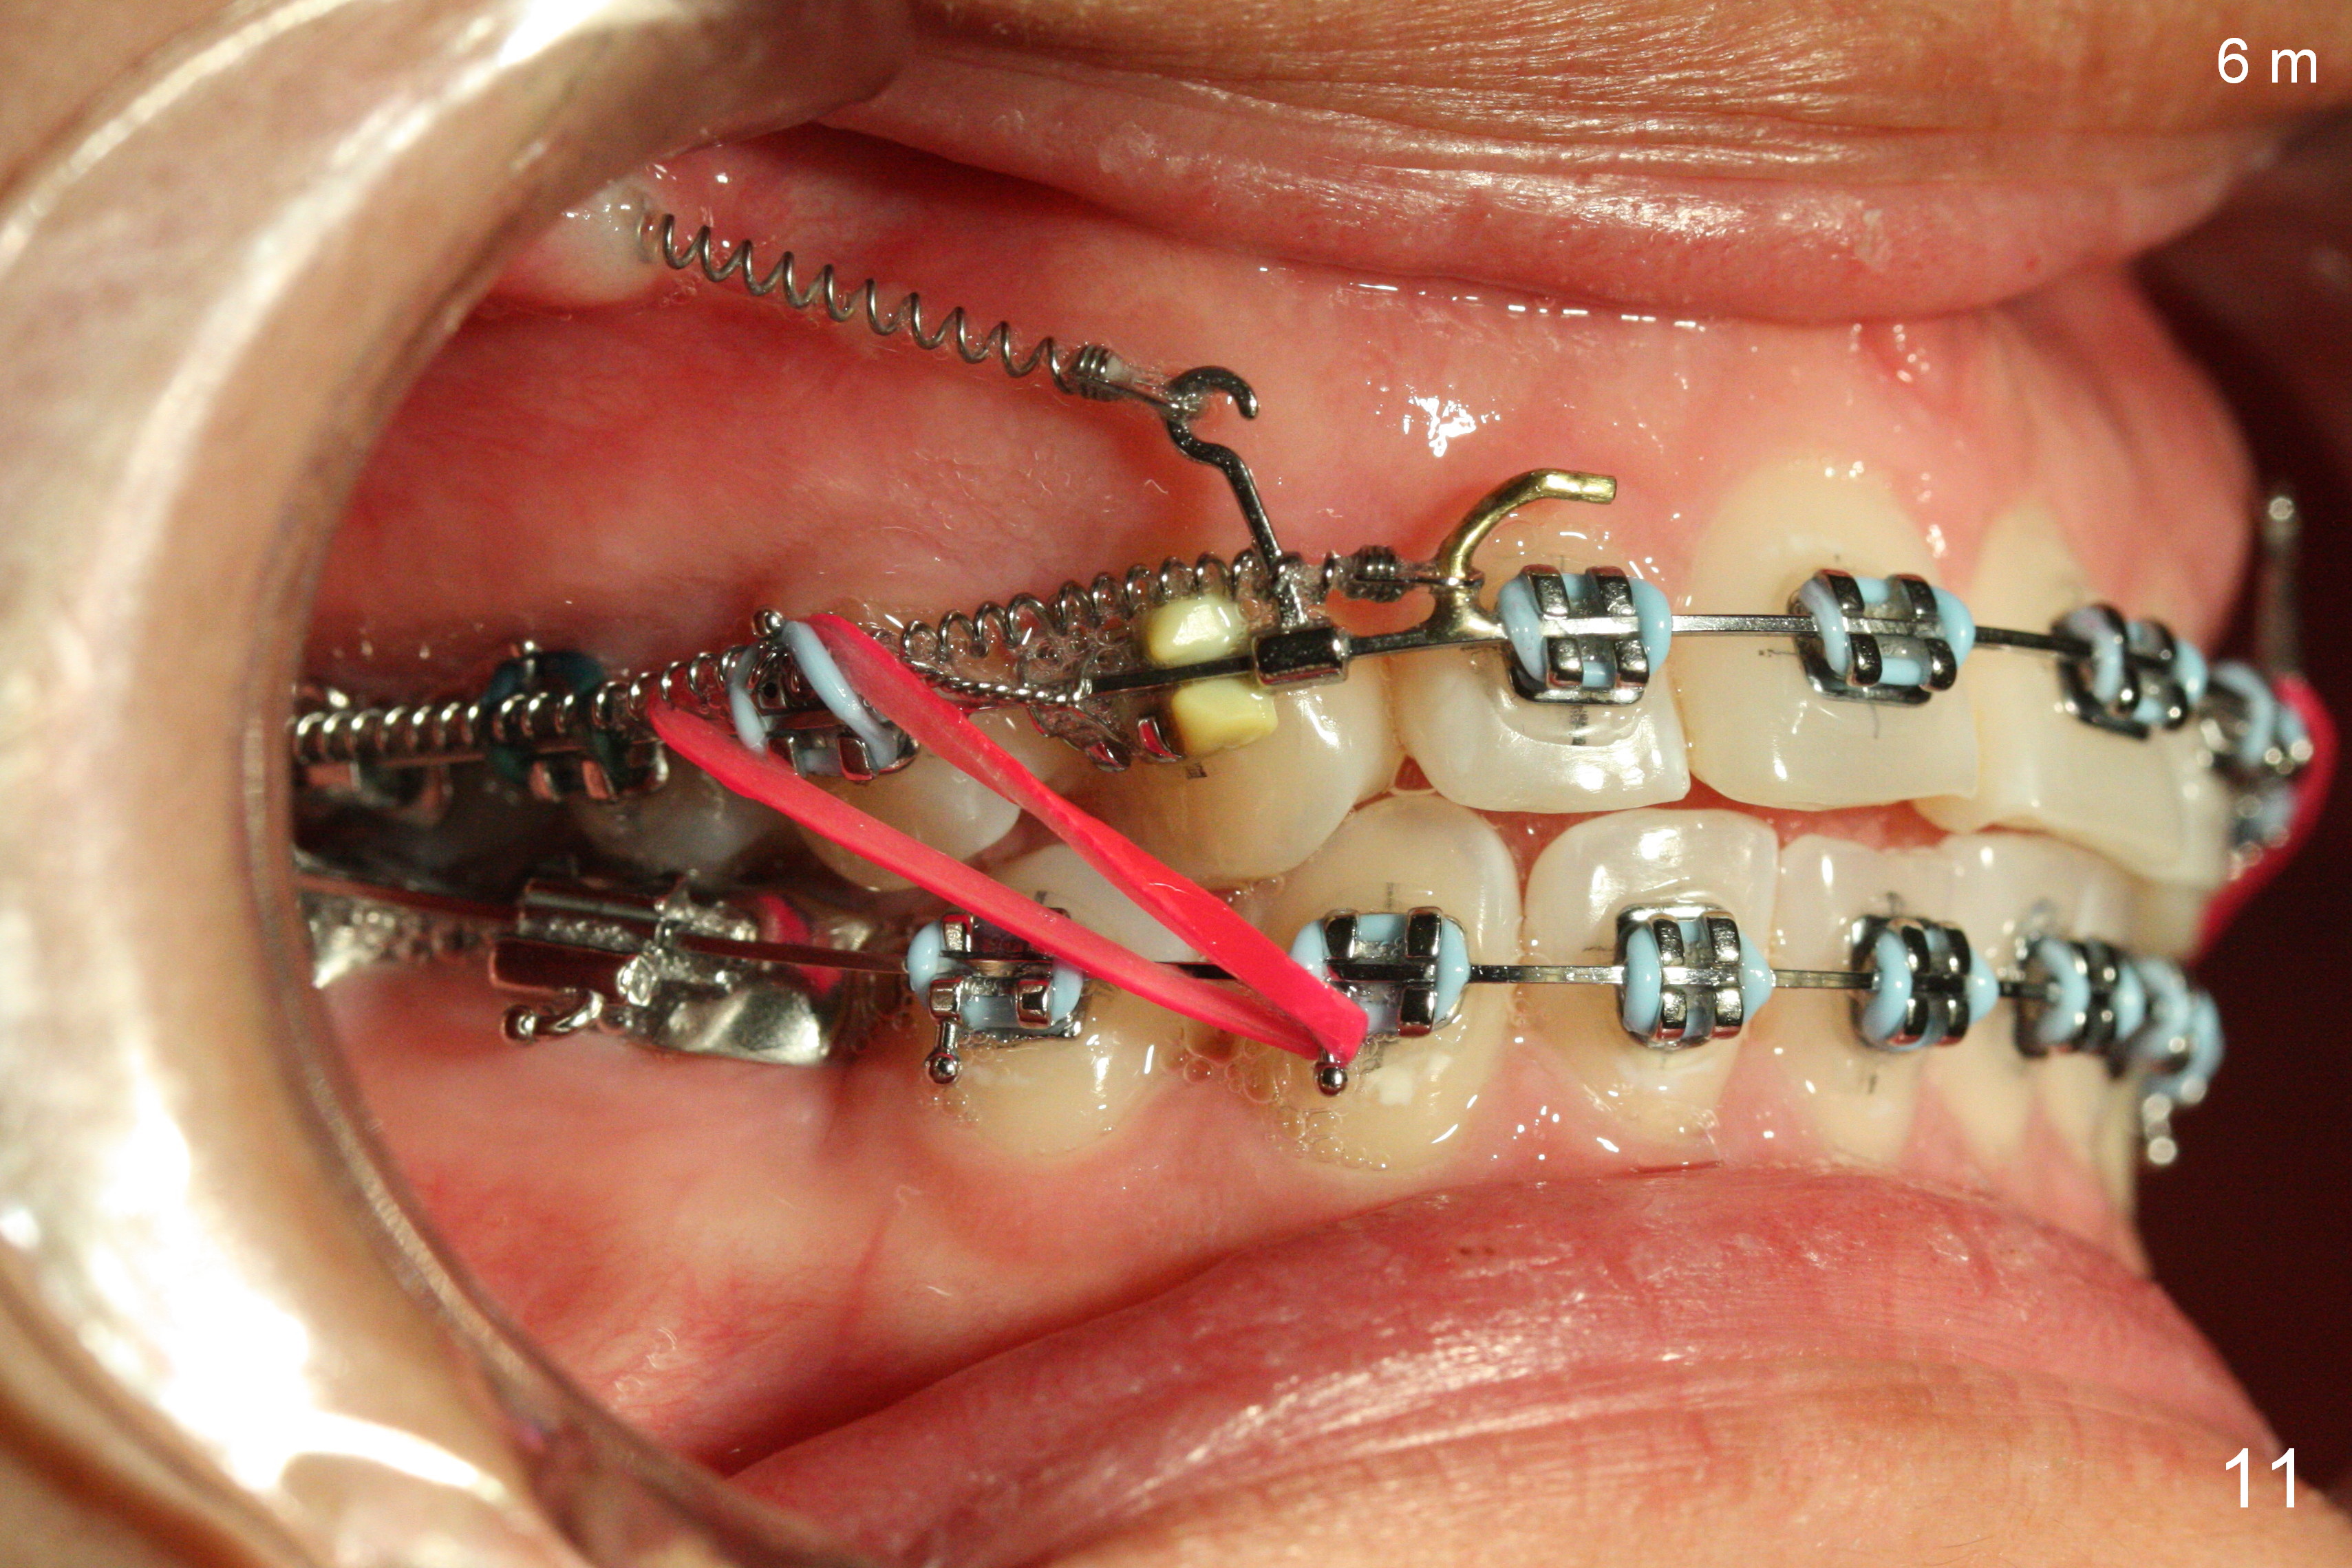
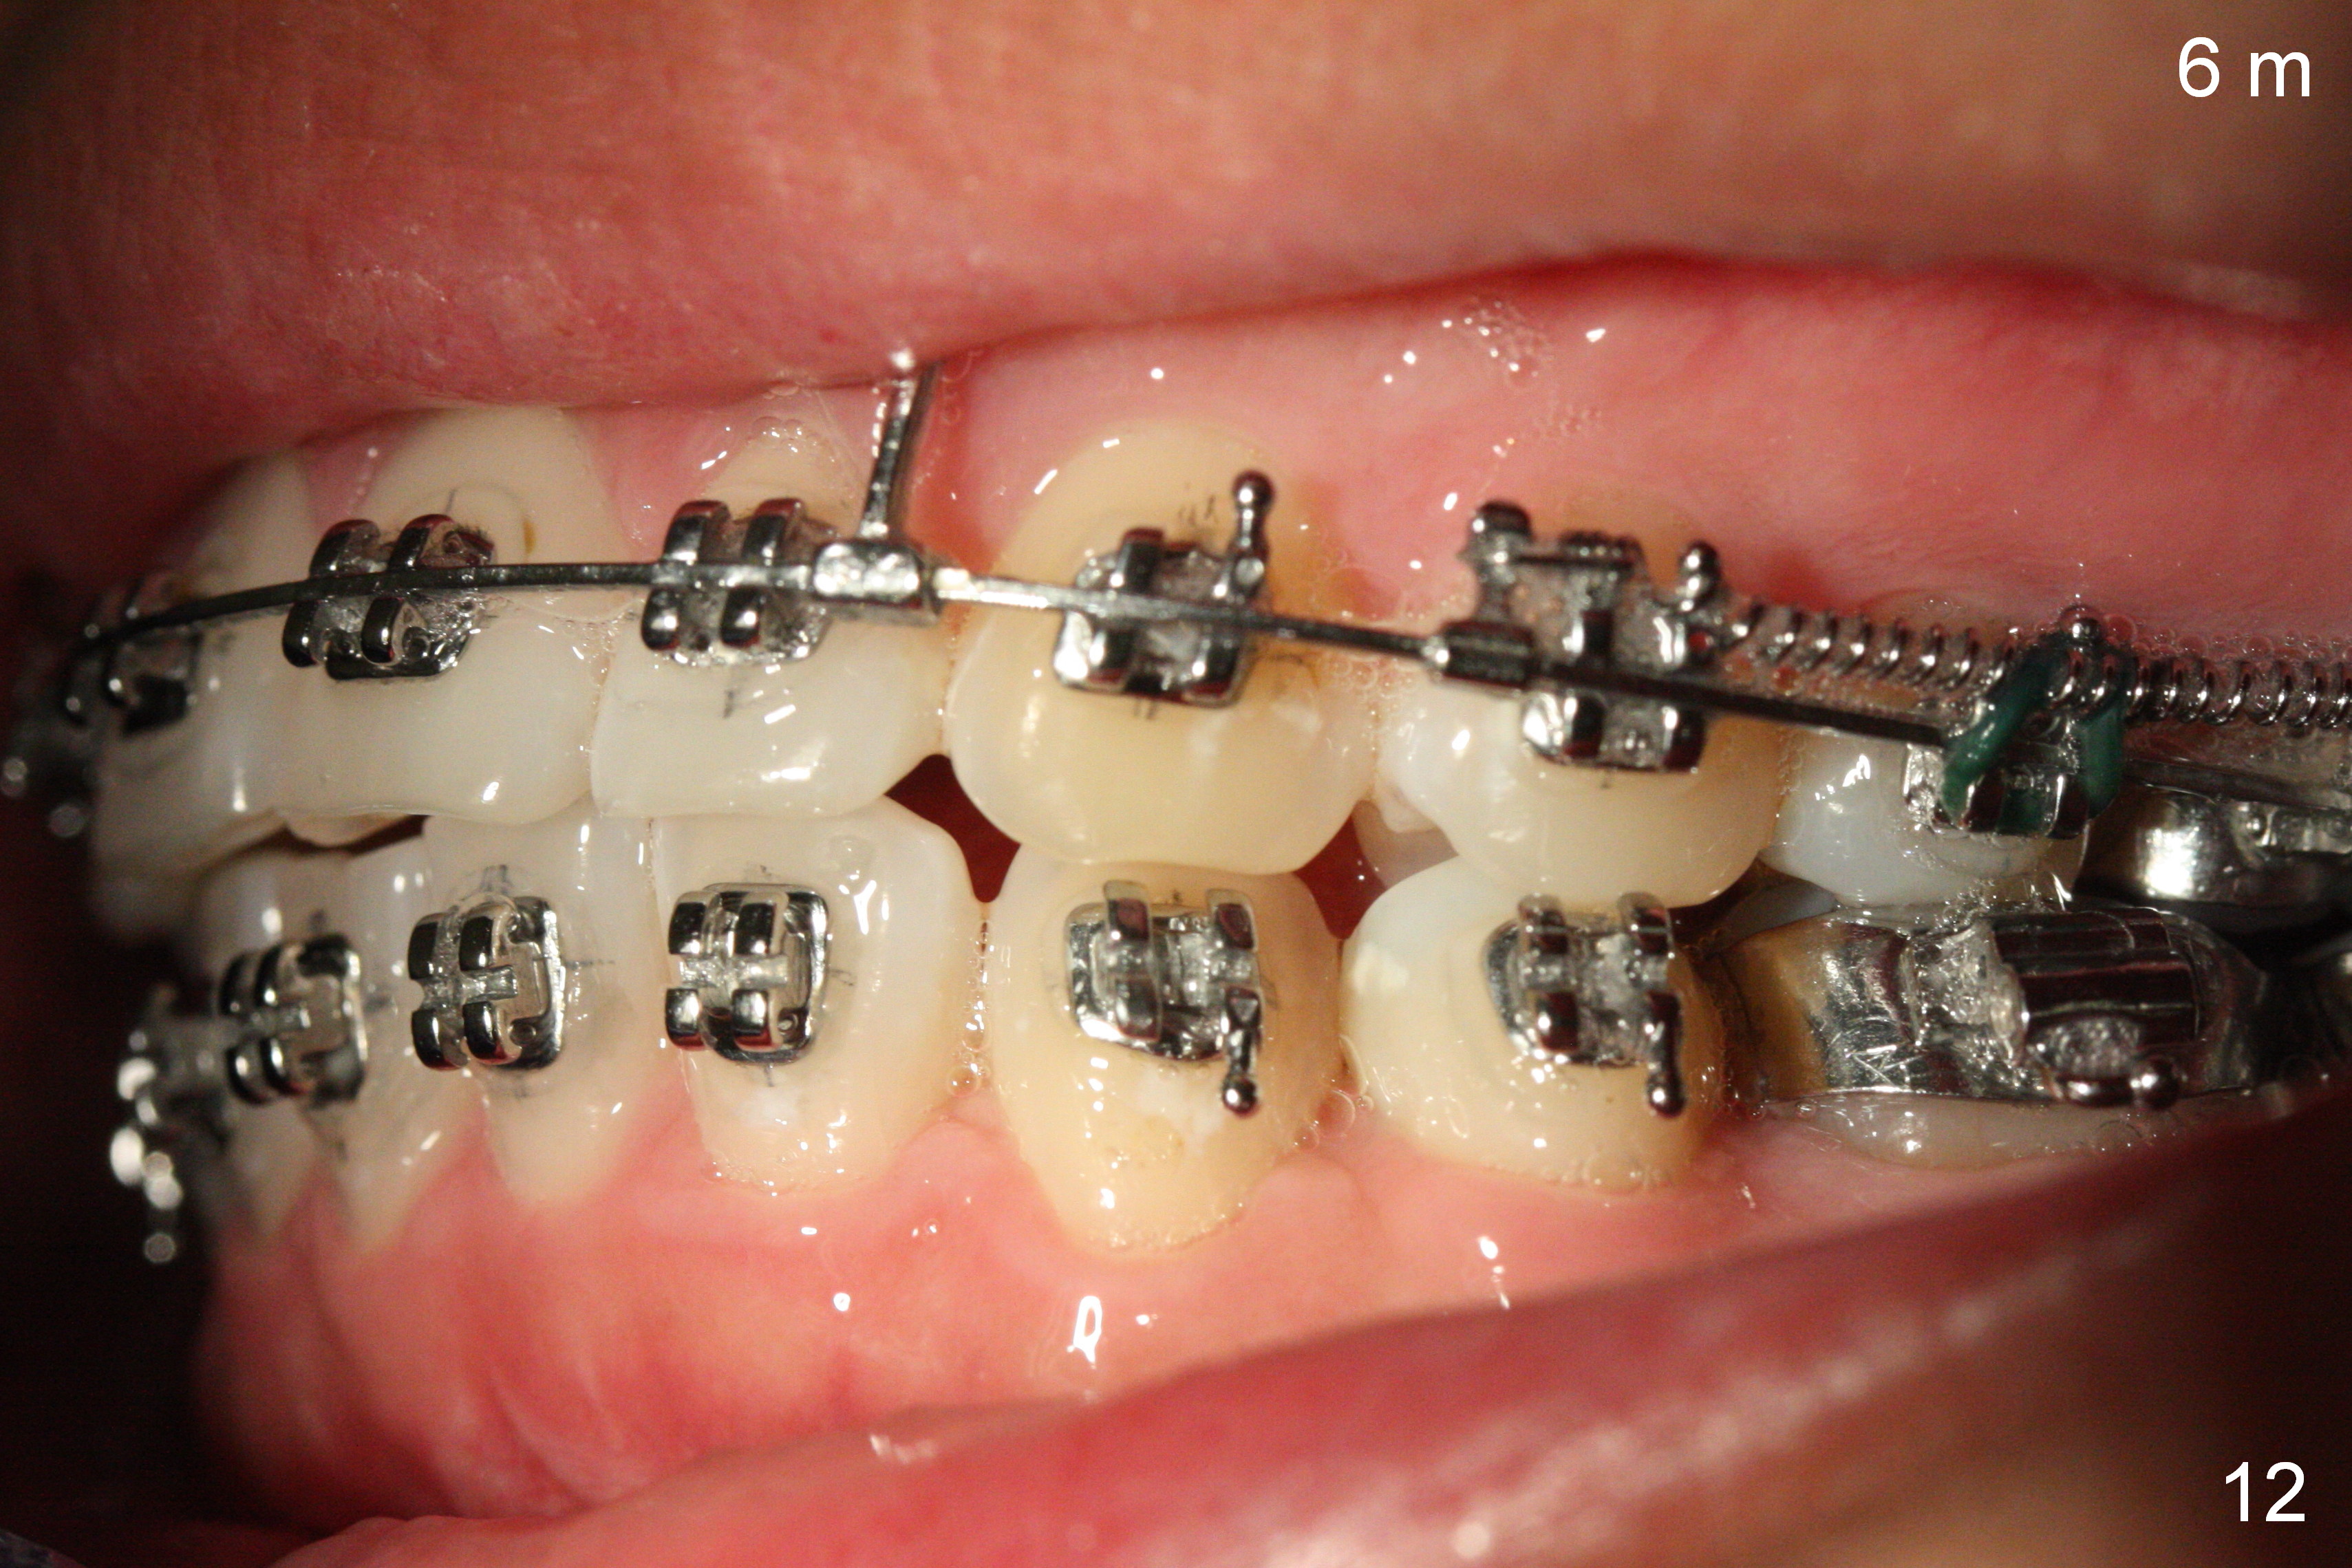
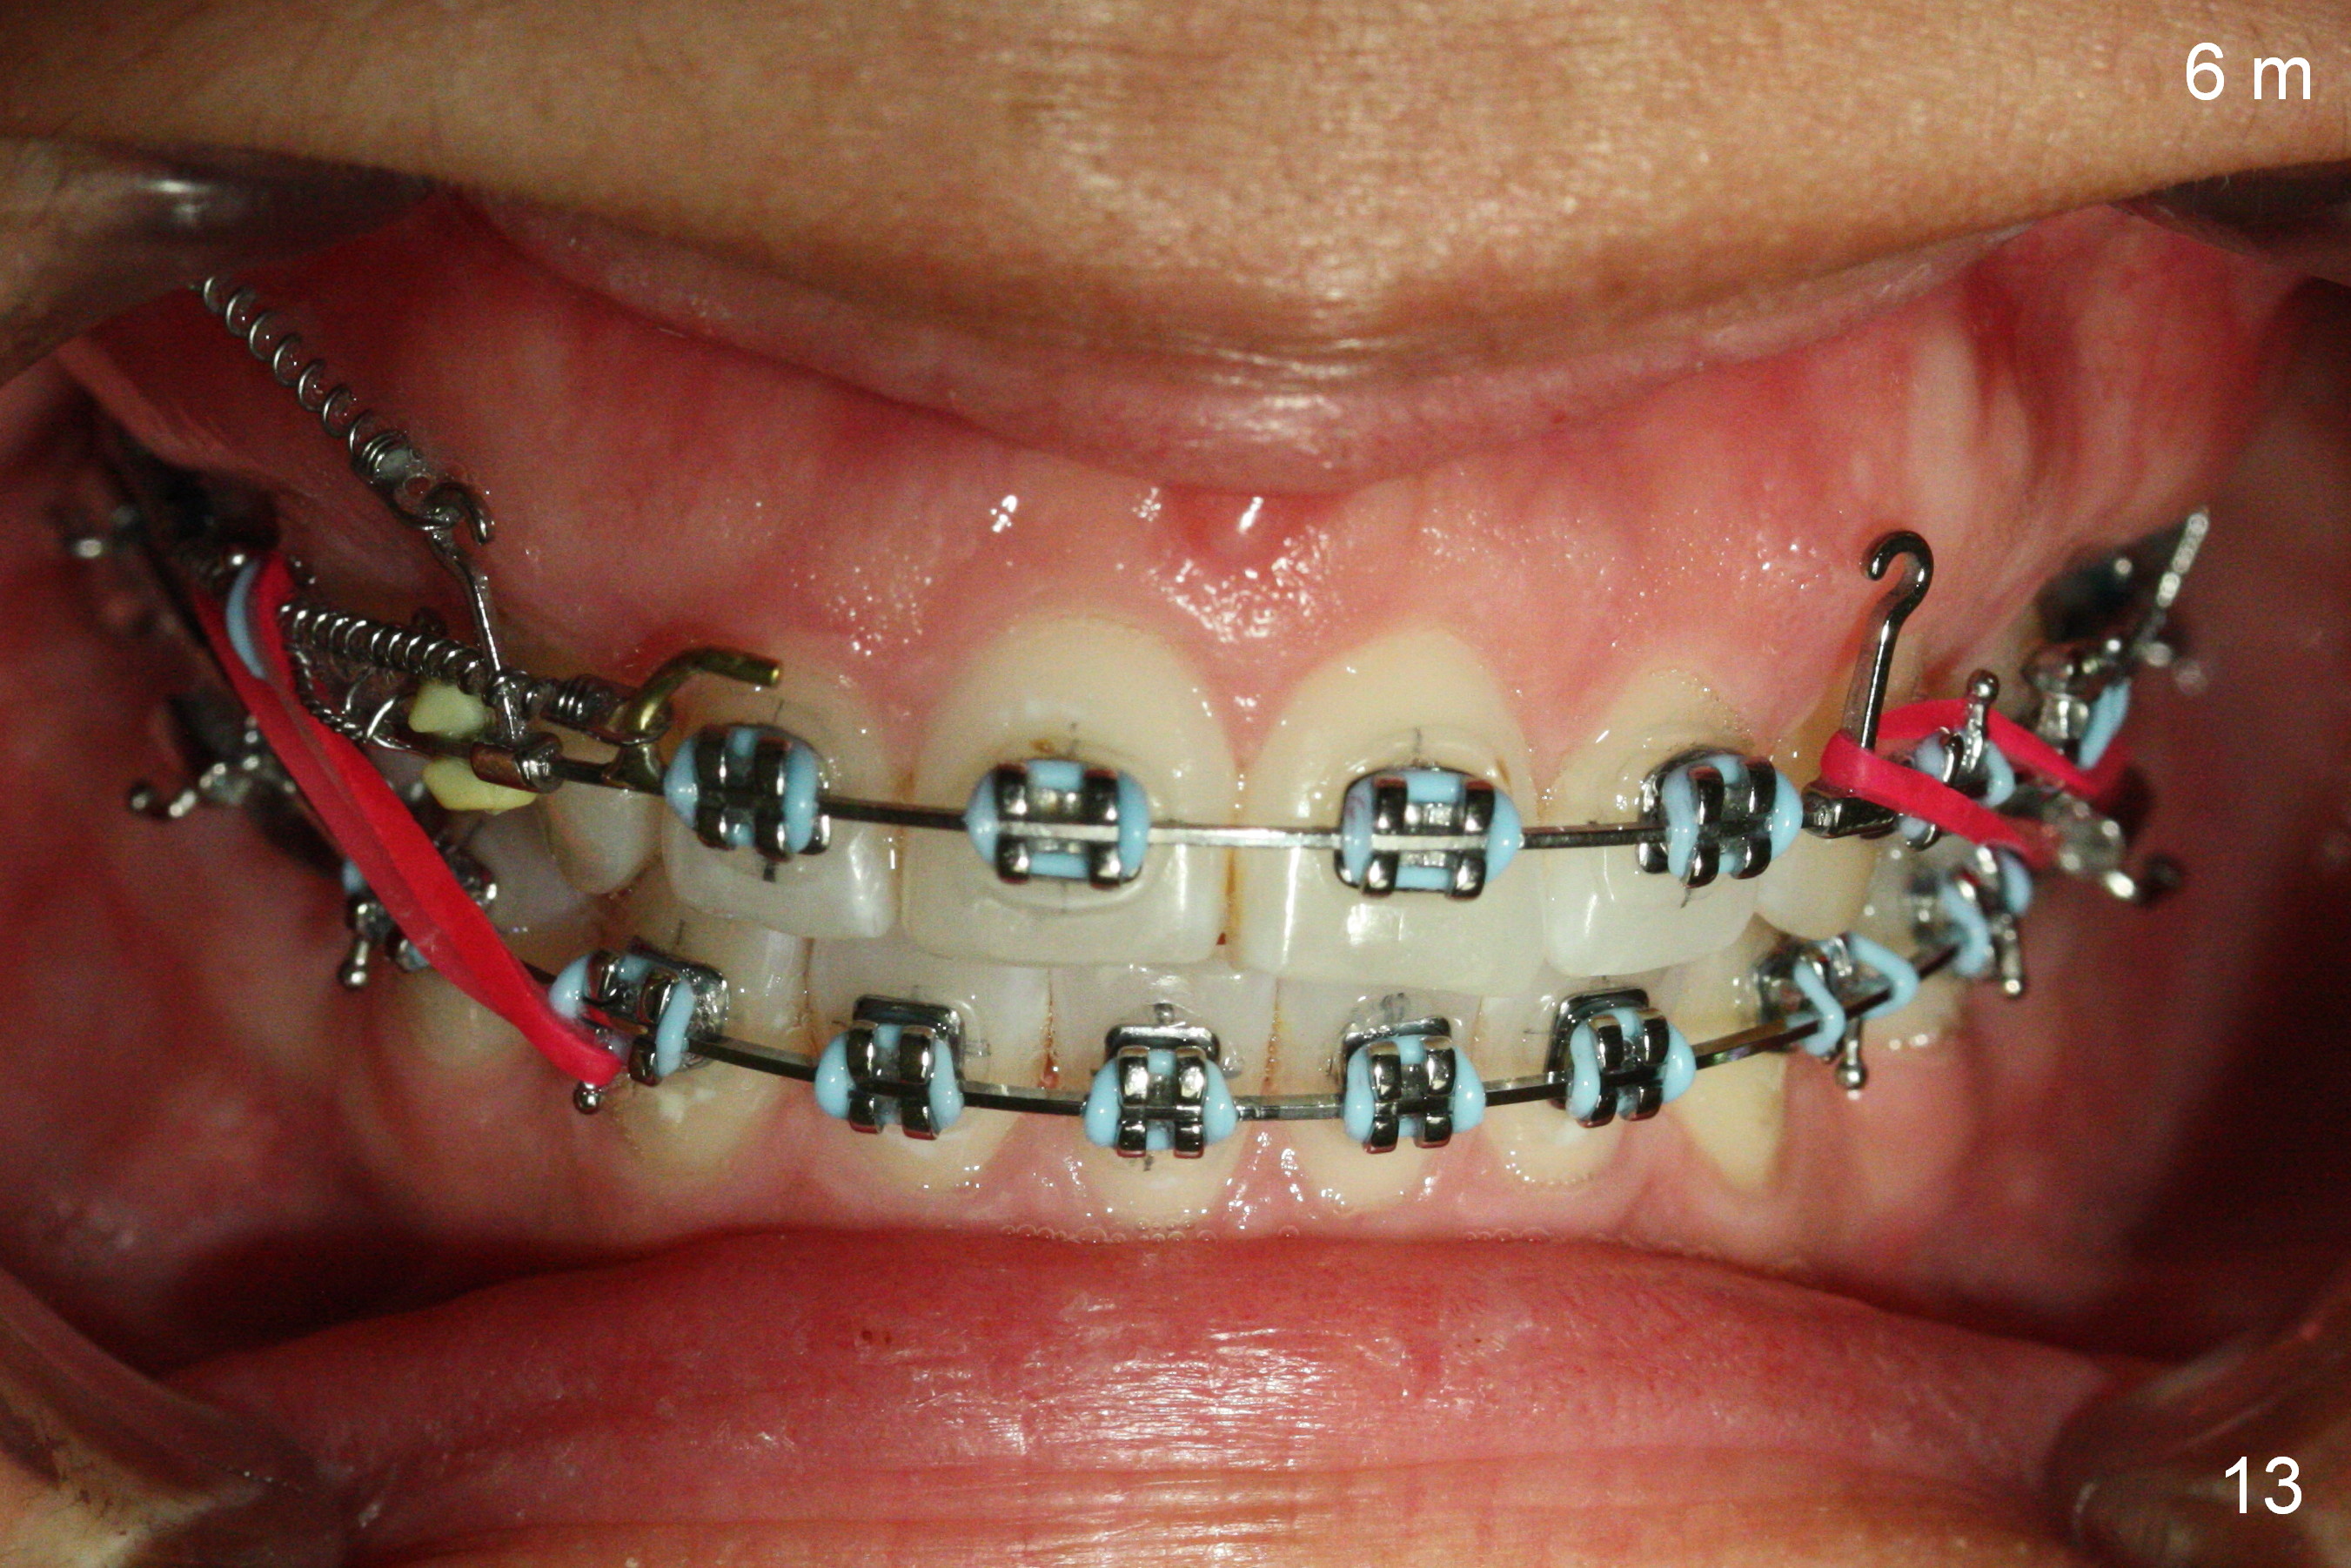
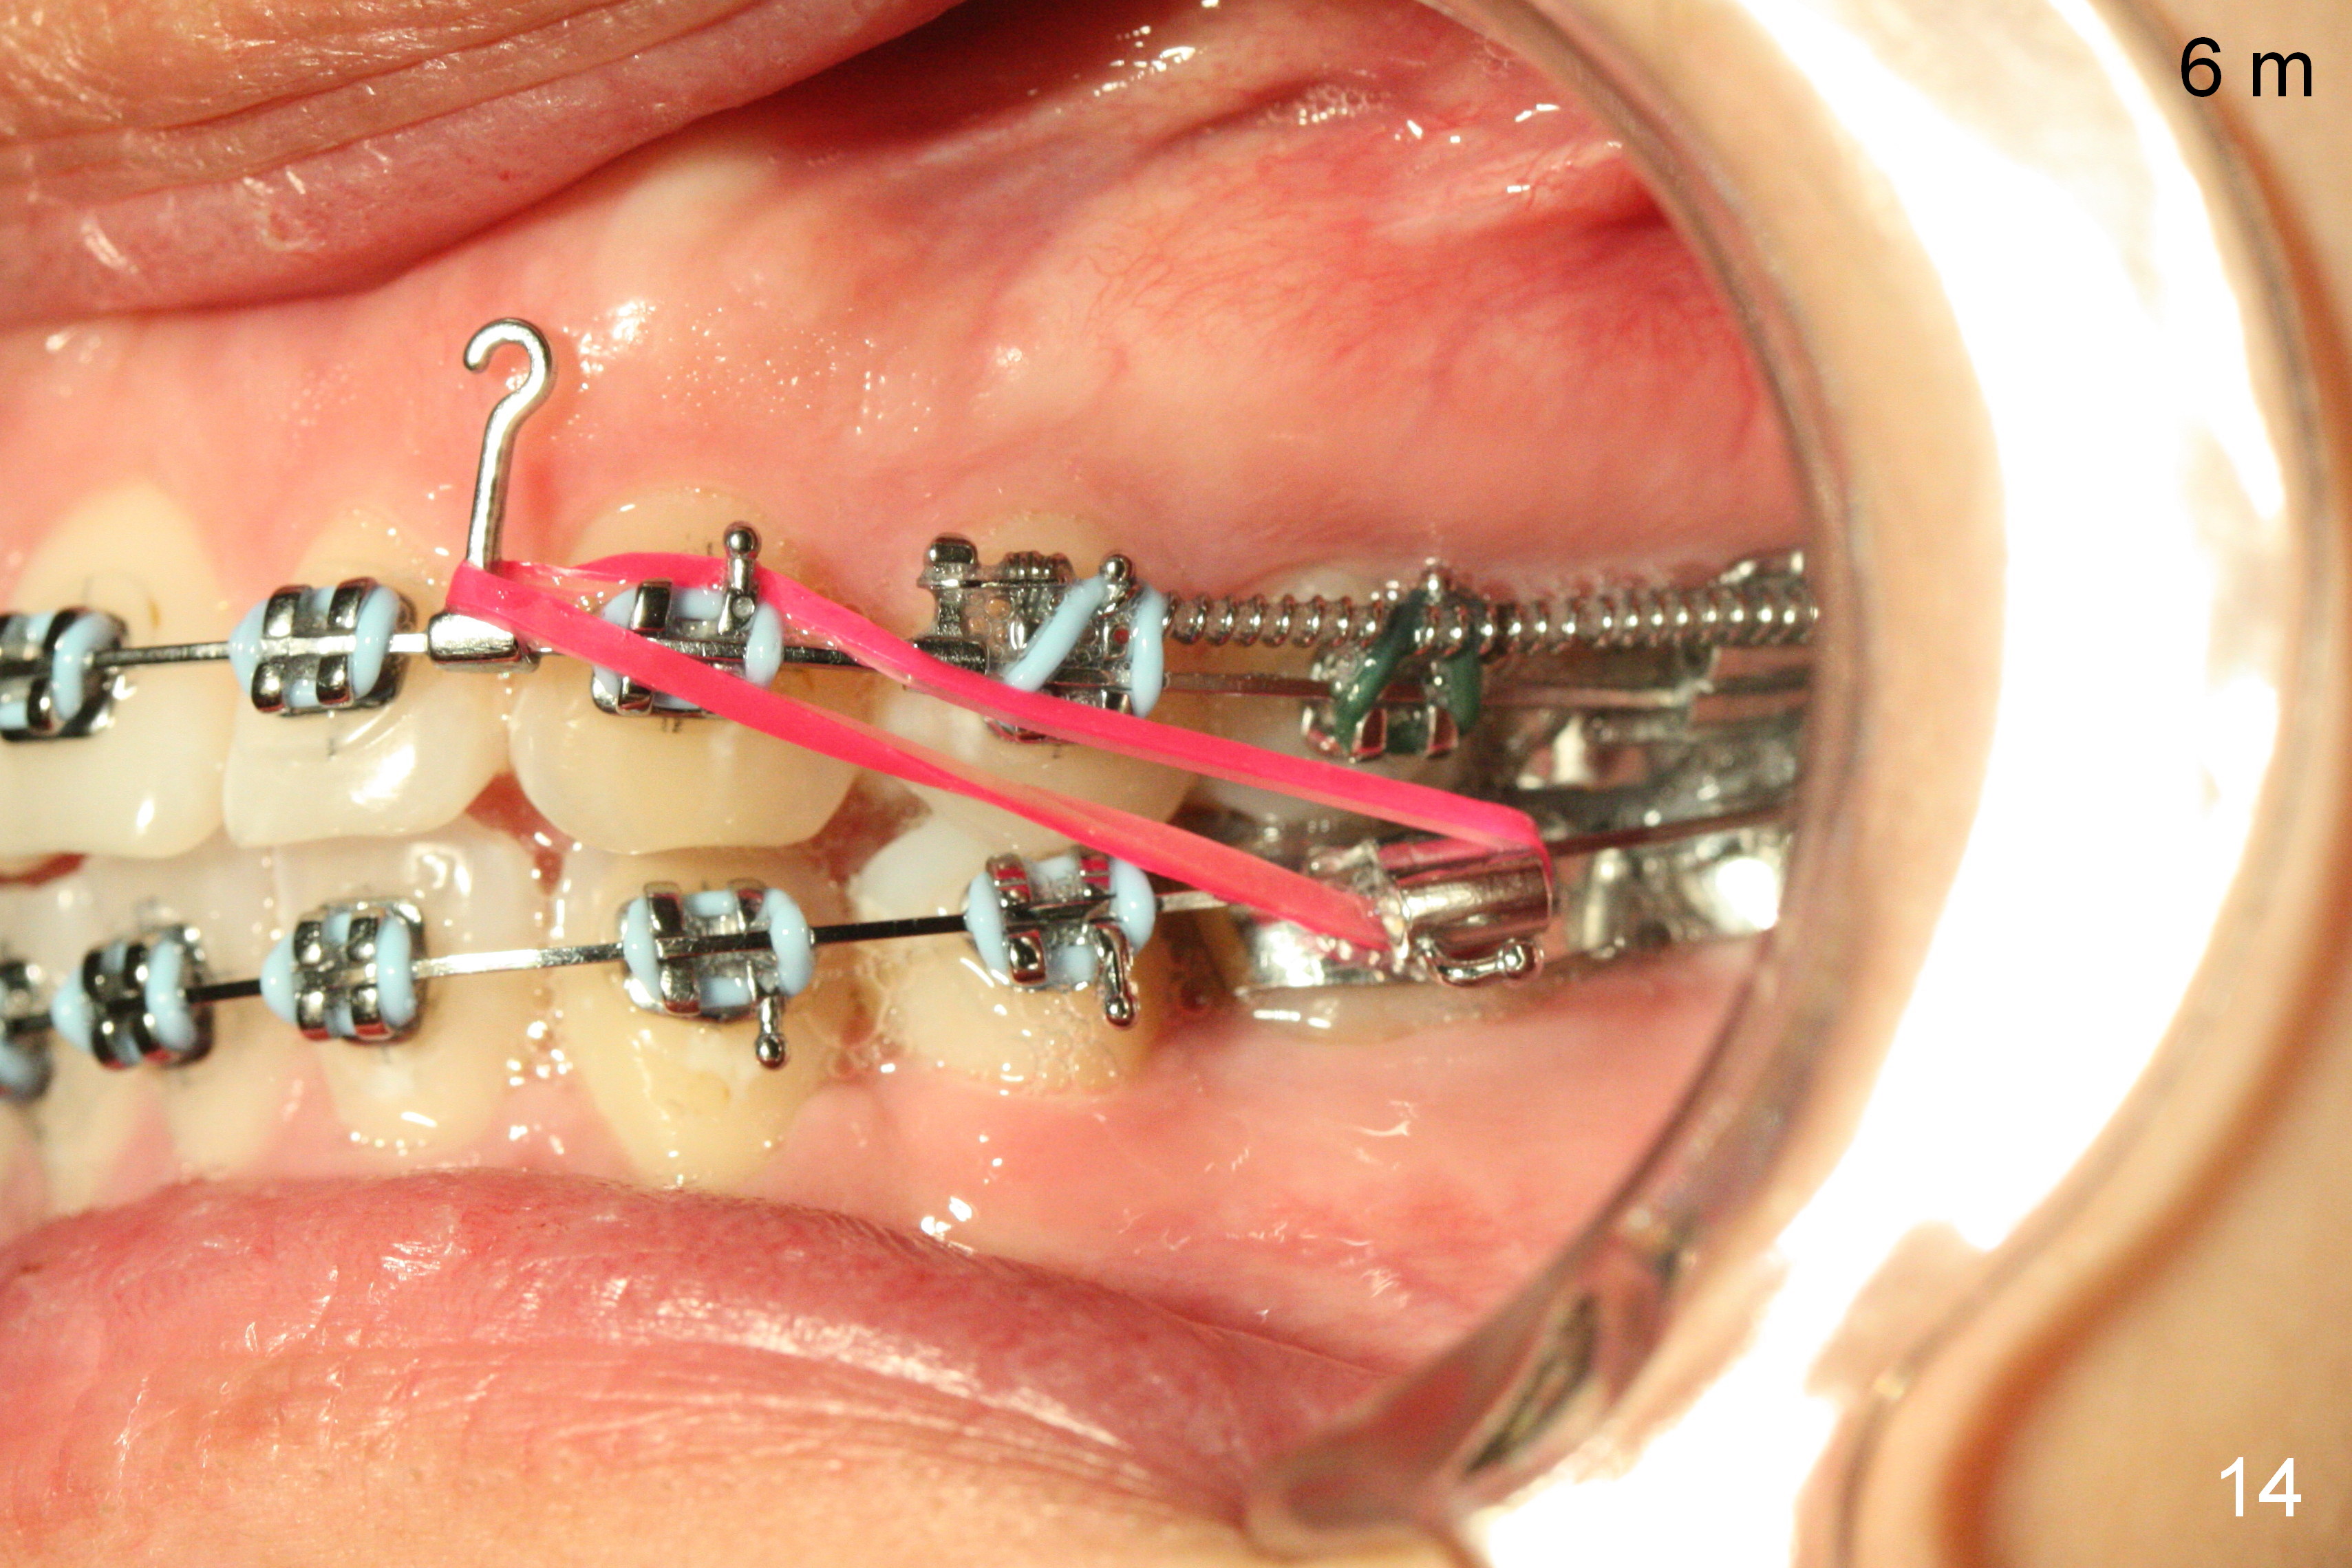
Six months post zygomatic implants, the profile, anterior overbite and overjet and the right posterior interdigitation are within normal limit (Fig.11), whereas the left one not (Fig.12). The lower midline appears to be deviated to the left. Elastics are used for correction (Fig.11,13,14). A second option is to reduce the number of closed springs on the right and increase the one on the left.
Assistants, Ortho Cases, Mini-implant Preparation, Professionals Implant & Ortho 2 植牙,导板与正畸
Xin Wei, DDS, PhD, MS 1st edition 05/03/2016, last revision 01/03/2021