.jpg)

|
|
|
|
|
|
|
|
|
|
|
|
|
|
|
|
|
|
|
|
Conjoined Provisional
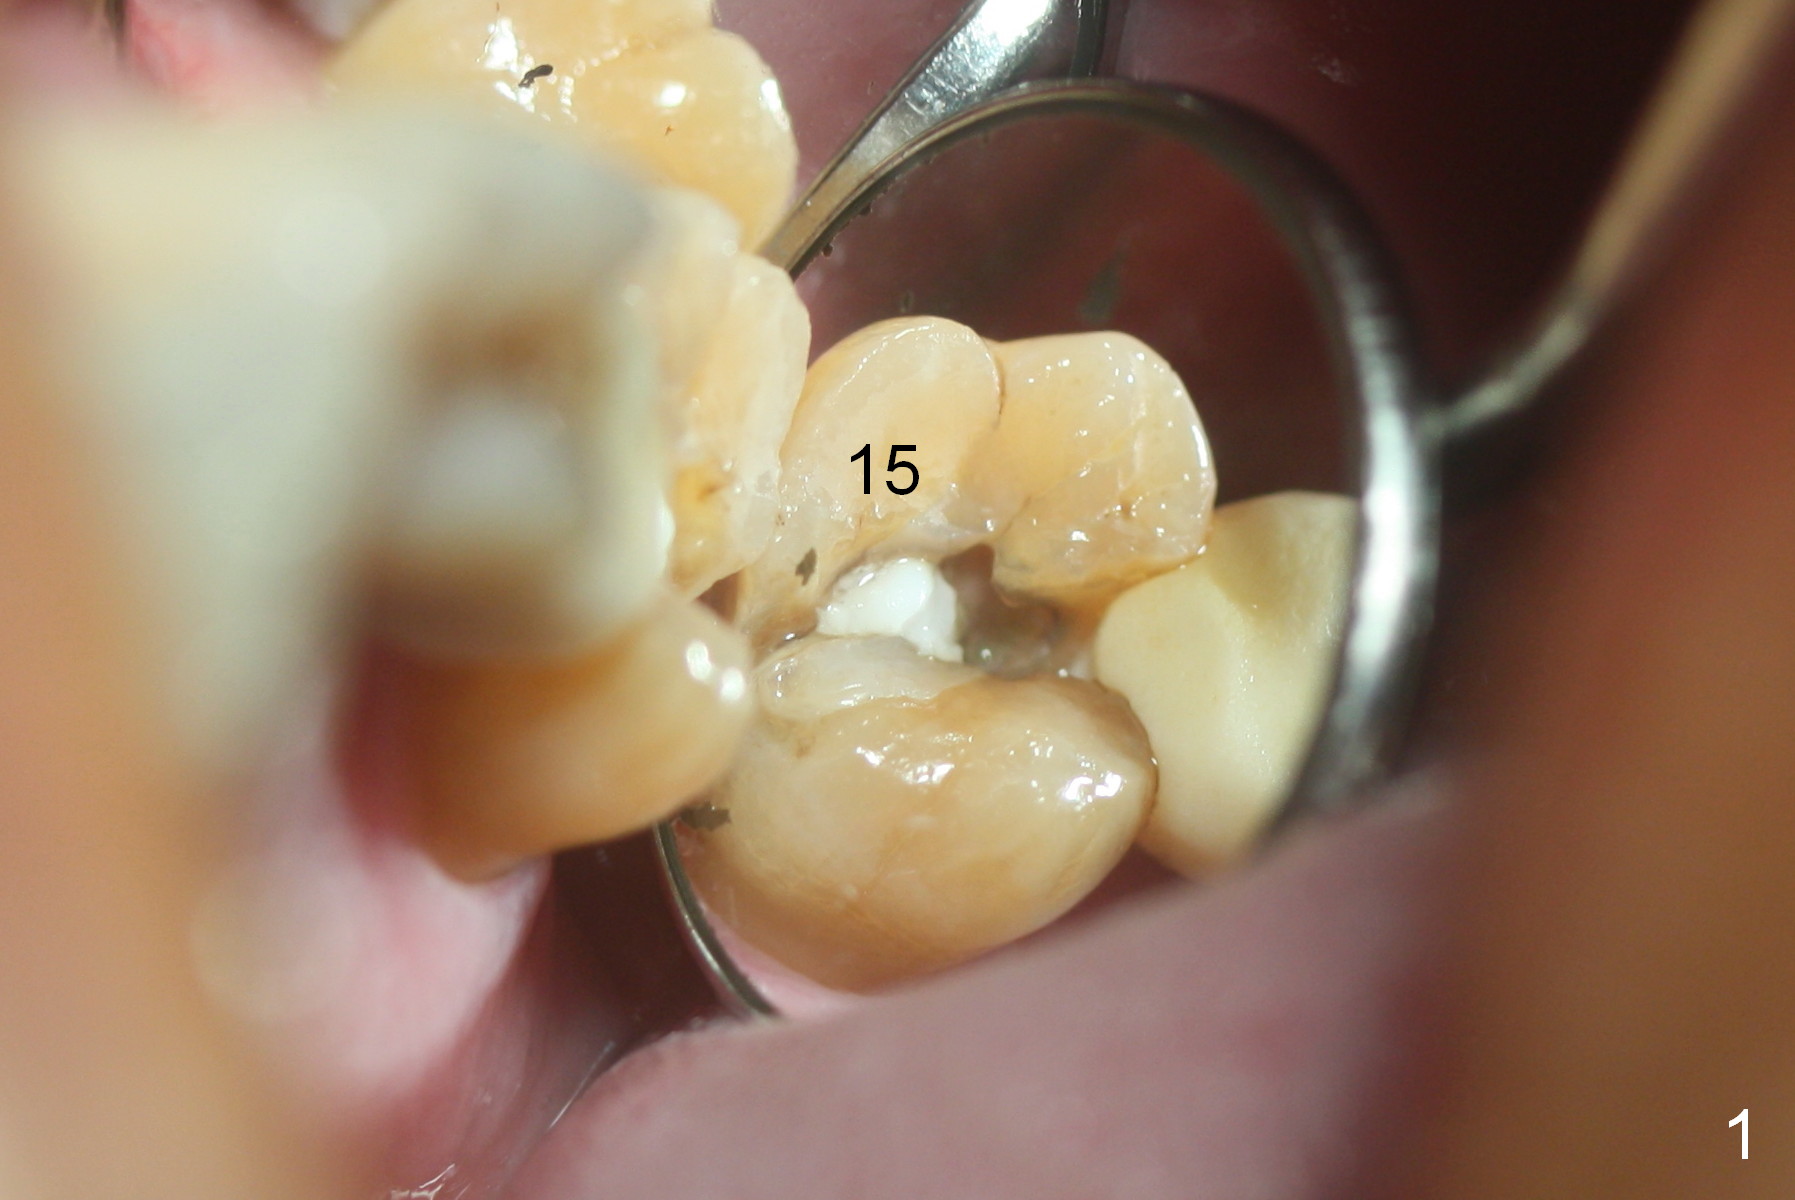
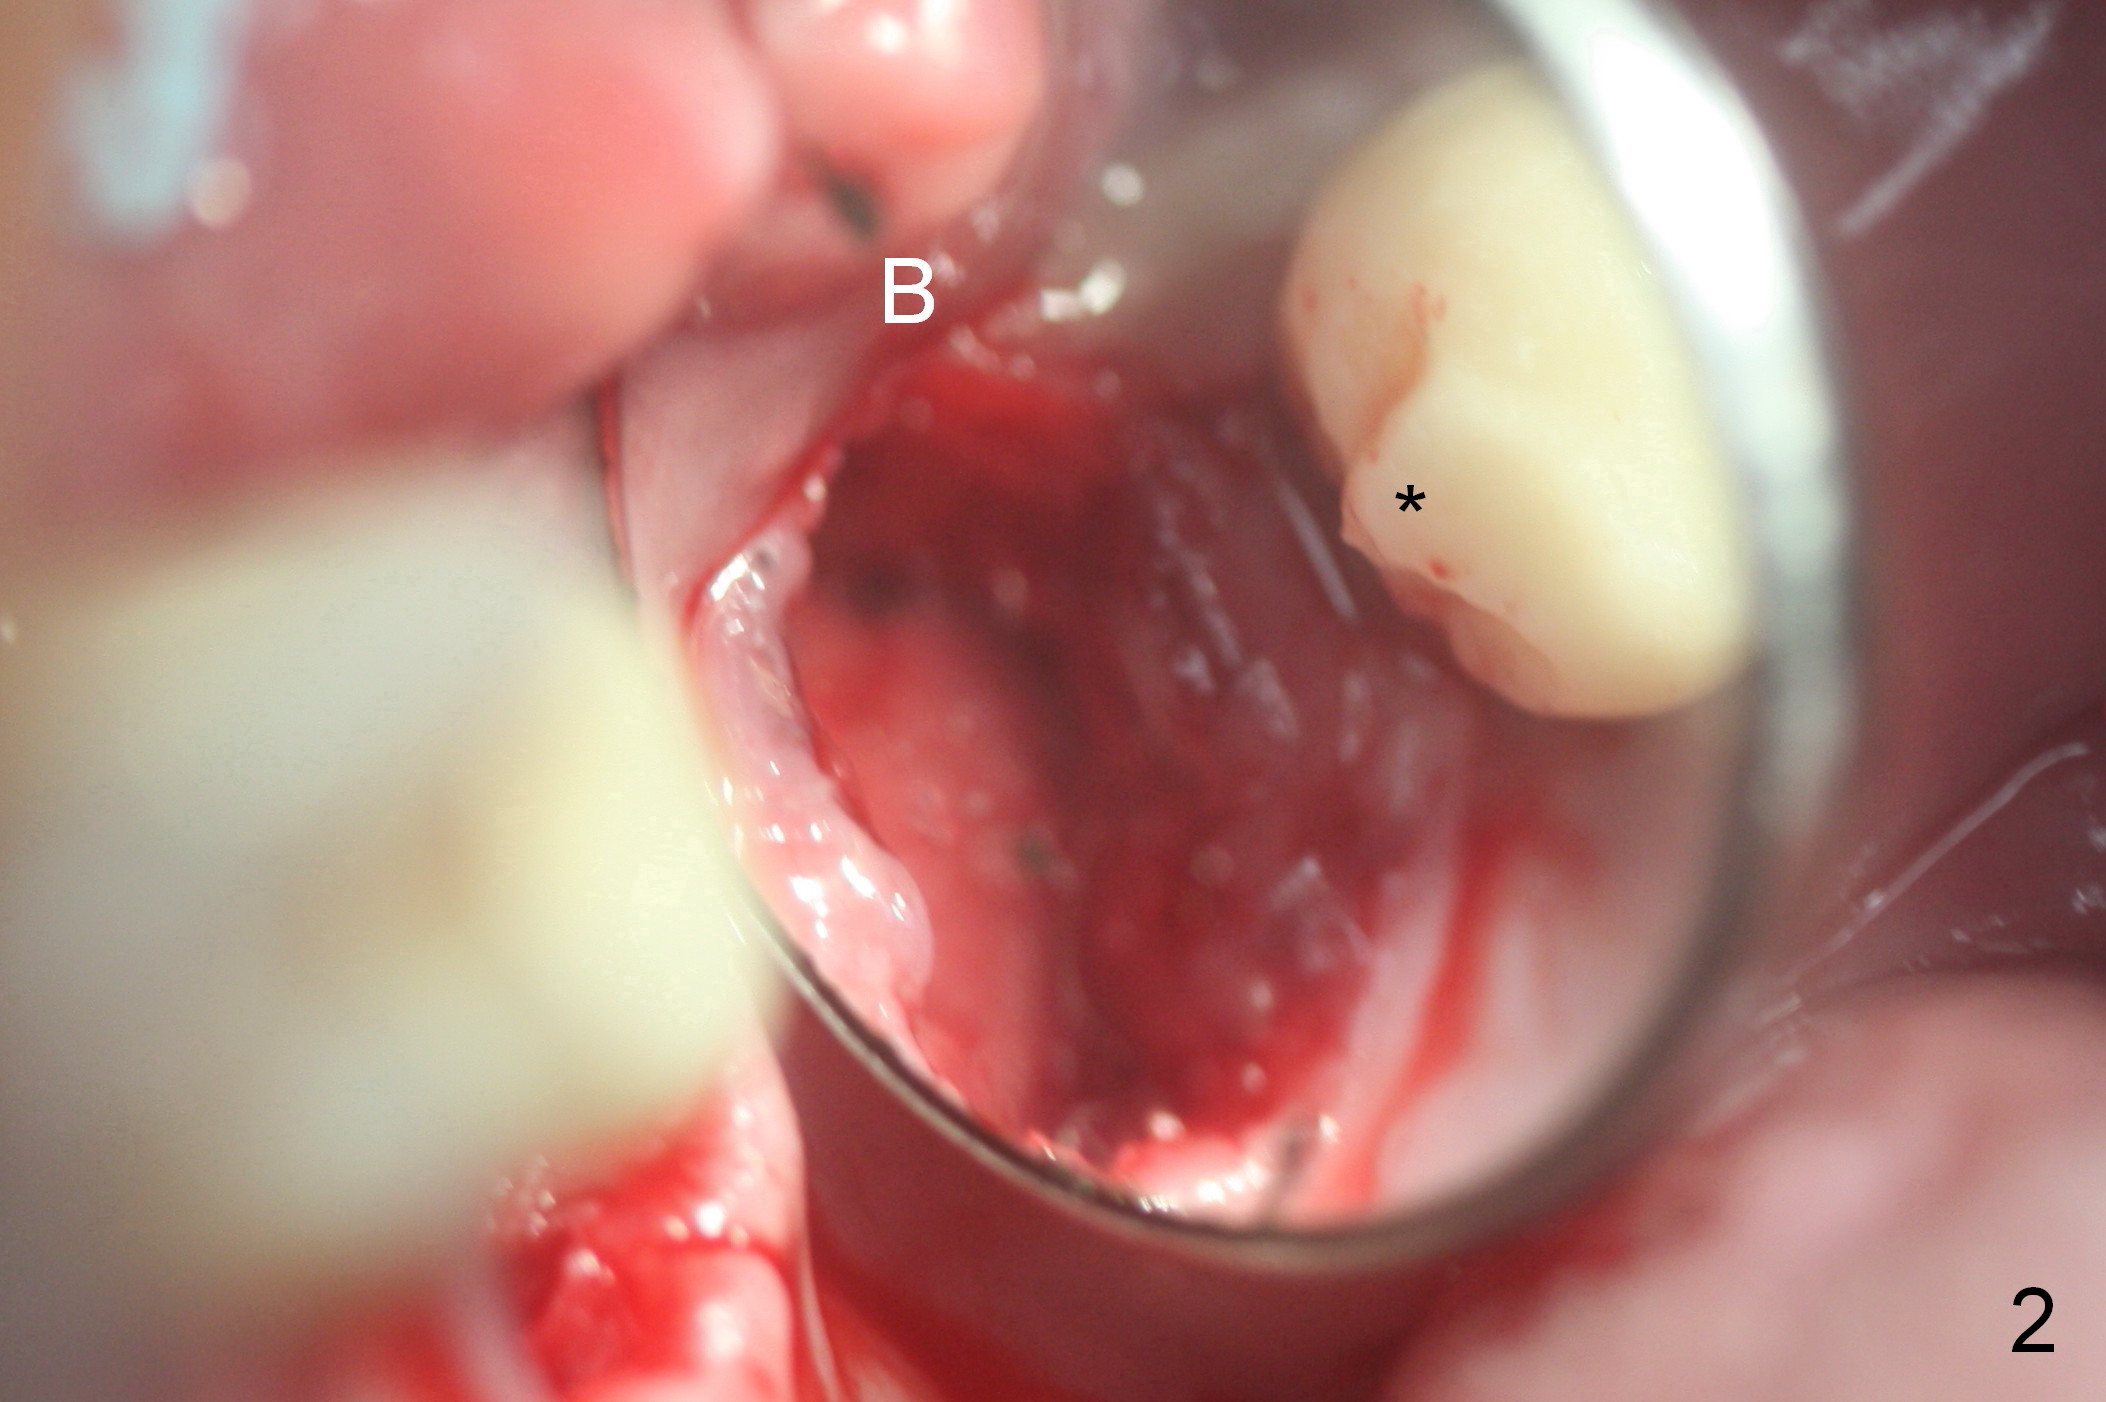
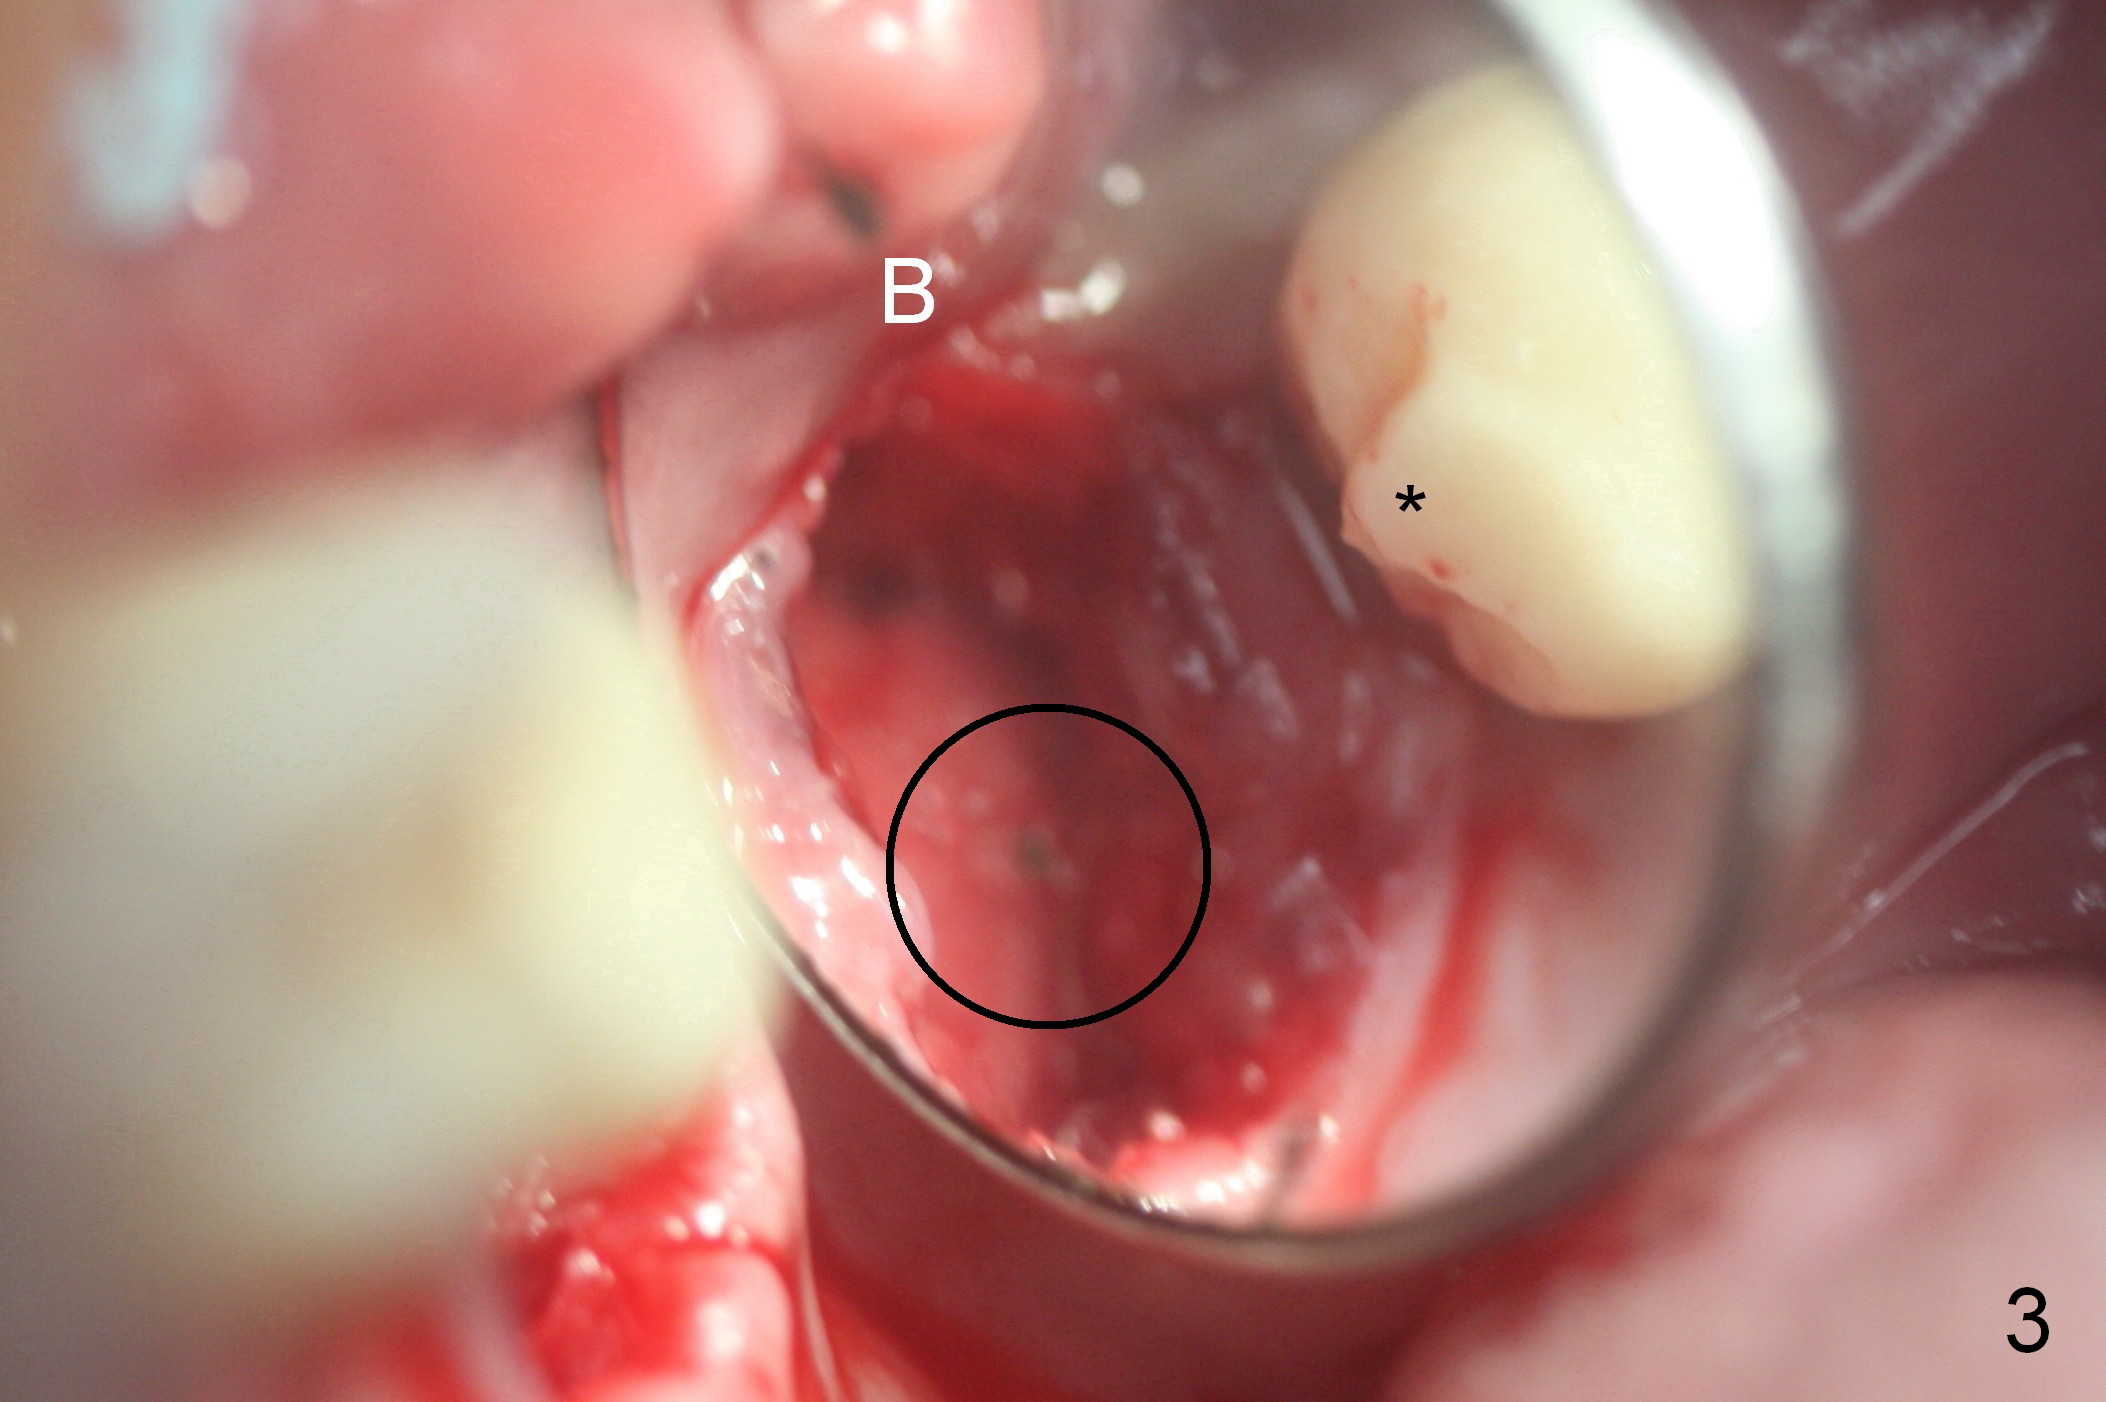
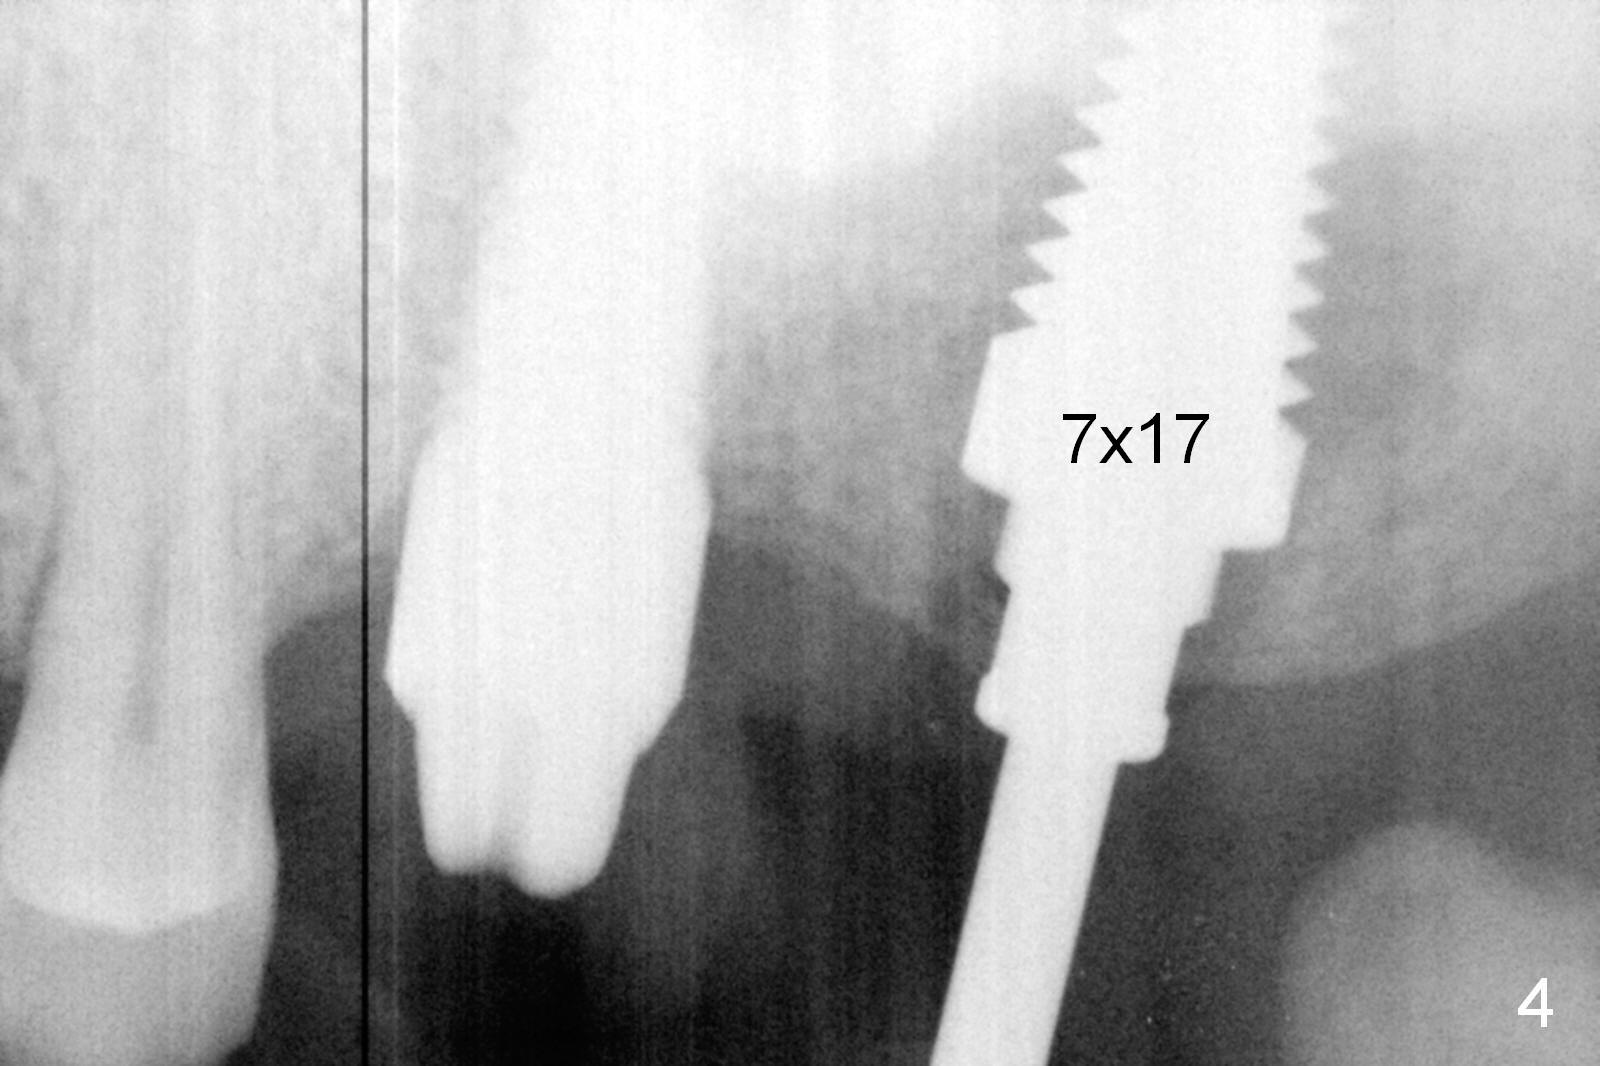
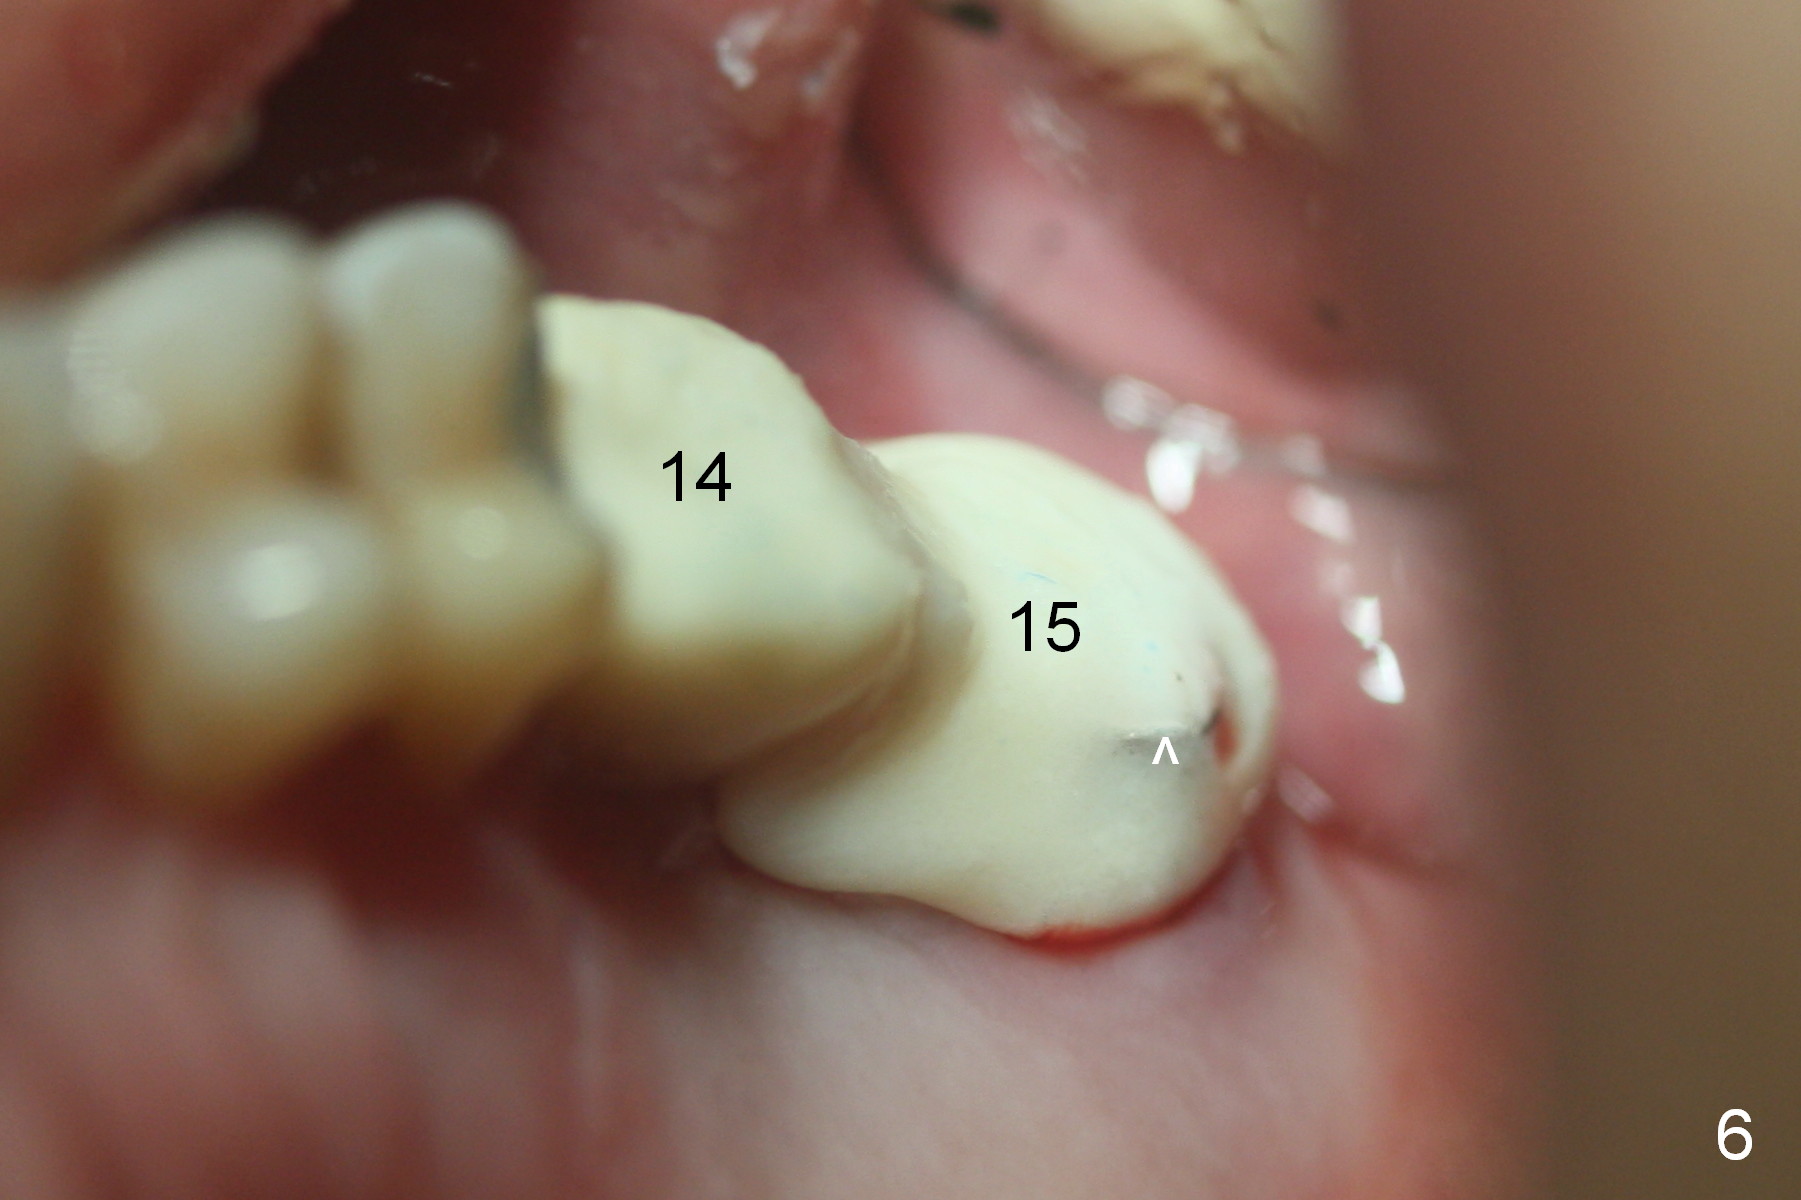
When the cracked tooth #15 (Fig.1) is extracted, the socket is large and single (Fig.2). The osteotomy is established in the palatal aspect (Fig.3). Bone density is high, as it is difficult to use osteotomes. Drill/reamers and taps (Fig.4) are used alternatively to achieve primary stability (Fig.5). The socket is 20 mm deep, while the longest Tatum tapered gingiva-level implant is 17 mm, SM and UF (bone-level) 10 and 12 mm. After placement of allograft (Fig.5*), a cemented abutment (7.5x4(4) mm) is chosen to adjust the restorative margin. The final abutment may need a longer cuff. Setting acrylic is applied around the abutment (Fig.6 ^) to form an immediate provisional and extend mesially into the overhang of the existing provisional at #14 (Fig.2 *) for retention. The immediate provisional is intentionally kept in place to form conjoined provisional with that of #14. Three years post cementation, the abutment at #14 is detached from the implant. Recently they are re-connected. A provisional is fabricated. Two crowns will be fabricated together when the implant at #15 is osteointegrated.
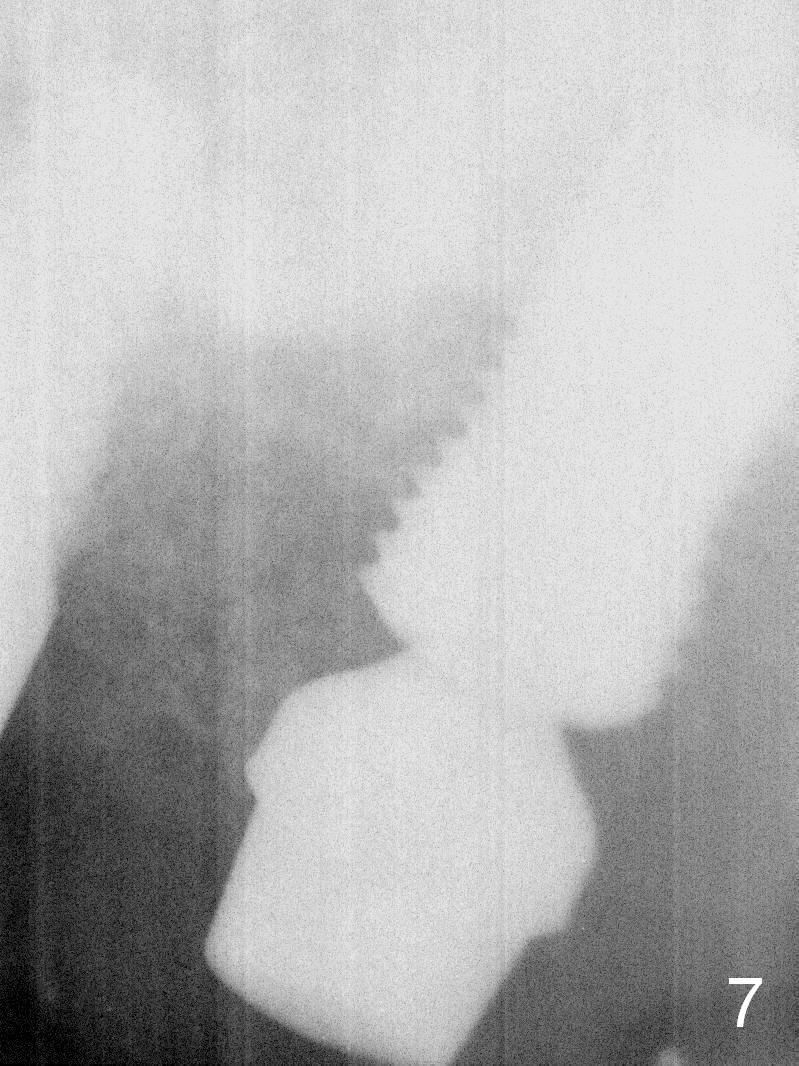
The implant at #15 appears to have osteointegrated 5 months postop (Fig.7).
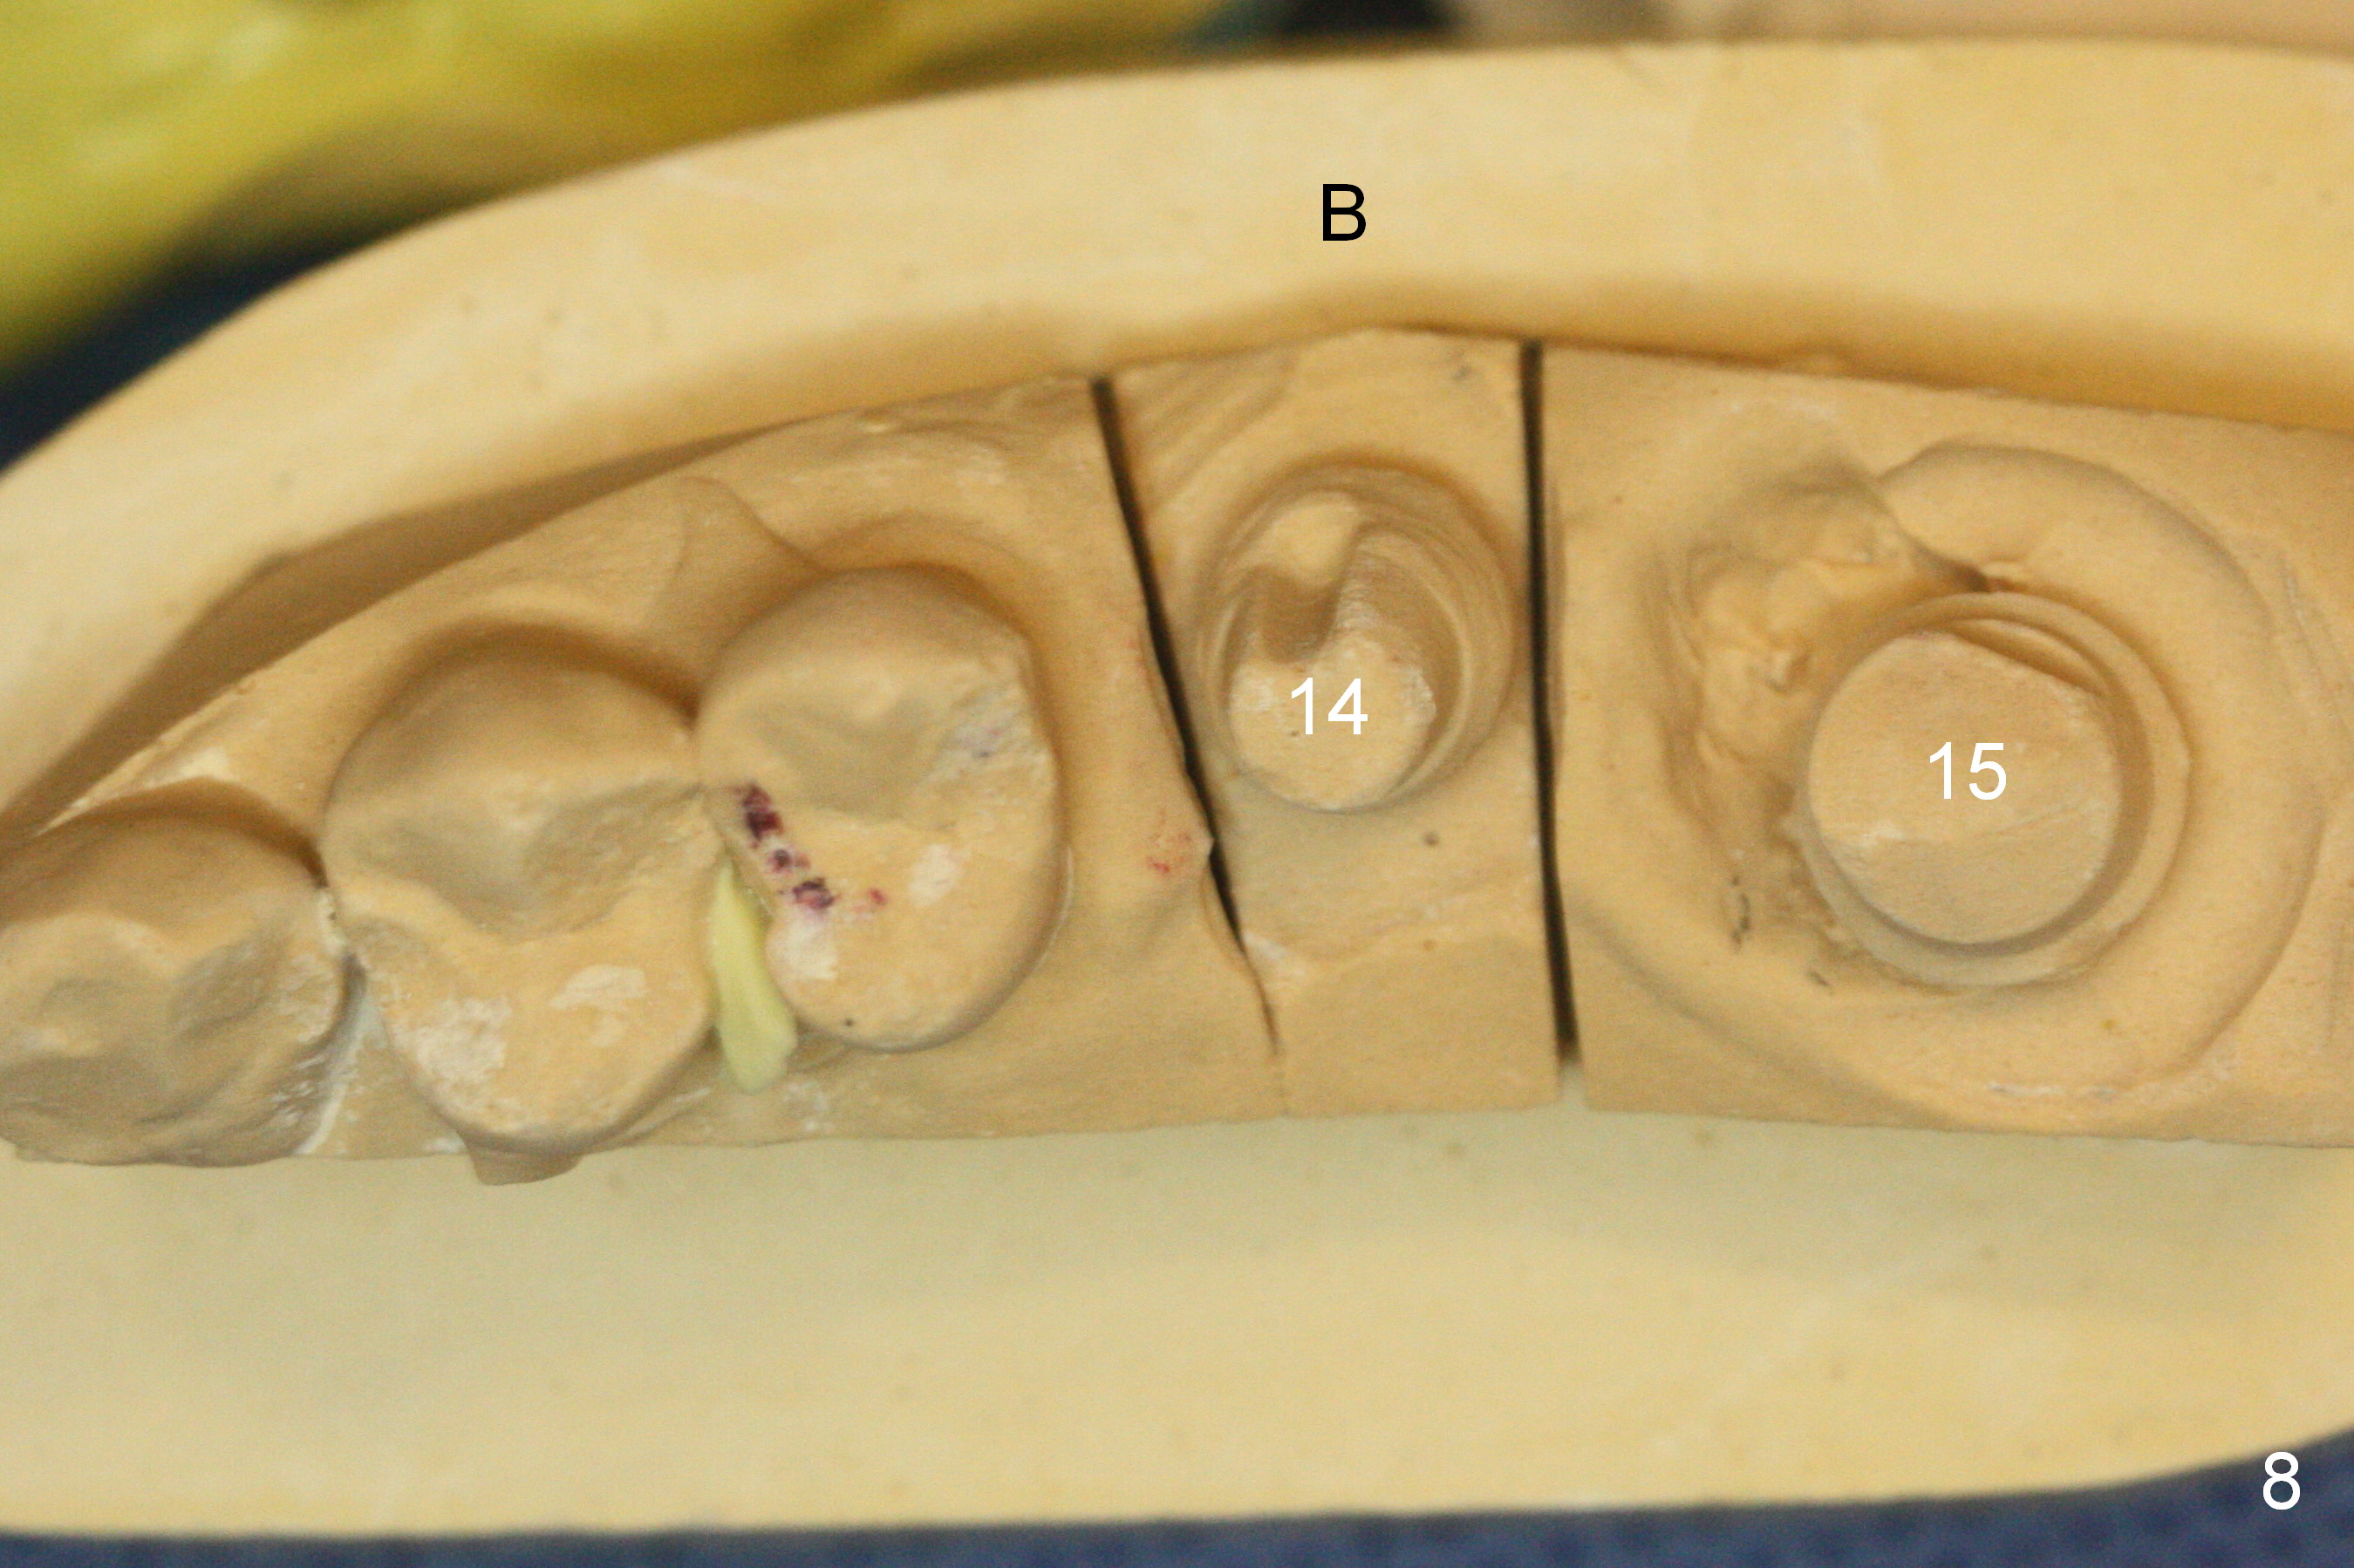
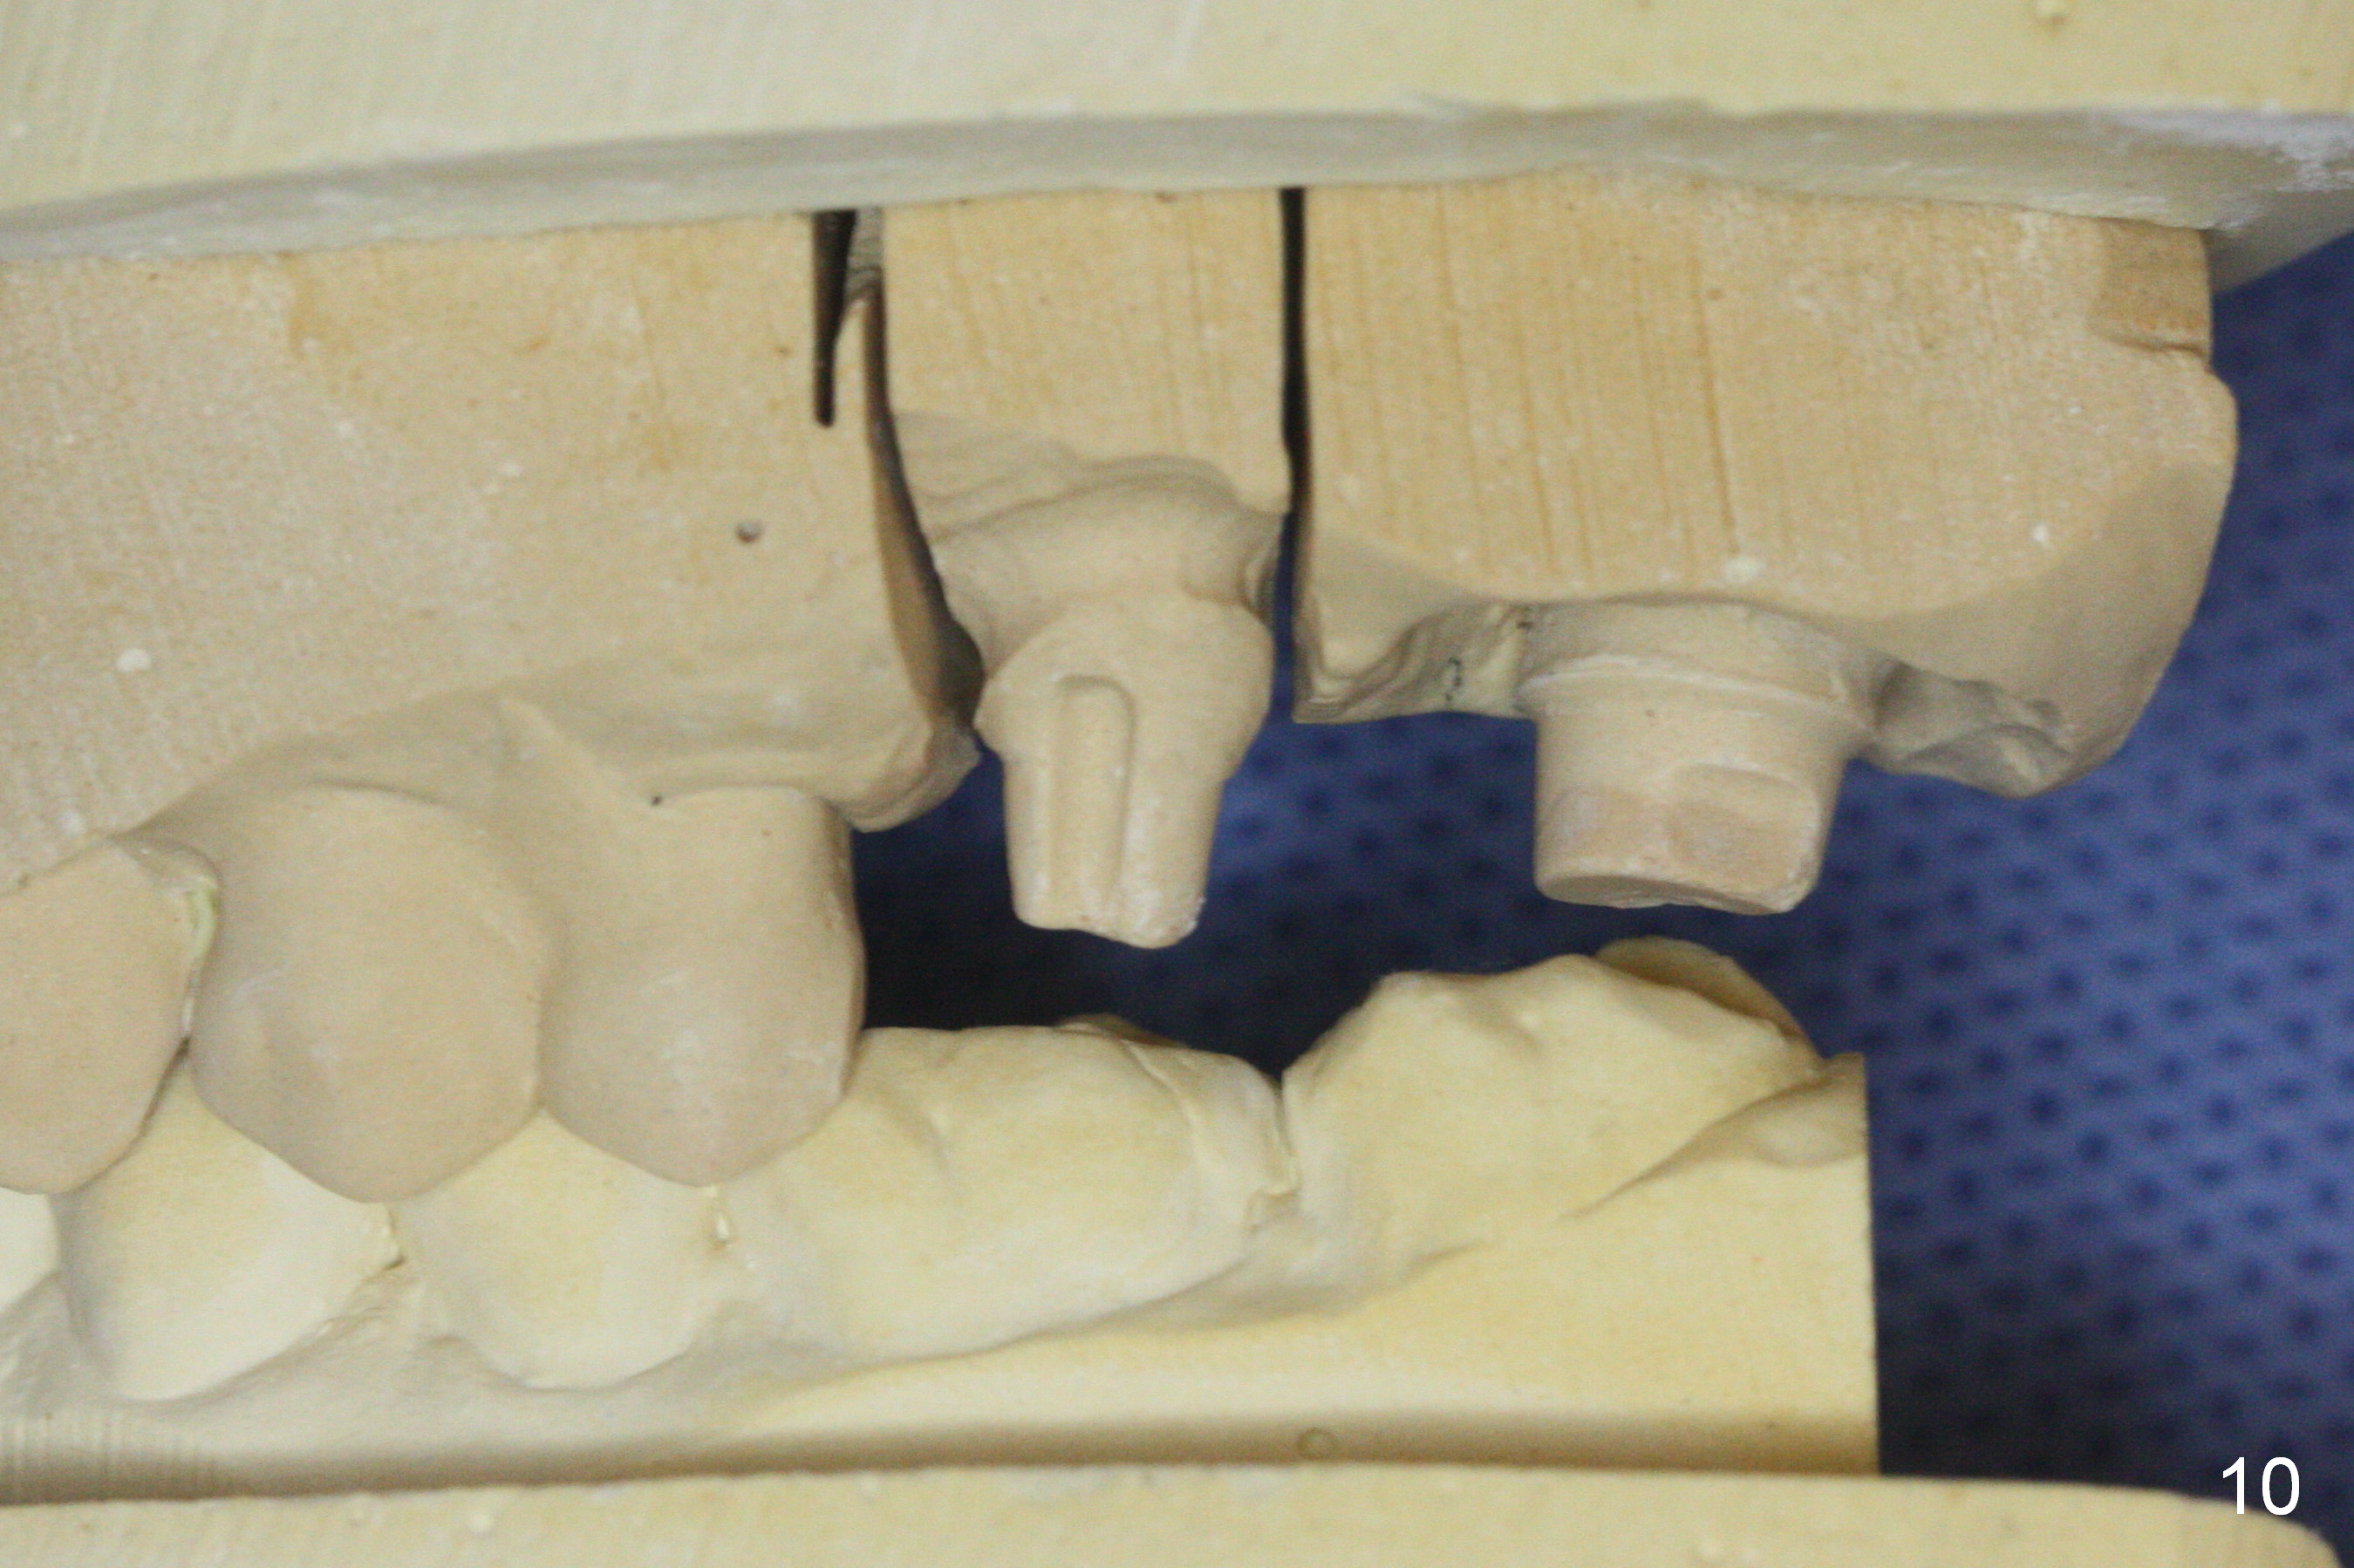
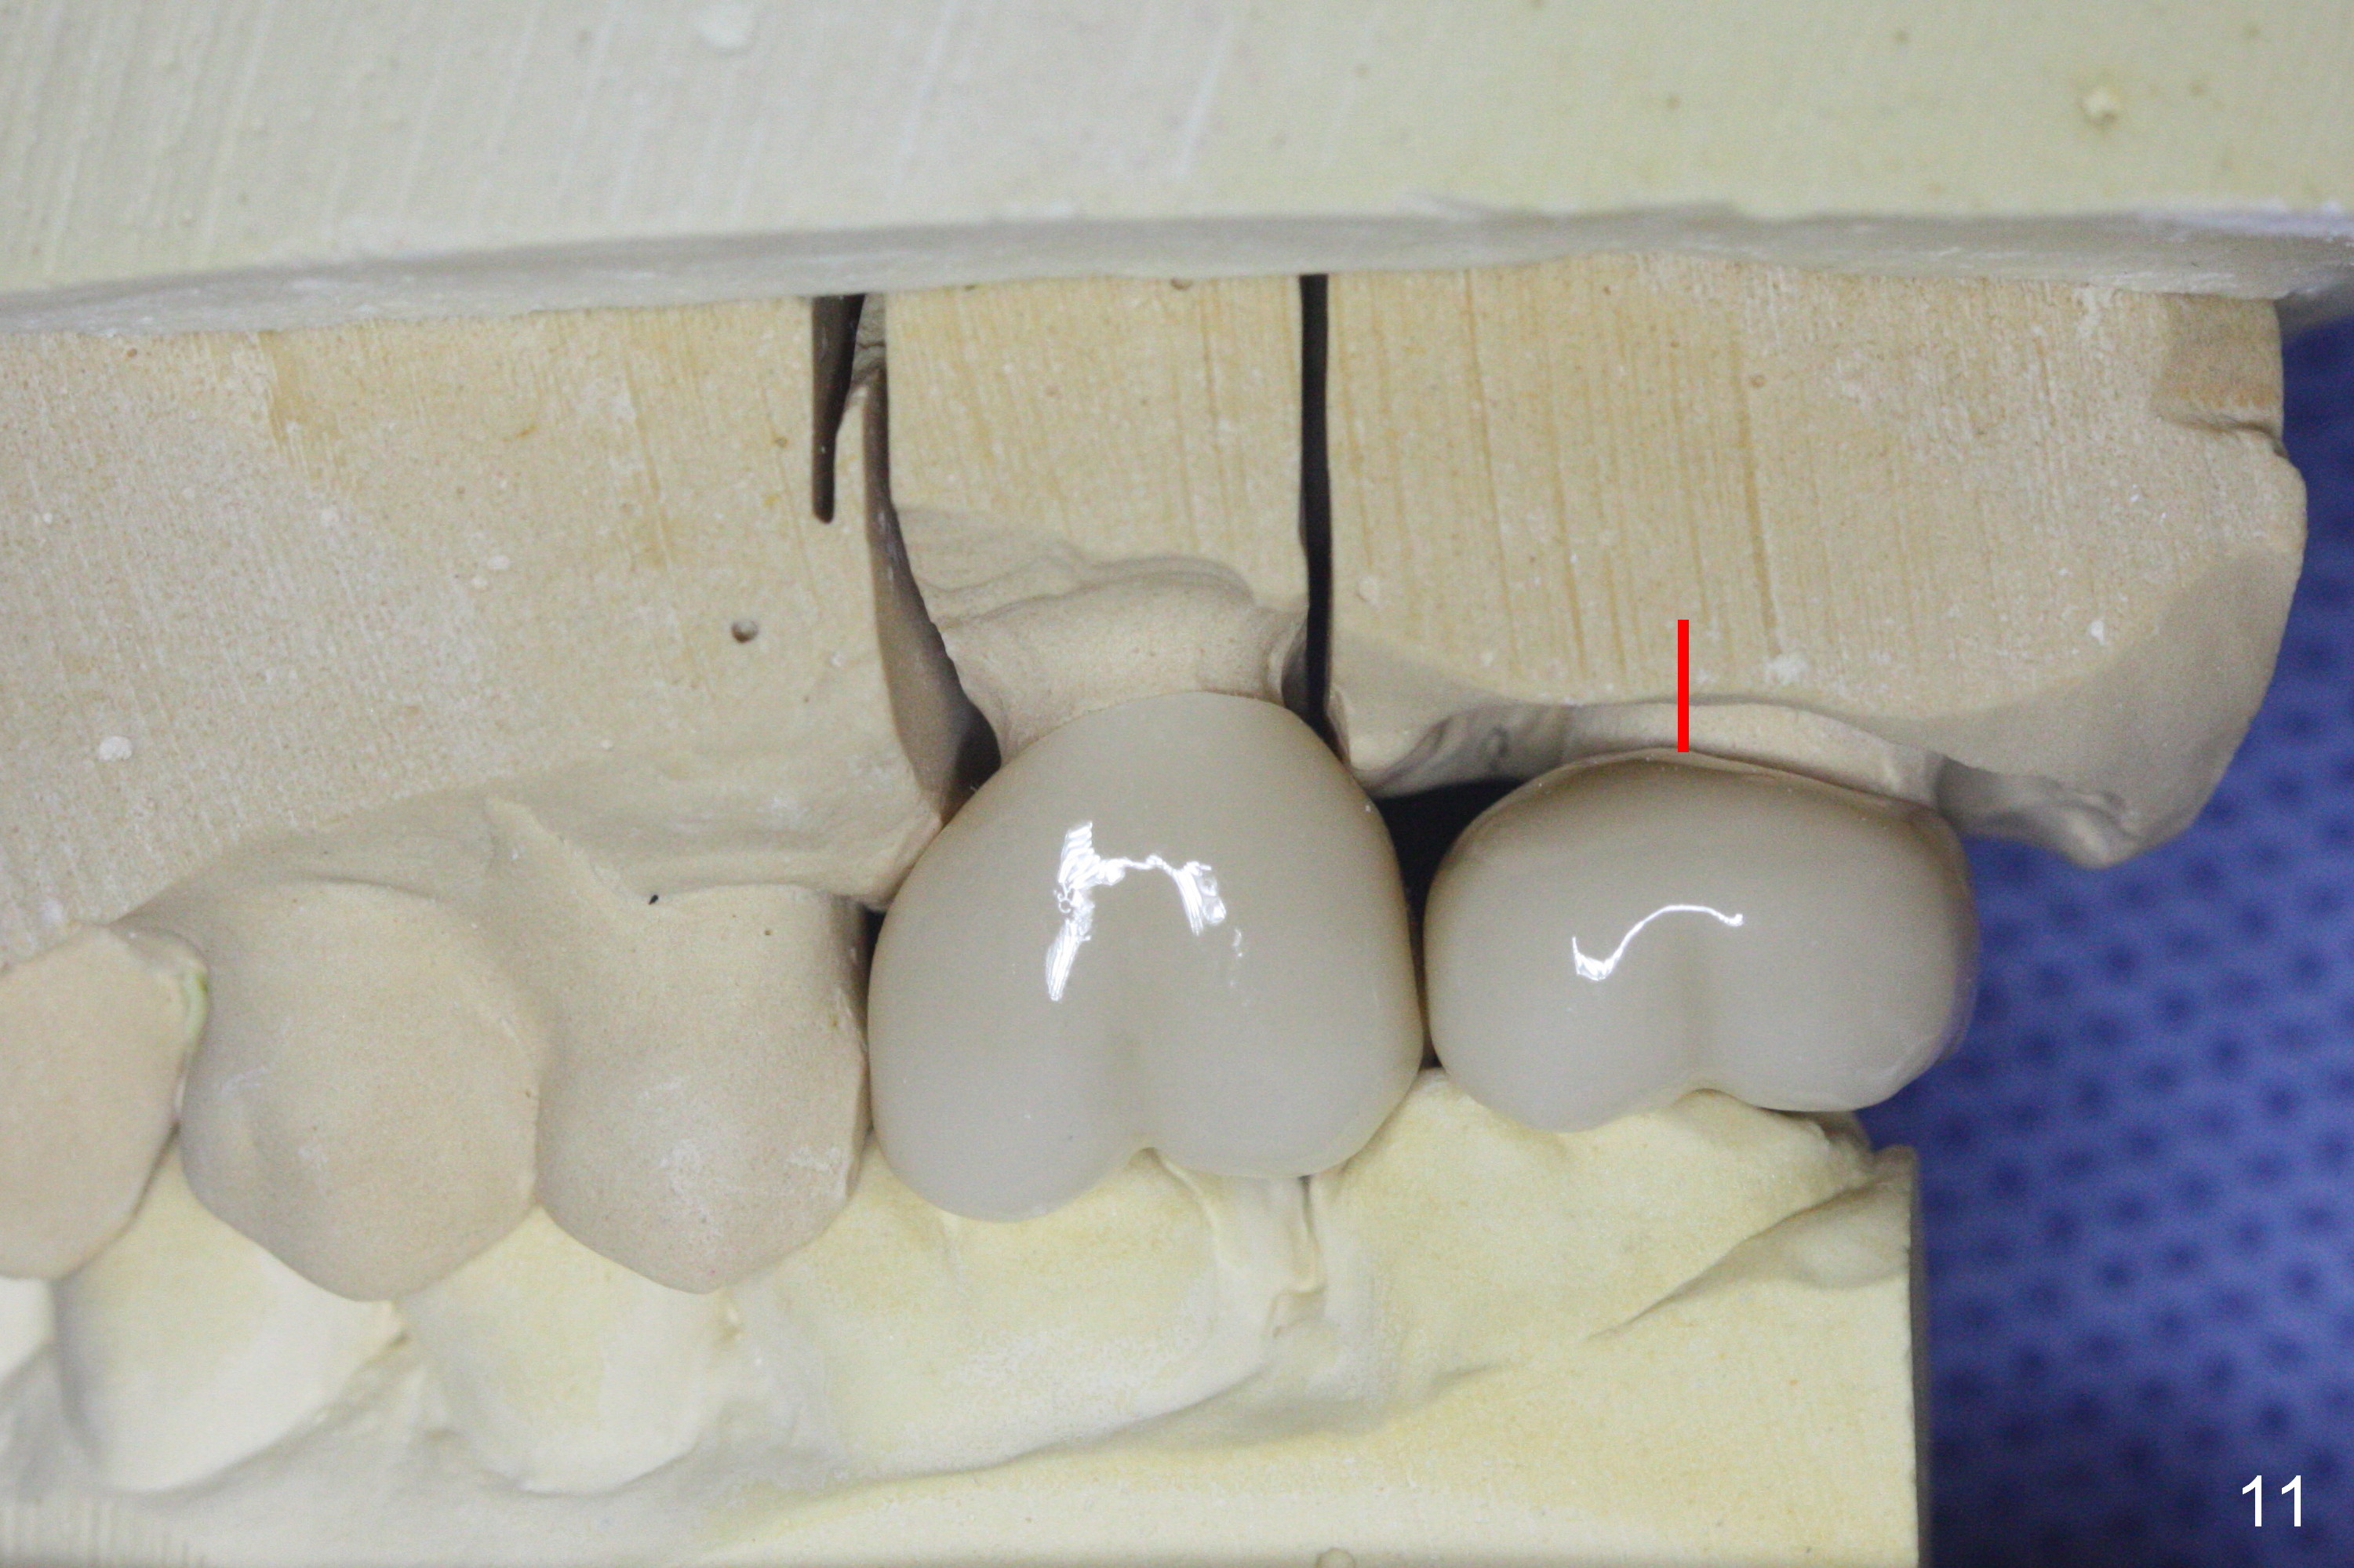
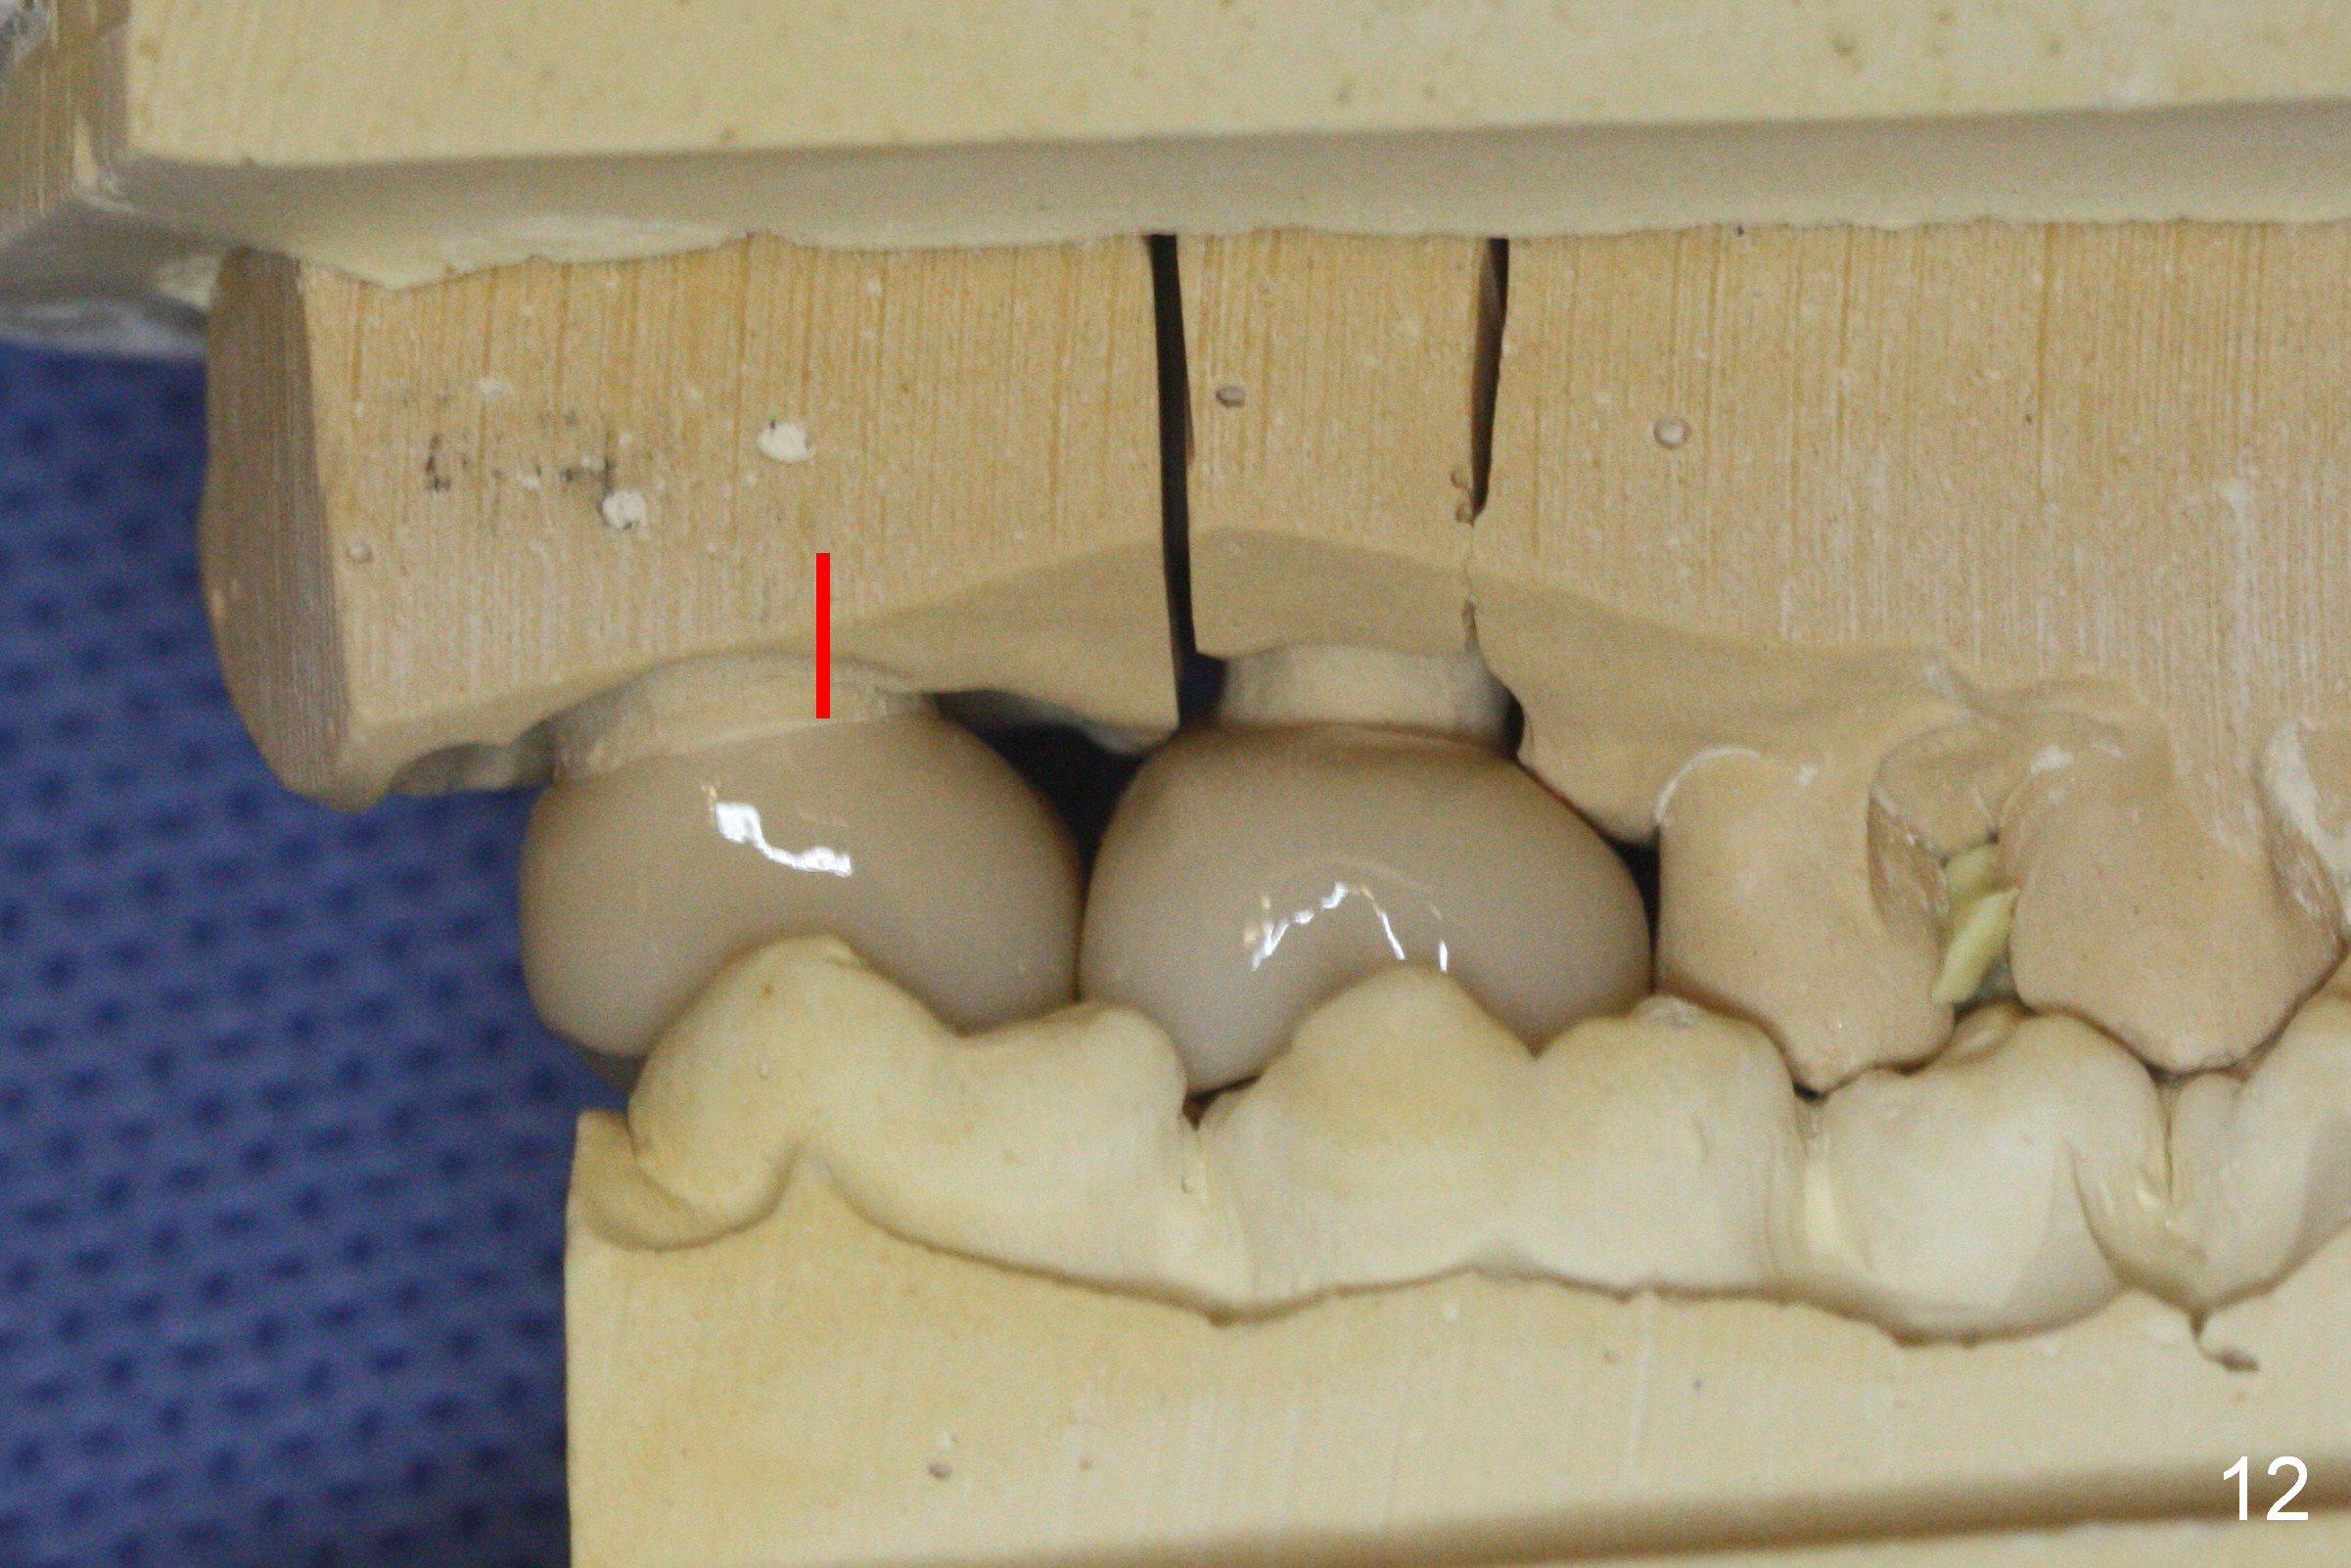
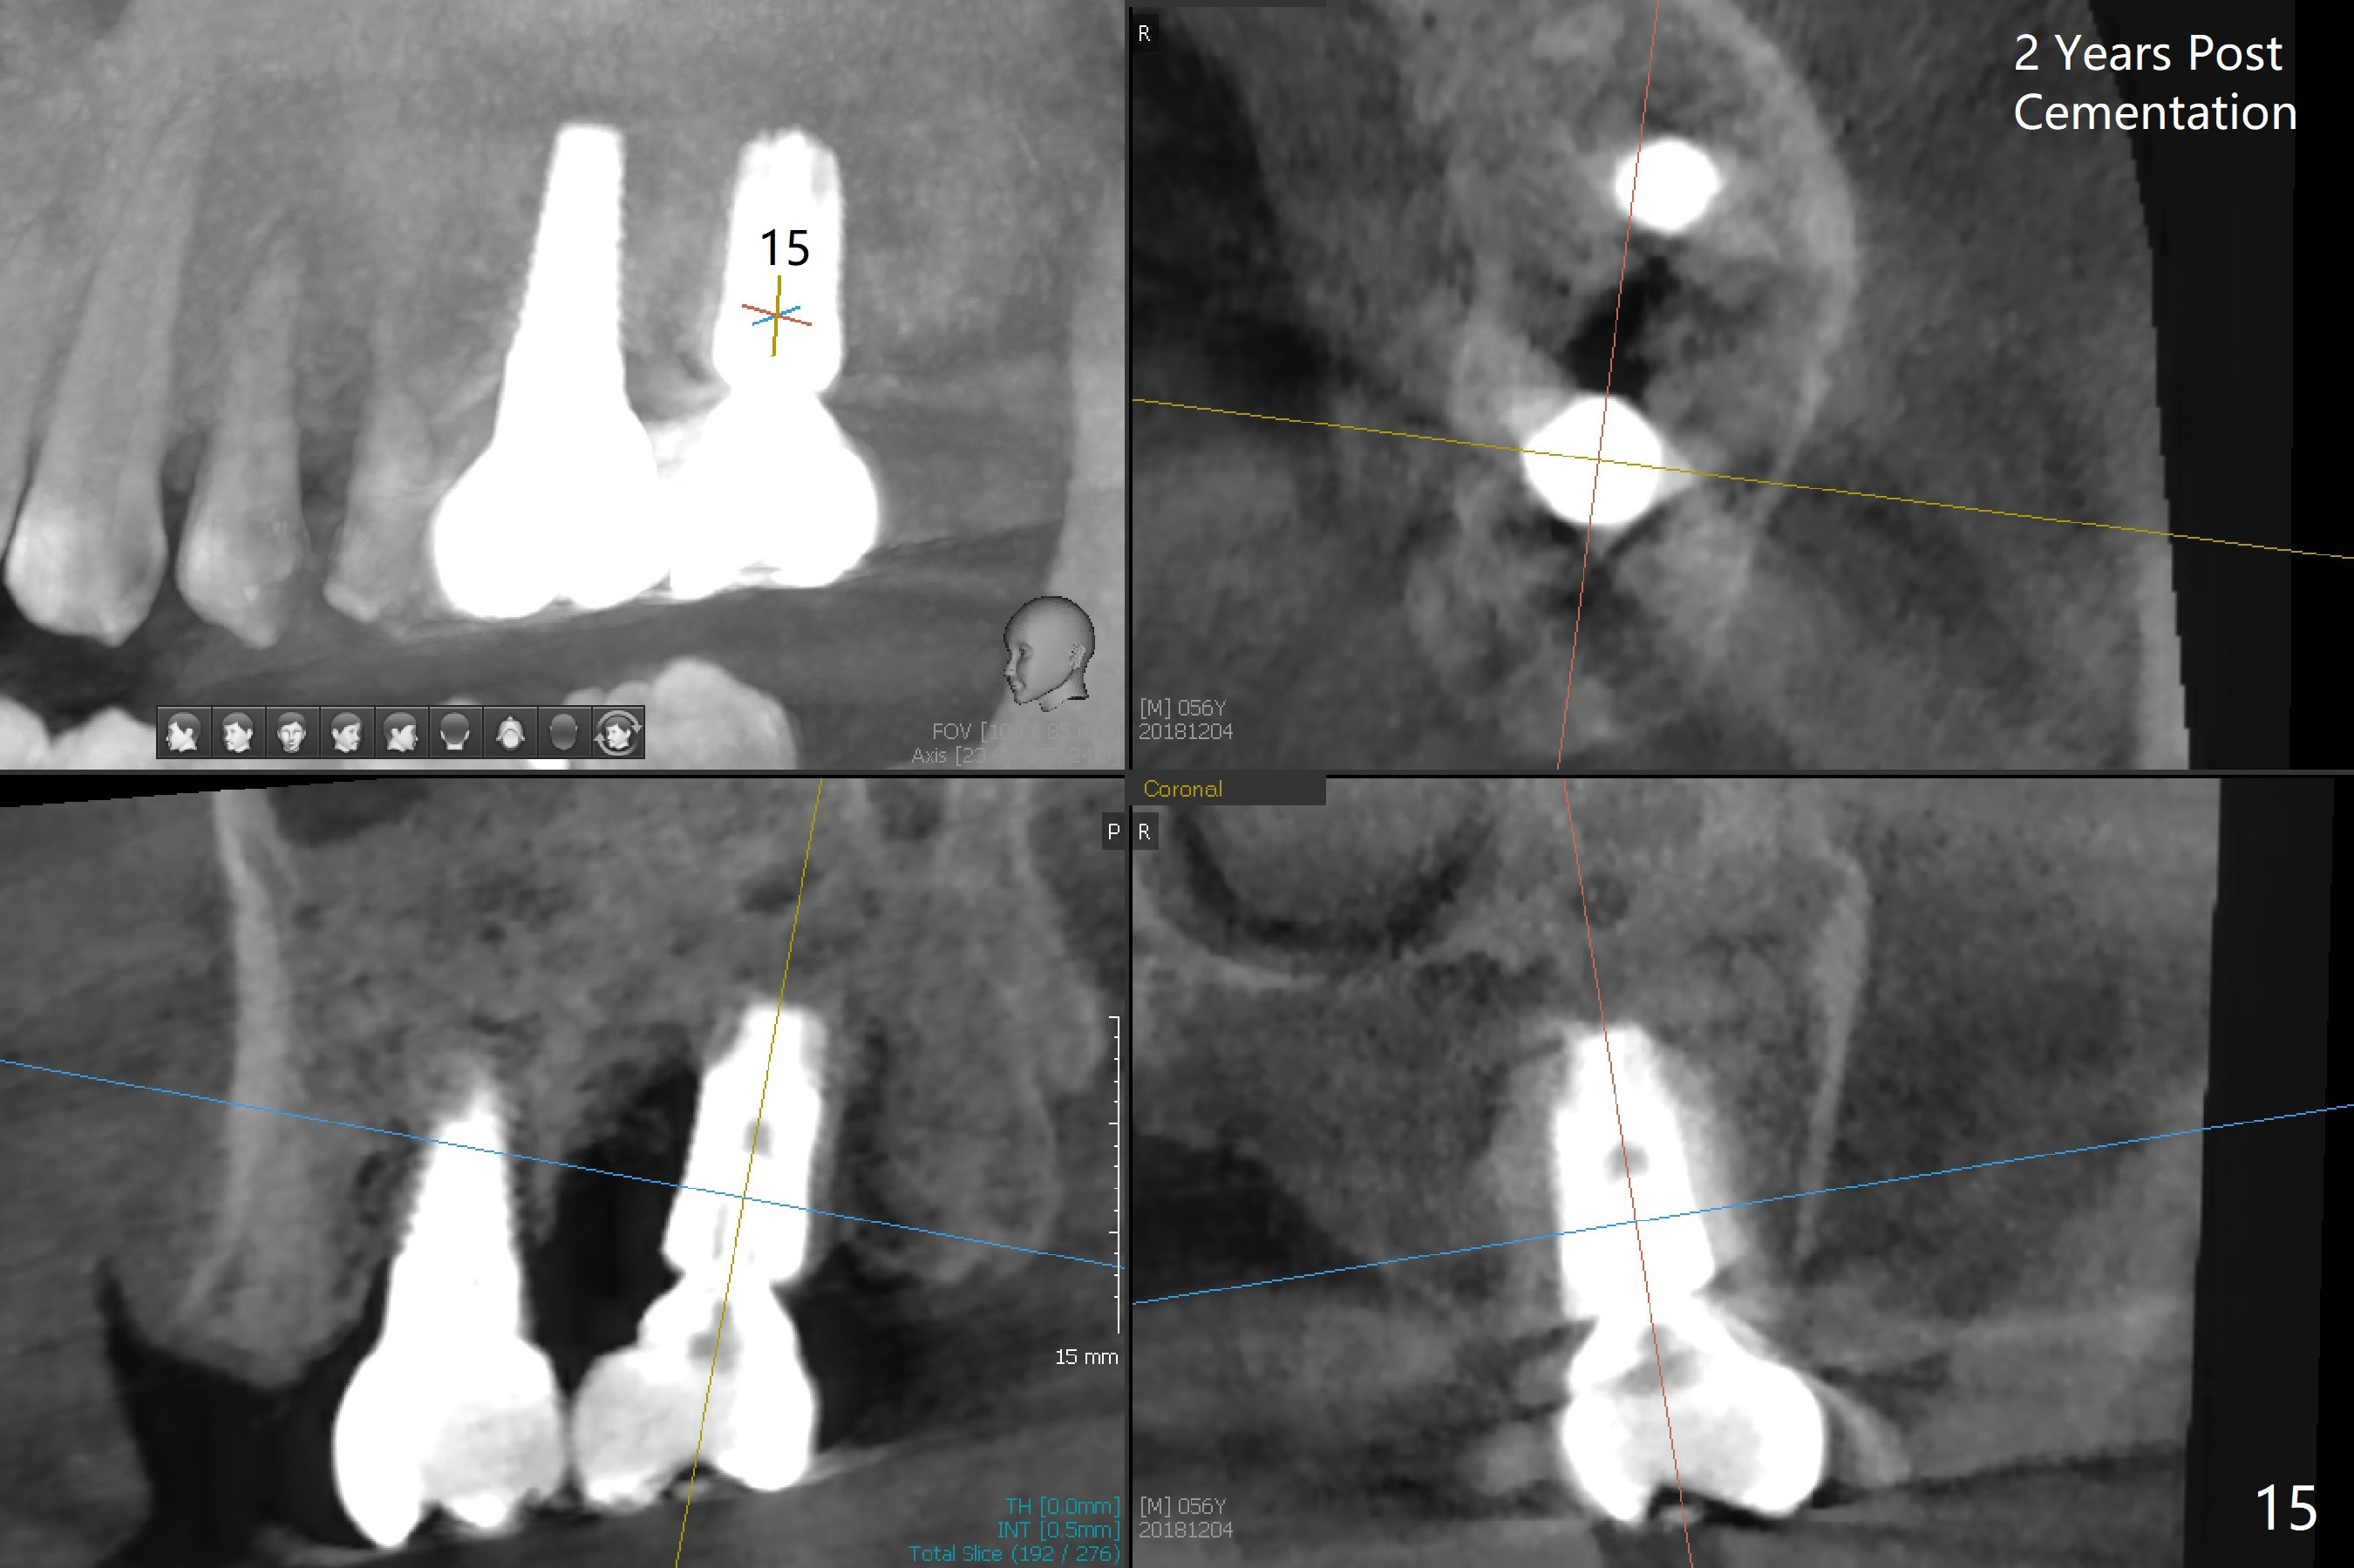
While the implant at #14 is buccally placed (Fig.8, requiring 10 ° angled abutment), the one at #15 is distally placed (Fig.10-12). The trajectory correction at #15 should have been done as early as possible (prior to the step of Fig.4).
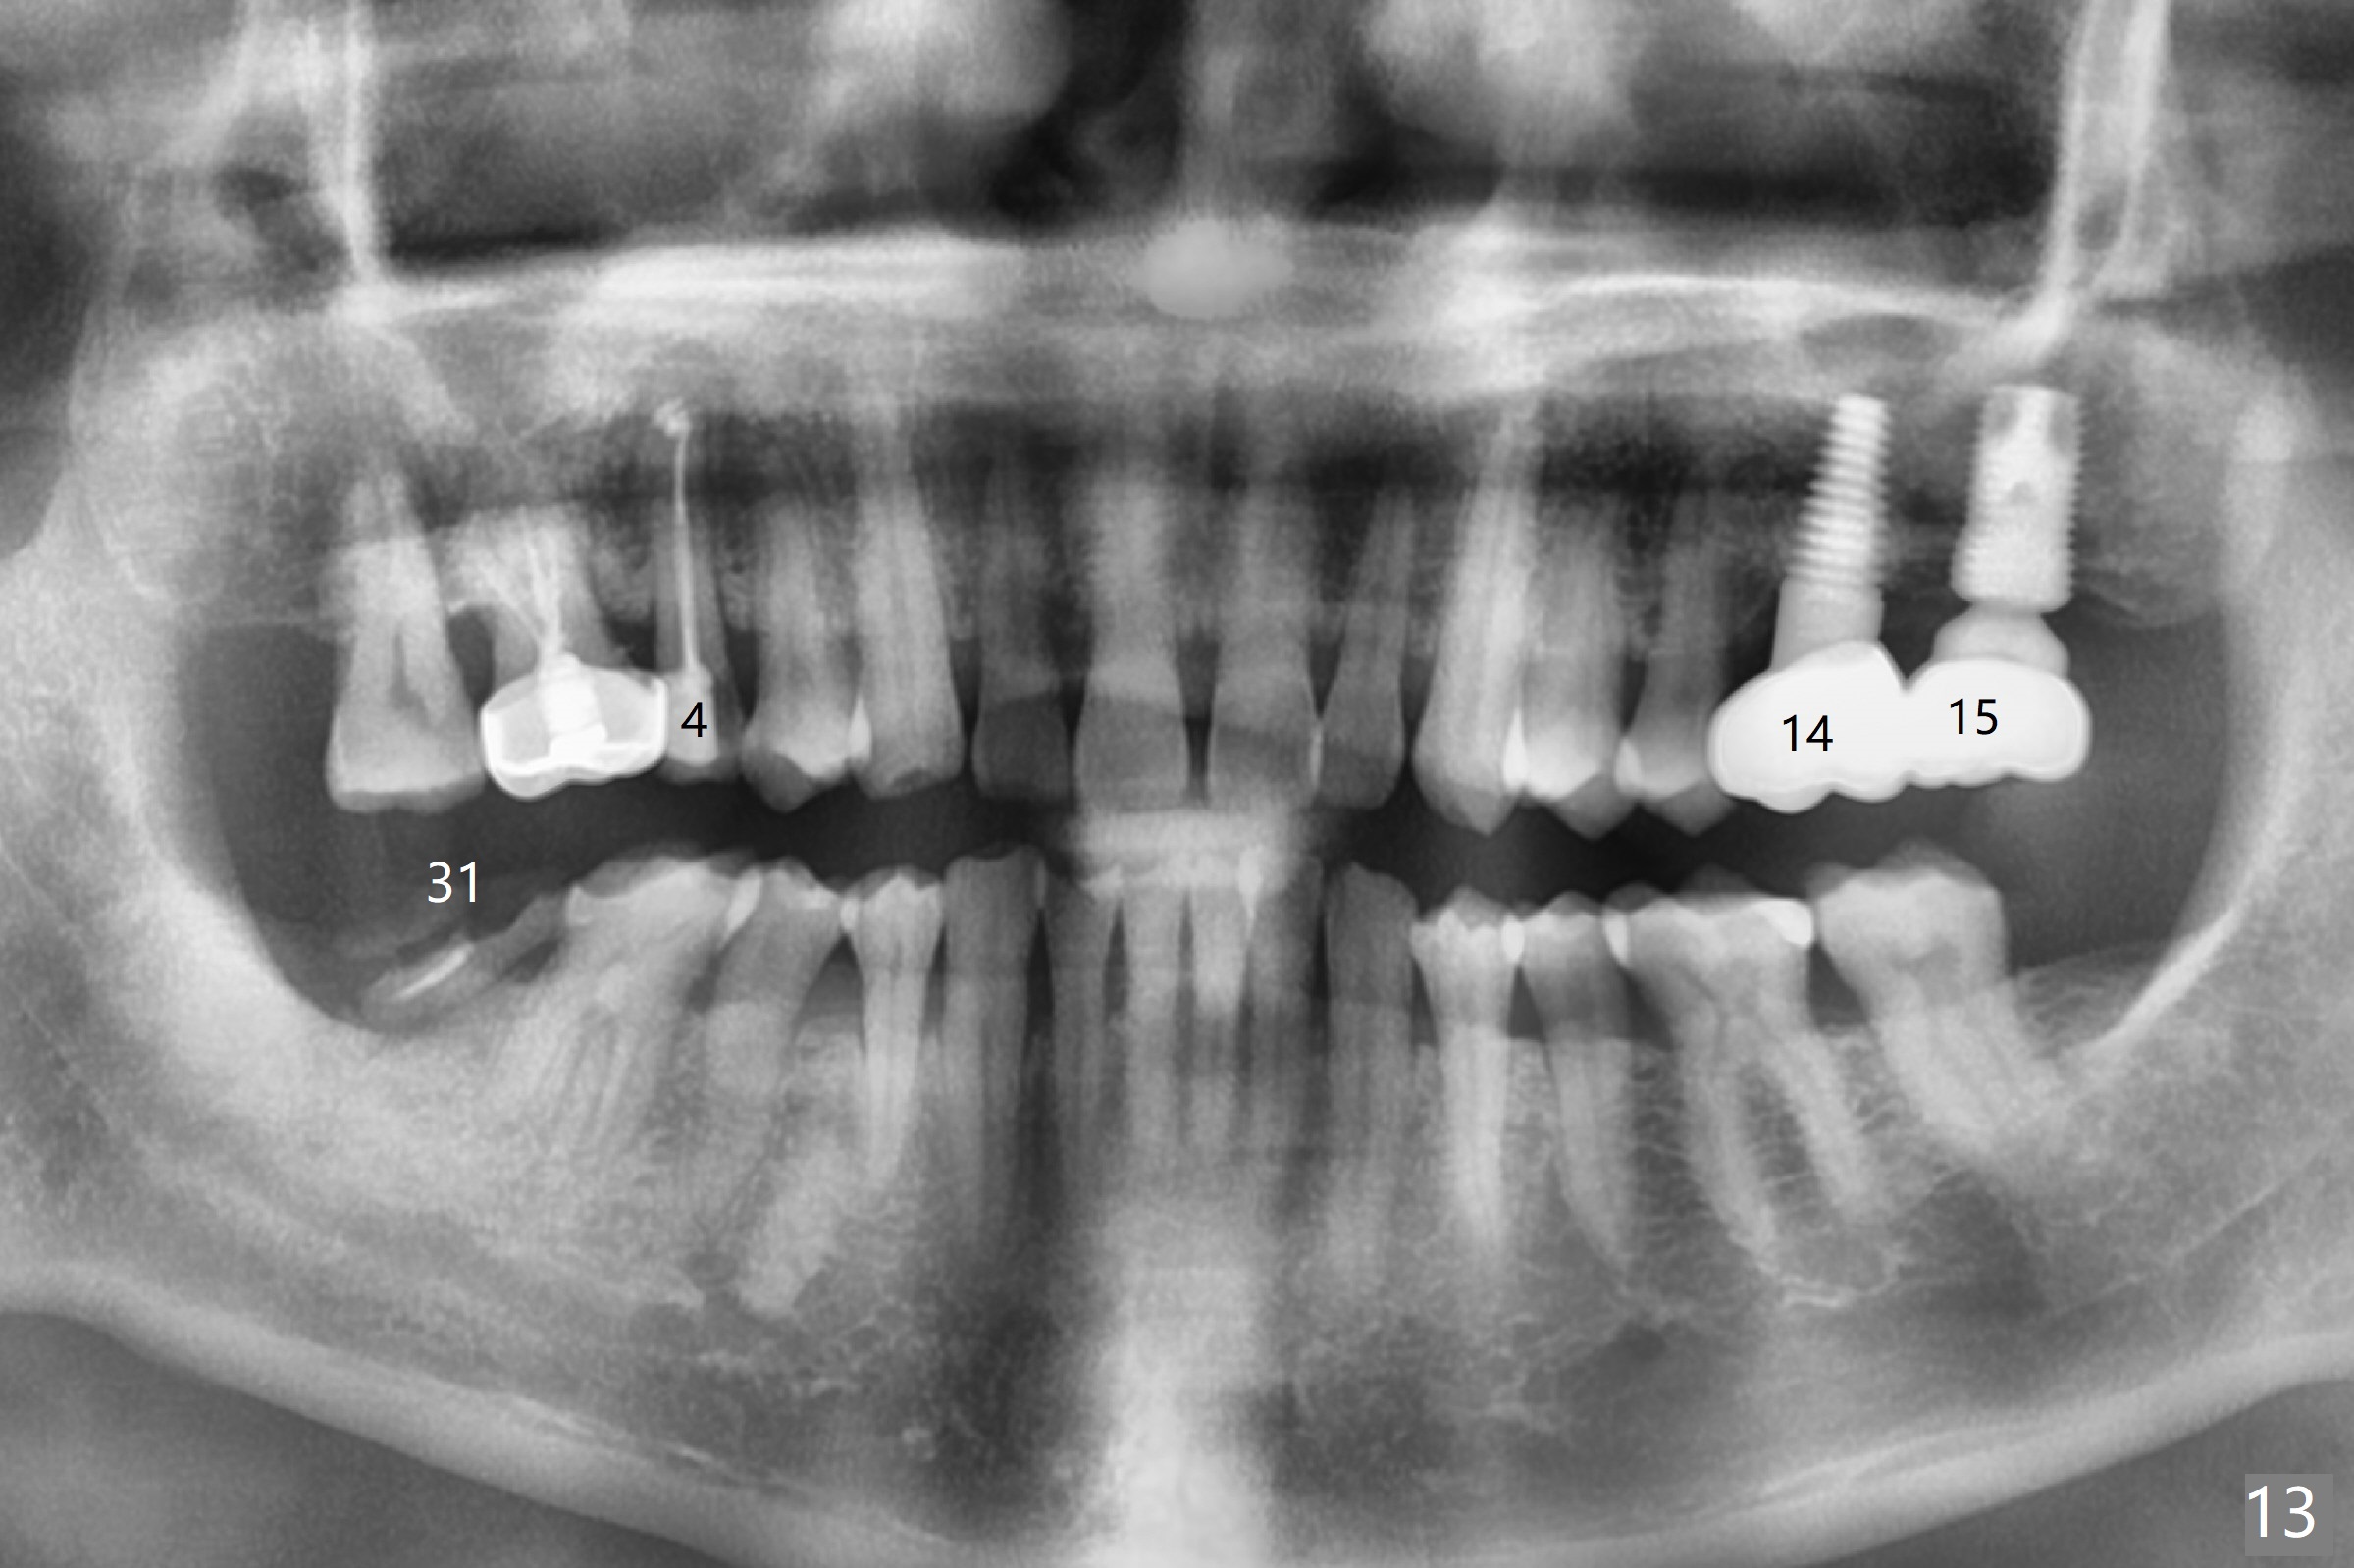
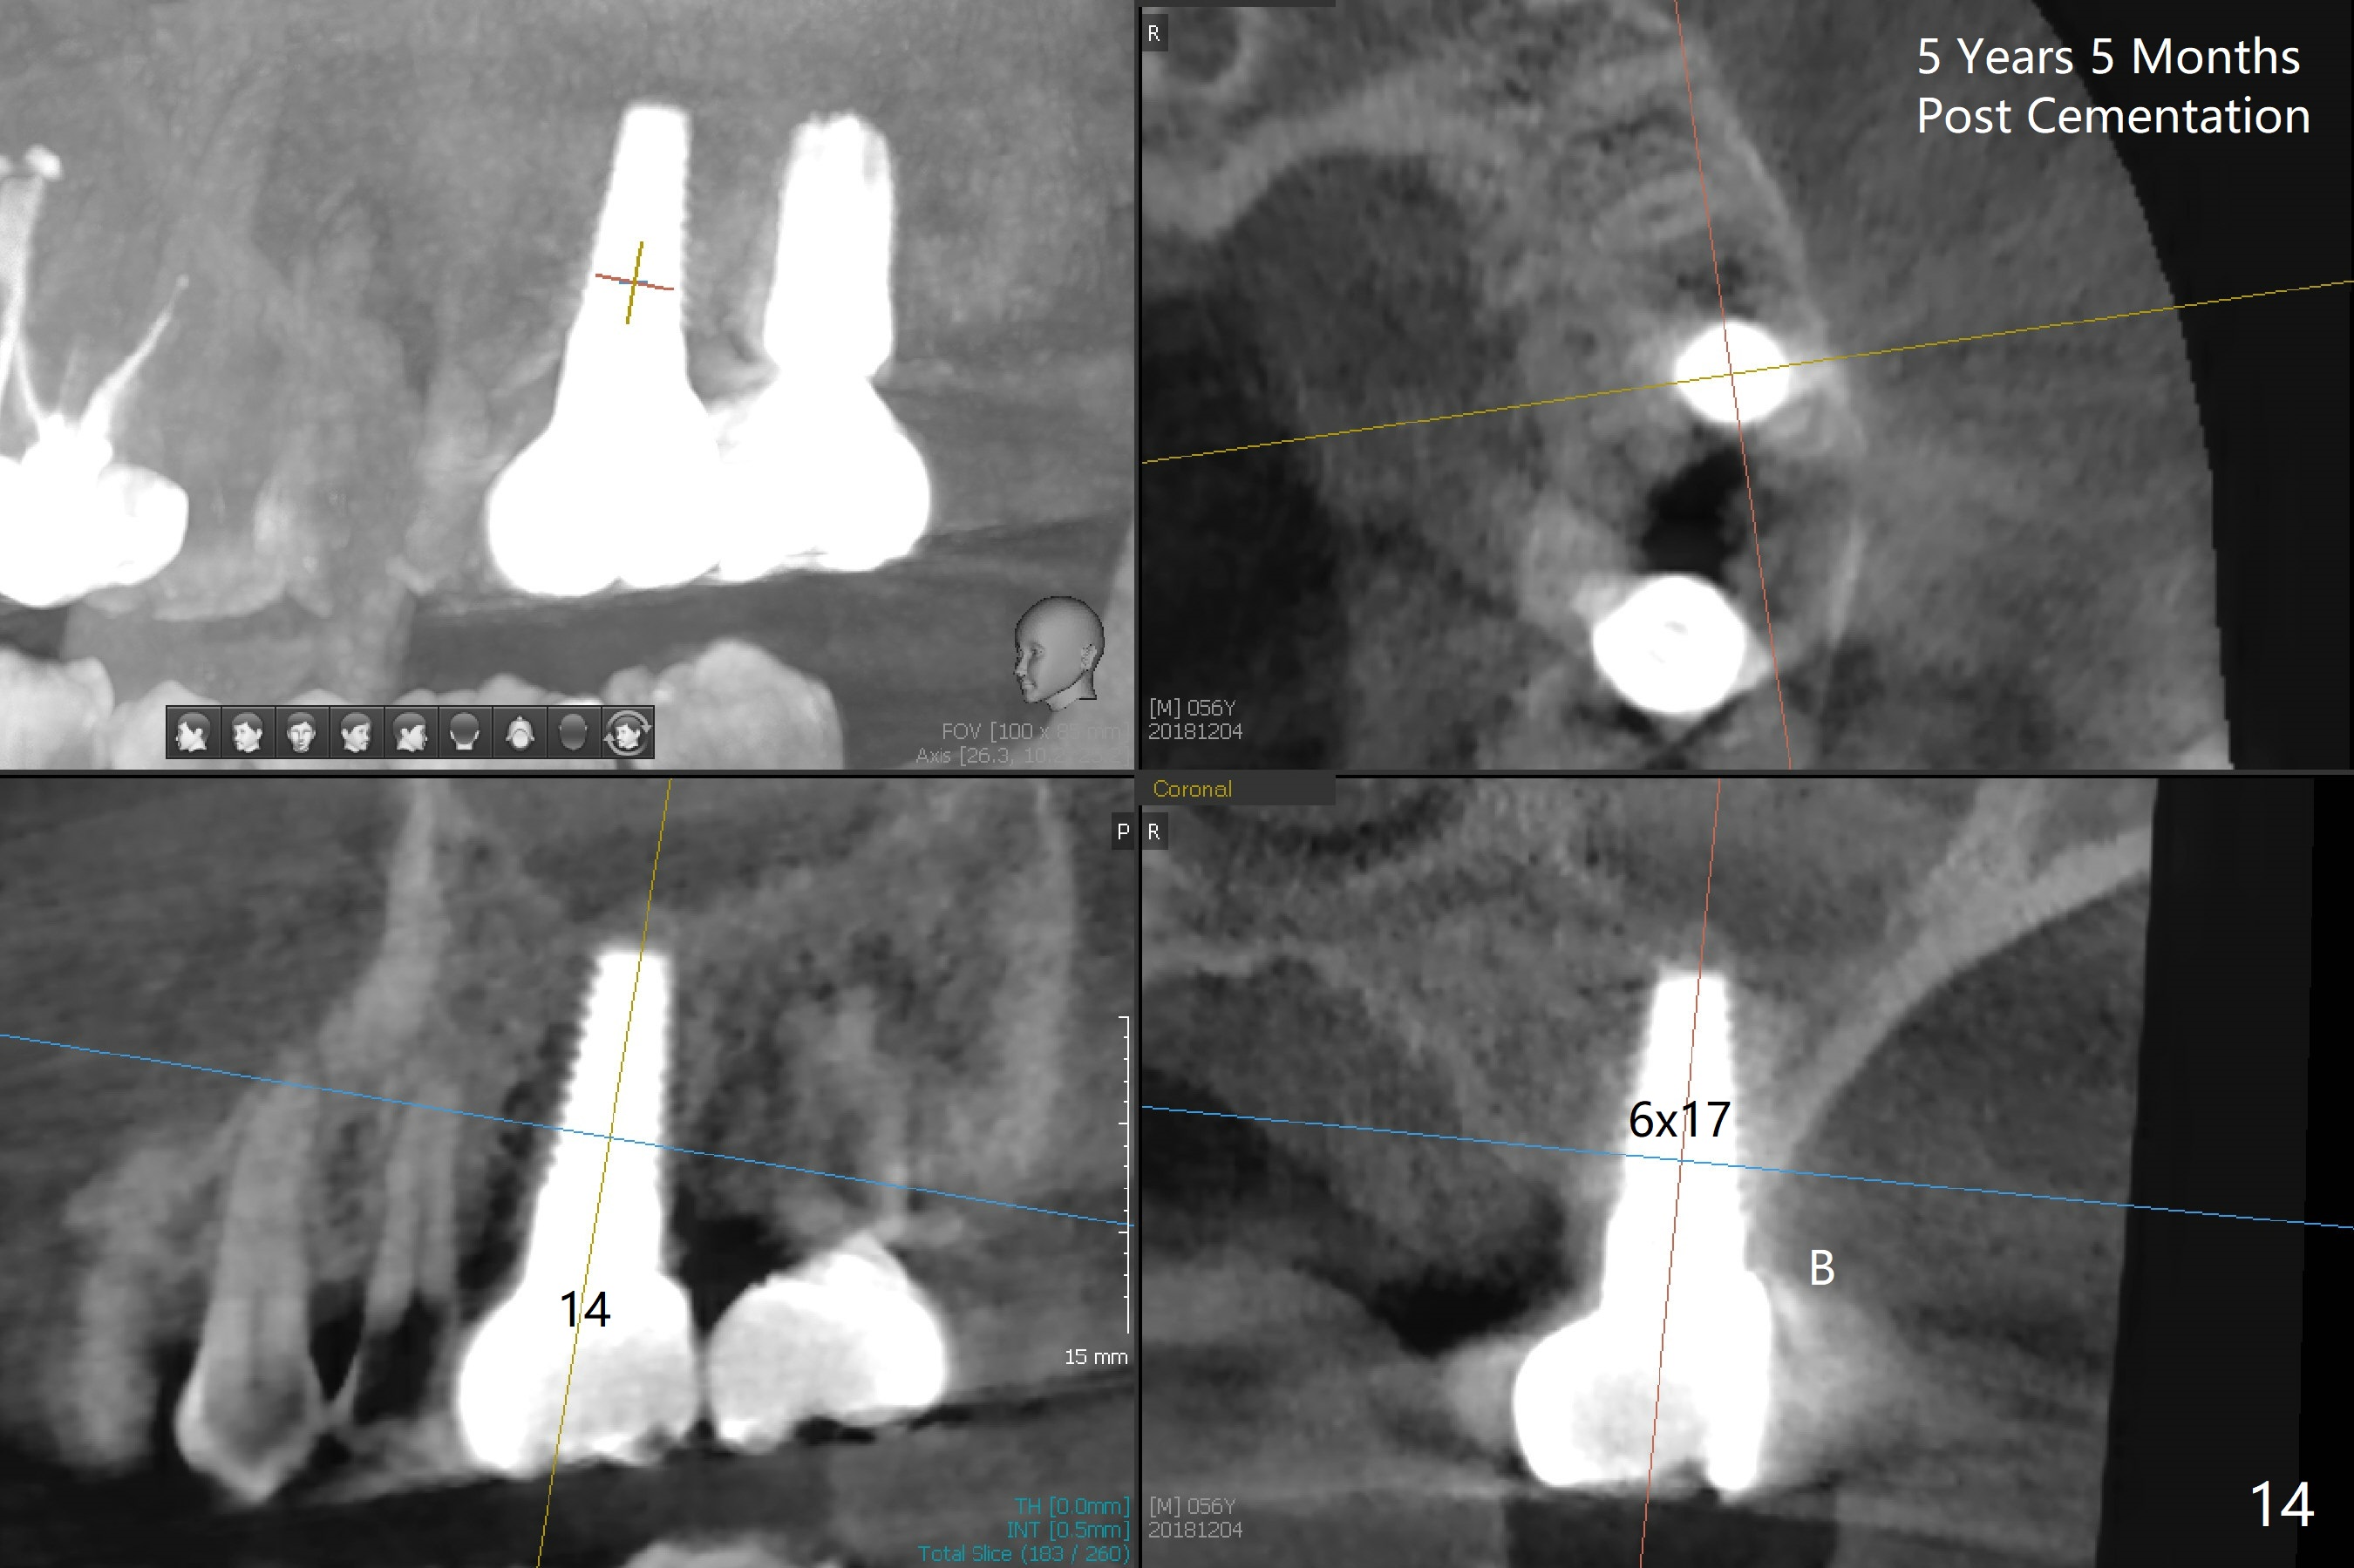
The patient agrees to have an implant at #31 (Fig.13) two years post cementation (Fig.14,15).
Return to Upper Molar Immediate Implant,
Prevent Molar Periimplantitis (Protocols,
Table),
Posterior Immediate Provisional,
Trajectory
Xin Wei, DDS, PhD, MS 1st edition 06/30/2016, last revision 12/16/2018